How to Clean Air Ducts: Easy Home Maintenance Tips
- Aug 1, 2025
- 11 min read
Updated: Aug 5, 2025
Tackling your own air duct cleaning is a totally doable project. The basic flow is pretty straightforward: you'll inspect the system, get your tools ready, clean out the registers and main ducts, and then wrap things up with a good cleanup. Let's walk through what this really looks like and why it’s worth the effort.
Why Cleaning Your Air Ducts Matters
Before you even think about picking up a tool, it’s important to get why this job is more than just a dusty chore. We're not just wiping away a bit of grime; we're talking about protecting your family’s health and making sure your HVAC system isn’t working itself into an early grave.
Over time, your ductwork essentially becomes a hidden collection bin for all sorts of nasty stuff: allergens, pet dander, mold spores, and other pollutants.
Every single time your heat or air conditioning kicks on, it blasts these contaminants all through your house. This can be a real problem for anyone with allergies or respiratory issues. It’s a bit unsettling when you realize just how much junk can be circulating in the air you breathe every day.
The U.S. Environmental Protection Agency (EPA) has pointed out that indoor air can be up to five times more polluted than the air outside. That fact alone makes a pretty strong case for keeping your ducts clean to cut down on dust, allergens, and other gunk.
Health, Efficiency, and Your Wallet
Here’s a simple truth: a clean system is an efficient one. When dust and debris build up inside your ducts, they literally choke off the airflow. This forces your HVAC unit to work much harder just to keep your home at the temperature you set on the thermostat.
This extra strain creates a couple of big headaches:
Higher Energy Bills: An overworked system guzzles electricity, and you’ll see the evidence on your utility bill month after month.
Increased Wear and Tear: Pushing your system to its limits day in and day out is a recipe for premature breakdowns and expensive repair calls. A little preventative maintenance goes a long way in extending its life.
Cleaning your ducts is also a smart move to reduce the circulation of indoor pollutants that can affect your family's well-being. This is just one part of minimizing exposure to common sources of endocrine disruptors in your home.
Once you connect the dots between clean ducts and a healthier, more efficient home, you'll see why this is a job worth doing. While a DIY cleaning is great for regular upkeep, if your system is long overdue for attention or you're dealing with serious air quality concerns, it's often best to call in the pros. A professional air duct cleaning ensures every nook, cranny, and component gets the deep clean it needs.
Gathering Your Tools for the Job
Any good DIY project starts with having the right equipment ready to go. Trying to clean your air ducts without the proper tools isn’t just going to be a waste of time, it can actually make your home’s air quality worse by kicking up years of dust without capturing it.
Your standard household vacuum, for all its strengths, just doesn't have the muscle for this job. You’re going to need a heavy-duty shop vacuum, and I'd strongly recommend getting one with a HEPA filter. This is non-negotiable. A HEPA filter ensures that the microscopic dust, pet dander, and allergens you dislodge are securely trapped instead of being blown right back into the air you breathe.
Without one, you're just moving the mess from your ducts into your living room.
The Tools You'll Actually Need
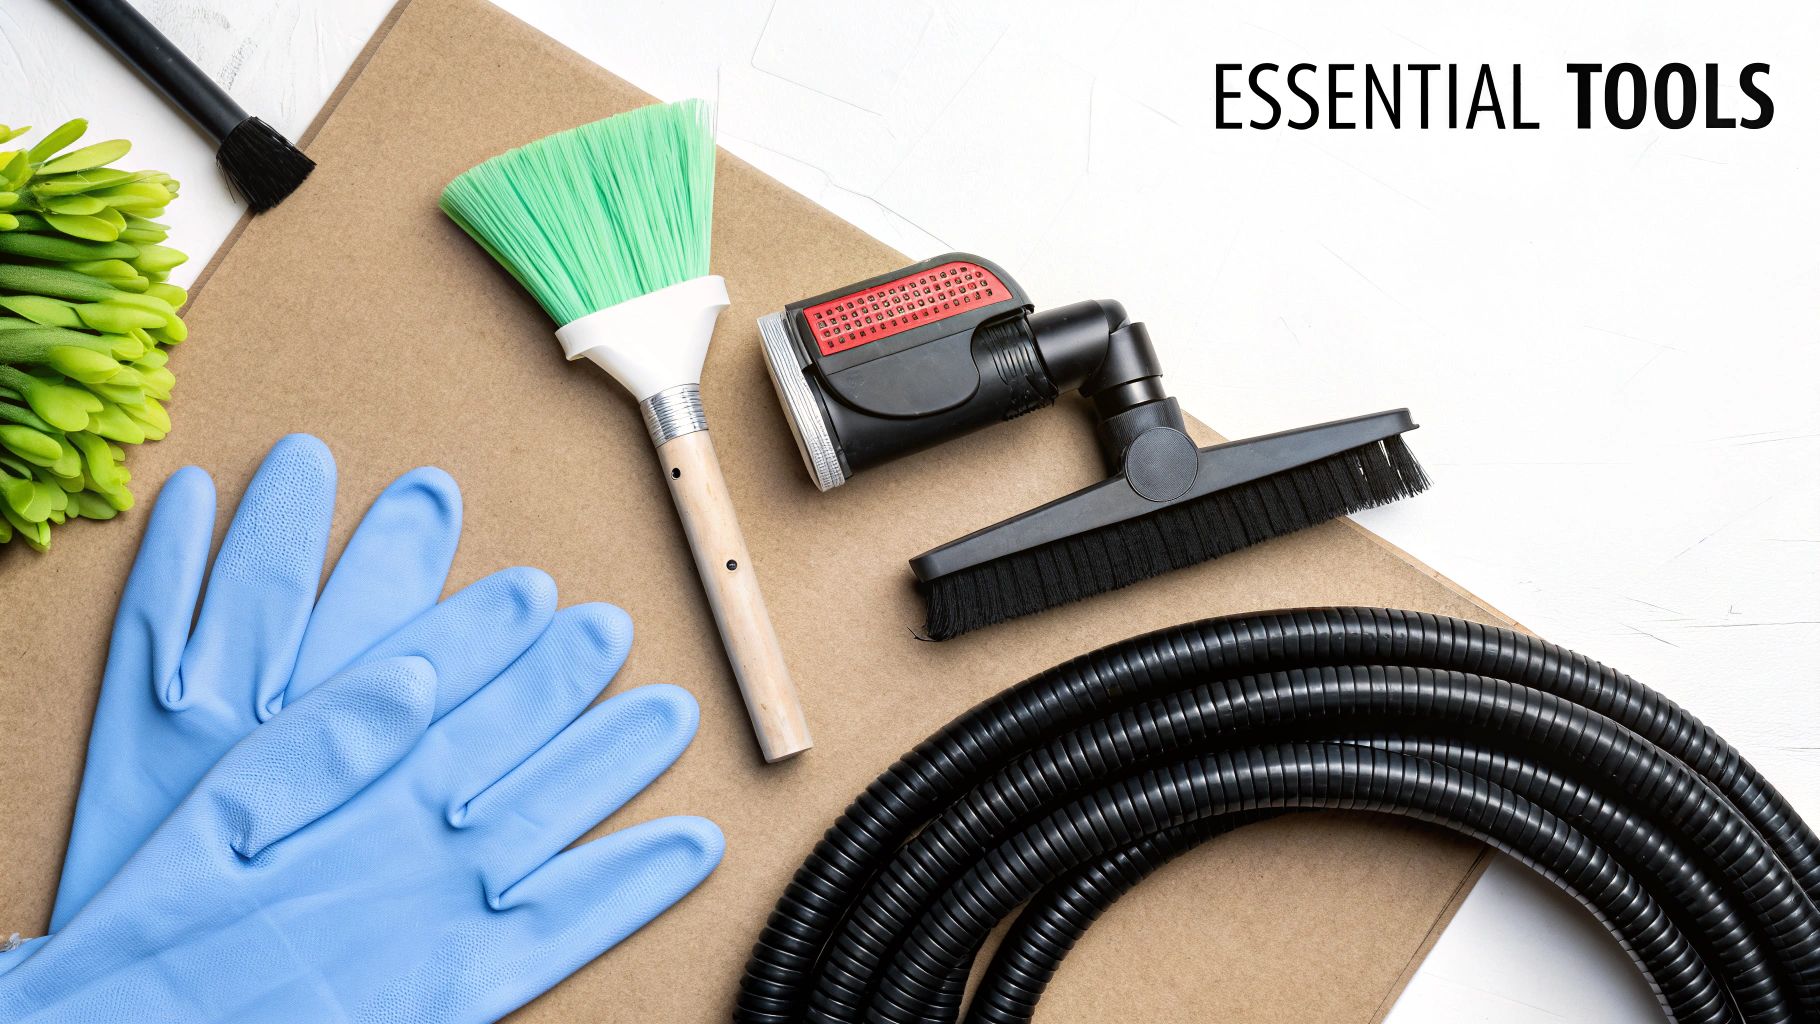
Beyond a powerful vacuum, a few other essentials will make this job go much smoother. Here’s a quick rundown of your toolkit:
Long-handled brushes: You'll need a set of stiff-bristled brushes that can reach deep into the ductwork. Their job is to agitate and break loose all the stubborn gunk caked onto the duct walls.
Screwdriver or power drill: This is simply for removing the vent covers (also called registers) from your walls, floors, and ceilings. A power drill makes this go much faster.
Cleaning cloths and paper towels: Keep these handy for wiping down the registers themselves and cleaning up any dust that escapes.
Protective gear: This is a big one. At a minimum, wear a dust mask or respirator and some form of eye protection. You do not want to be inhaling the very particles you’re working so hard to get rid of.
It's also worth understanding the difference between the tools you'll be using and what the professionals bring to a job. This isn't to discourage you, but to set realistic expectations for a DIY cleaning.
DIY vs Professional Duct Cleaning Tools
Tool/Equipment | DIY Availability | Professional Grade | Purpose |
|---|---|---|---|
Vacuum System | Shop vacuum with HEPA filter | Truck-mounted vacuum system | Professionals use systems 20-30 times more powerful, creating immense negative pressure. |
Agitation Tools | Long-handled brushes | High-powered air whips, rotary brushes | Pro tools are designed to scrub the entire duct surface area, reaching corners DIY brushes can't. |
Containment | Sealing registers with paper towels | Sealing registers with adhesive film | Professionals create a more airtight seal to prevent any cross-contamination between rooms. |
Inspection | Flashlight, smartphone camera | Video inspection systems (snake cameras) | Pros can see deep inside the entire system to find problem areas and confirm cleanliness. |
As you can see, the professional-grade equipment is on a whole other level, which is why they can often achieve a deeper clean.
Before you even think about brushing, you need to create "negative pressure." It sounds technical, but it just means sealing off all the supply registers with paper towels or plastic while your shop vac sucks air from a single, central point. This containment strategy is what stops dust from billowing out into your rooms. It's the most important technique in the whole process.
Proper prep is what separates a smooth, effective job from a frustrating, dusty mess. The first real step is to shut off all power to your HVAC system at the main circuit breaker. This is a critical safety measure you absolutely cannot skip. For a complete rundown on system care, our guide on how to maintain your HVAC system is a great resource.
Once the power is off and your tools are all laid out, you’re ready to start cleaning.
Getting Down to the Dusty Work
Alright, with the prep work out of the way, it’s time to get your hands dirty, literally. The secret to cleaning air ducts like a pro is to be methodical. You want to start at the vent furthest from your furnace and work your way back. This approach ensures you're constantly pulling dust and gunk toward your vacuum, not just pushing it deeper into the system.
First up are the supply registers, these are the vents that blow the conditioned air into each room. Head to the room that’s the farthest away from your HVAC unit to begin. Fire up your shop vac, get the hose ready, and unscrew the register cover.
Now for the real work. Grab your long-handled brush and give the inside of the duct a vigorous scrubbing. Get in there as far as you can reach. The idea is to break loose all that caked-on dust and debris from the duct walls. While you're brushing with one hand, keep the vacuum hose right at the opening with the other to suck up everything as it comes loose. Keep at it until you don’t see any more dust getting kicked up.
Before you move on, give the register cover a good wipe-down and screw it back into place, but don’t seal it just yet. You’ll repeat this exact process for every single supply register in your house.
This image shows a technician doing this exact task. It’s the perfect demonstration of the two-handed technique: one hand agitates, the other captures.
This method, brushing to dislodge debris while simultaneously vacuuming it up, is the core of an effective DIY cleaning.
Cleaning the Return Vents and Main Ducts
Once all the supply registers are done, turn your attention to the return air vents. These are typically larger and can be even filthier since they're responsible for pulling air back into the system. The cleaning process is the same: get in there with your brush and vacuum until they're spotless.
Next comes the main event: cleaning the large supply and return ducts, usually found in your basement, attic, or crawlspace. You'll need to create an access point big enough for your vacuum hose and brush. Some lucky folks might find their ductwork already has pre-cut access panels. If not, you’ll have to carefully cut a small hole that you can easily reseal later.
A crucial step that a lot of DIY guides completely forget is cleaning the furnace’s blower compartment. With the power still off, open the main panel on your furnace. You’re looking for the blower fan, which looks a bit like a hamster wheel. Carefully vacuum its blades and the entire compartment. This is the heart of your HVAC system; a clean blower moves air far more efficiently.
The Final Wrap-Up
After you've cleaned the main trunk lines as far as your tools can possibly reach, it's time to seal up any access holes you made. Use a quality metal-backed tape to create a solid, airtight seal.
You're almost there! Just a few last critical steps:
Go around and remove the paper towels or seals from all the supply registers you covered at the beginning.
Install a brand-new furnace filter. Trust me, your old one is probably toast after all the debris you just dislodged.
Head back to the circuit breaker and turn the power to the HVAC system back on.
Let the system’s fan run for about 15 minutes. This will push out any lingering loose dust you might have missed.
And that’s it. By following this process, you’ve just given your home’s ductwork a thorough cleaning.
Safety Precautions and Pro Tips
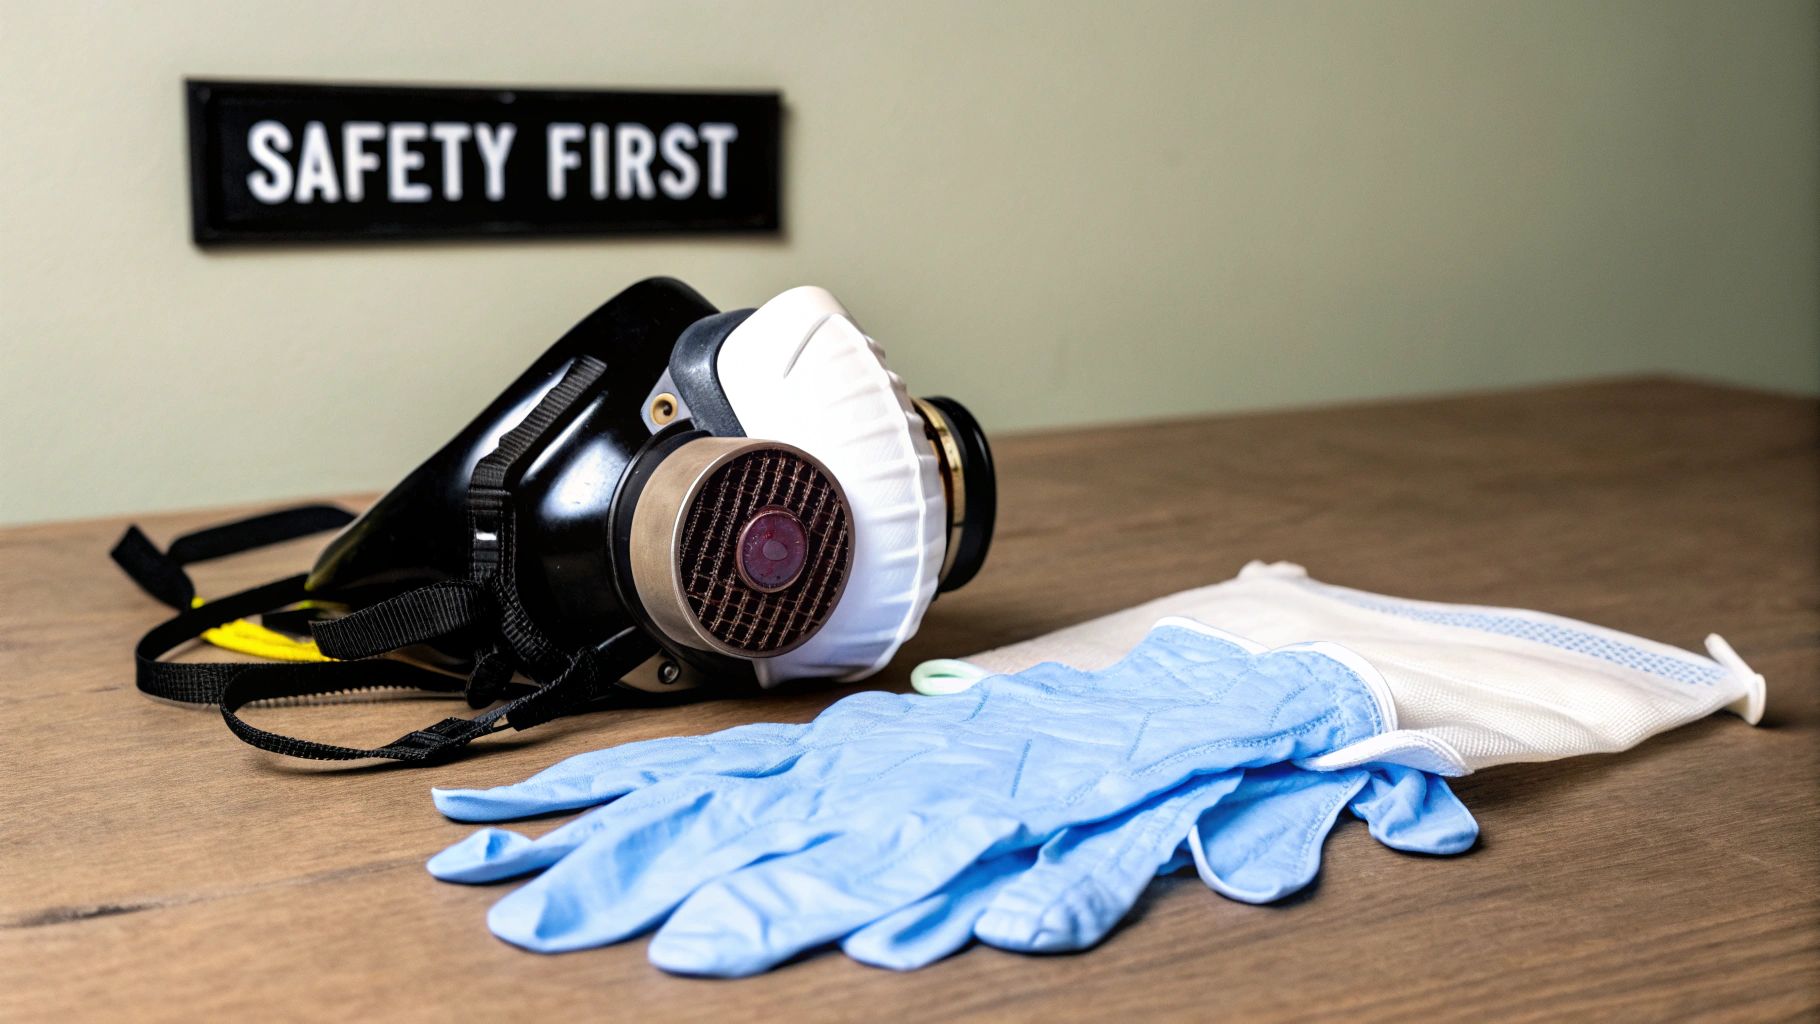
Knowing how to clean your air ducts is one thing, but doing it safely and effectively is a whole different ballgame. Your top priority, without question, should be safety. This starts with the right personal protective equipment (PPE).
Before you even think about touching a vent, make sure you're wearing a quality dust mask and proper eye protection. When you disturb years of settled dust and grime, you're going to kick up a cloud of particles you definitely don't want to breathe in or get in your eyes.
And here’s the most critical step of all: completely shut off the power to your HVAC unit at the circuit breaker. This isn't just a friendly suggestion; it's essential for preventing serious injury and avoiding expensive damage to your system.
Pro Tips for a Better Clean
Beyond the basic safety checklist, there are a few insider tips that can take your DIY job from "good enough" to "like a pro." These are the small details that make a huge difference and help you avoid the common mistakes that trip up most first-timers.
Once you think you're finished, grab your smartphone and do a quick visual inspection. Just stick the camera inside a few of the main ducts and take a short video. You might be surprised to find a spot you missed that needs a bit more attention.
It’s also a good idea to think about the types of cleaners you're using. Taking a moment to understand what green cleaning entails can help you choose a safer, more eco-friendly method for your home.
One of the most common mistakes people make is forgetting to replace the furnace filter right after cleaning. Think about it: your old filter is now clogged with all the debris you just worked so hard to dislodge. Popping in a new filter is the only way to truly capitalize on your efforts and keep that airflow strong.
This project is a fantastic piece of your home's overall upkeep. To get the most out of your system, it helps to fit this cleaning into a regular maintenance plan. You can learn more about how it all fits together by checking out your essential HVAC maintenance schedule.
The focus on indoor air quality isn't just a trend; it's a booming market. In fact, the air duct cleaning service market was valued at a massive USD 3.87 billion in 2023, with North America leading the charge. This just goes to show how seriously homeowners are taking their indoor air.
Alright, let's talk about when to put down the shop vac and call in the pros.
While a good DIY cleaning is fantastic for regular maintenance, it’s important to know its limitations. Sometimes, the smartest (and safest) move is recognizing when a job is just too big for household tools and needs a professional touch to protect your health and your HVAC system.
Let's be honest: a DIY job just can't compete with the heavy-duty equipment the experts bring. The truck-mounted vacuums used by specialists are on a completely different level than a shop vac. They create the kind of intense negative pressure that's necessary for a true, deep-down clean.
When DIY Isn't Enough
There are a few specific scenarios where trying to tackle it yourself is a bad idea. If you spot any of these red flags, it's definitely time to pick up the phone.
Suspected Mold Growth: See any black or green specks around your vents? Smell a stubborn musty odor that won't go away? That could be mold. Trying to clean it yourself can disturb the spores and spread them all over your house, which is a health risk you don't want to take.
Pest Infestations: Finding droppings, nests, or other evidence of rodents or insects in your ductwork means you've got a much bigger problem than just dust. Professionals have the tools and sanitizing agents to handle that kind of biohazard safely.
It’s Been a While: If it’s been over five years since your last cleaning, or if you just finished a major home renovation, the amount of caked-on dust and construction debris is likely too much for a DIY approach.
When you're weighing a DIY project against hiring a specialist, remember this: for a truly comprehensive cleaning or any of the complex issues above, the pros offer dedicated professional HVAC system cleaning services.
This isn't just a niche service anymore; homeowners are getting serious about indoor air quality. The global market for professional air duct cleaning was valued at a whopping USD 8.5 billion in 2023 and is only expected to grow. It shows that people everywhere are realizing how crucial proper HVAC maintenance really is.
In the end, calling a professional isn't giving up. It's making a smart investment in your home's health and your family's well-being. For even more ways to keep your air fresh, take a look at these top tips for improving indoor air quality in Tucson.
Common Questions About Air Duct Cleaning
Even after walking through the process, it’s totally normal to have a few more questions rattling around. Let's clear the air on some of the most common ones so you can feel confident about managing your home's ductwork.
One of the first things people ask is, "How often do I really need to do this?" As a solid baseline, the National Air Duct Cleaners Association (NADCA) suggests a professional cleaning every 3 to 5 years.
That’s a general rule, though. You’ll want to consider cleaning them more frequently if you’ve got pets leaving dander everywhere, family members with persistent allergies, or if you just wrapped up a major home renovation that kicked up a ton of dust.
Health Benefits and Costs
Another big question is whether duct cleaning genuinely impacts your health. The short answer is yes, absolutely. When you pull all the trapped dust mites, pollen, and mold spores out of the system, you stop them from getting blown back into the air you breathe. For anyone with asthma or allergies, this can bring some serious relief.
Be wary of rock-bottom prices for professional services, which typically run between $450 and $1,000. The industry has its share of scams, and a price that seems too good to be true often leads to incomplete work or surprise fees later.
Always get a detailed, written quote from a certified and reputable company. It’s the only way to know you’re paying for a thorough job.
Finally, don’t forget that your ducts are just one part of a larger HVAC ecosystem. The overall health of your system plays a huge role in how clean your ducts stay. For example, a properly installed AC is key for managing airflow and humidity, which directly affects how quickly dirt and grime build up. You can check out some essential AC installation tips for 2025 to understand how all these components work together. Getting the installation right from the start can mean cleaner ducts for years to come.
Ready to ensure your home's air is as clean and healthy as possible? Trust the certified experts at Covenant Aire Solutions for a professional and thorough duct cleaning service. Visit us online at https://www.covenantairesolutions.com to schedule your appointment today