How to Clean Vent Pipe: A Homeowner's Guide
- Oct 11, 2025
- 12 min read
Updated: Oct 13, 2025
Cleaning your vent pipes is more than just a chore; it's a critical piece of home maintenance. It involves safely shutting down the right appliance, getting into the vent itself, and using the right tools, like a specialized brush and a vacuum, to clear out all the gunk. This simple process keeps your HVAC system running smoothly and is a major step in preventing fire hazards, especially from your dryer vent.
Why You Can't Afford to Ignore Your Vents
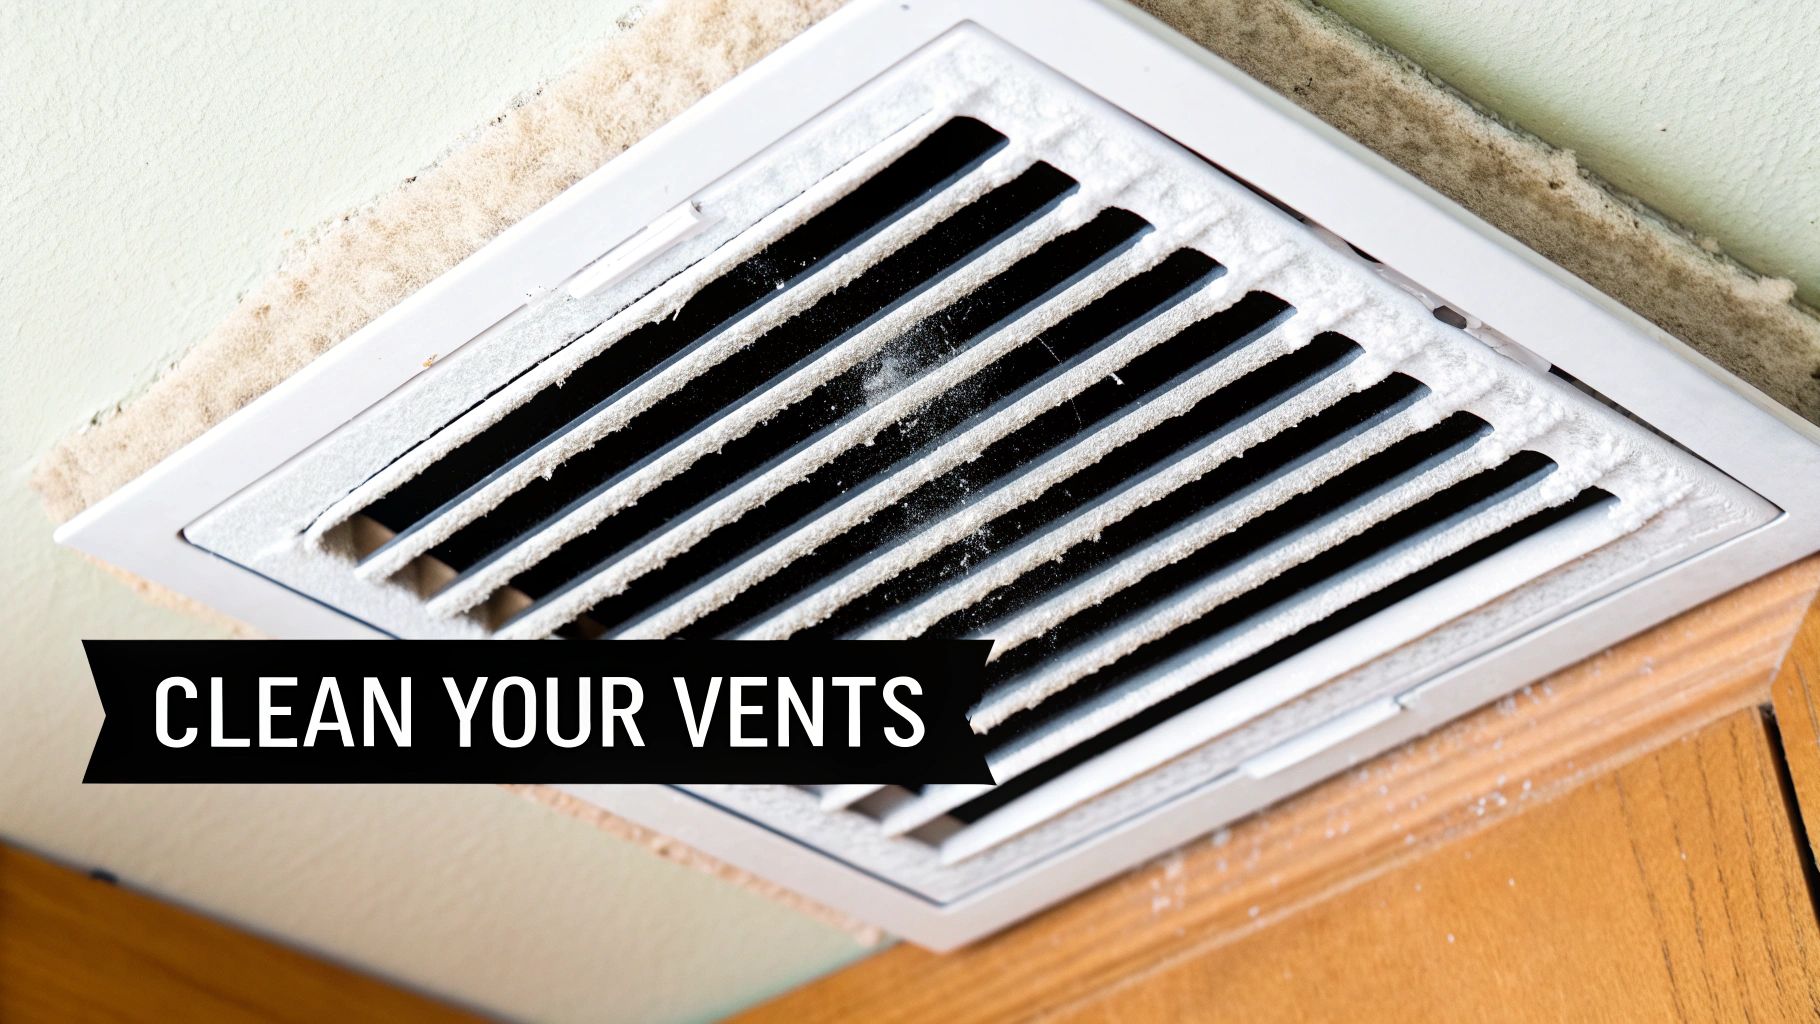
It's easy to forget about the vents crisscrossing through your home's walls. But overlooking them is a mistake that can carry some pretty serious risks. This isn't just about dusting off a vent cover; it's about safeguarding your home's health, safety, and efficiency. When vents are neglected, they can trigger a whole chain of problems that impact everything from your family's breathing air to your monthly utility bills.
Think about it: a dirty HVAC system doesn't just push around stale, dusty air. It can actually become a breeding ground for allergens and other nasty contaminants. A clogged dryer vent is even more alarming, as it creates a hidden and totally preventable fire hazard right inside your walls.
Before we dive into the step-by-step process, let's get a bird's-eye view of what we're aiming to accomplish. This table breaks down the main stages of the cleaning process, giving you a clear roadmap.
Quick Guide to Cleaning Your Vent Pipes
Stage | Key Action | Primary Goal |
|---|---|---|
Preparation | Shut off power and gather your tools. | Ensure a safe and efficient cleaning process. |
Cleaning | Use brushes and a vacuum to remove debris. | Clear out all blockages and contaminants. |
Reassembly | Securely reconnect all components. | Restore the system to its proper working order. |
With that overview in mind, let's explore why this task is so important.
The Real Benefits of Clean Vents
The payoff for learning how to clean a vent pipe is both immediate and noticeable. When you carve out time for this maintenance, you're making a direct investment in the core systems that keep your home running.
You'll see a few key benefits right away:
Improved Indoor Air Quality: Your HVAC vents are essentially the lungs of your home. Cleaning them out removes the buildup of dust, pet dander, and other pollutants. The result is fresher, healthier air for everyone inside. You can dig deeper into how your ductwork impacts your home's air by checking out our guide to indoor air quality solutions.
Enhanced HVAC Efficiency: When your vents are clogged with debris, your heating and cooling system has to work much, much harder to force air through. That extra strain means higher energy bills and more wear and tear on expensive parts.
Reduced Fire Risk: This is the big one, especially for your dryer vent. Lint is incredibly flammable, and a buildup is one of the leading causes of house fires. It's a danger that's easily avoided with some simple, regular cleaning.
Homeowners are catching on. The HVAC cleaning services industry is already valued at around $12.41 billion, and it’s expected to grow as more people prioritize air quality and safety. This isn't just a niche concern anymore; it's becoming a standard part of responsible homeownership.
Assembling Your Vent Cleaning Toolkit
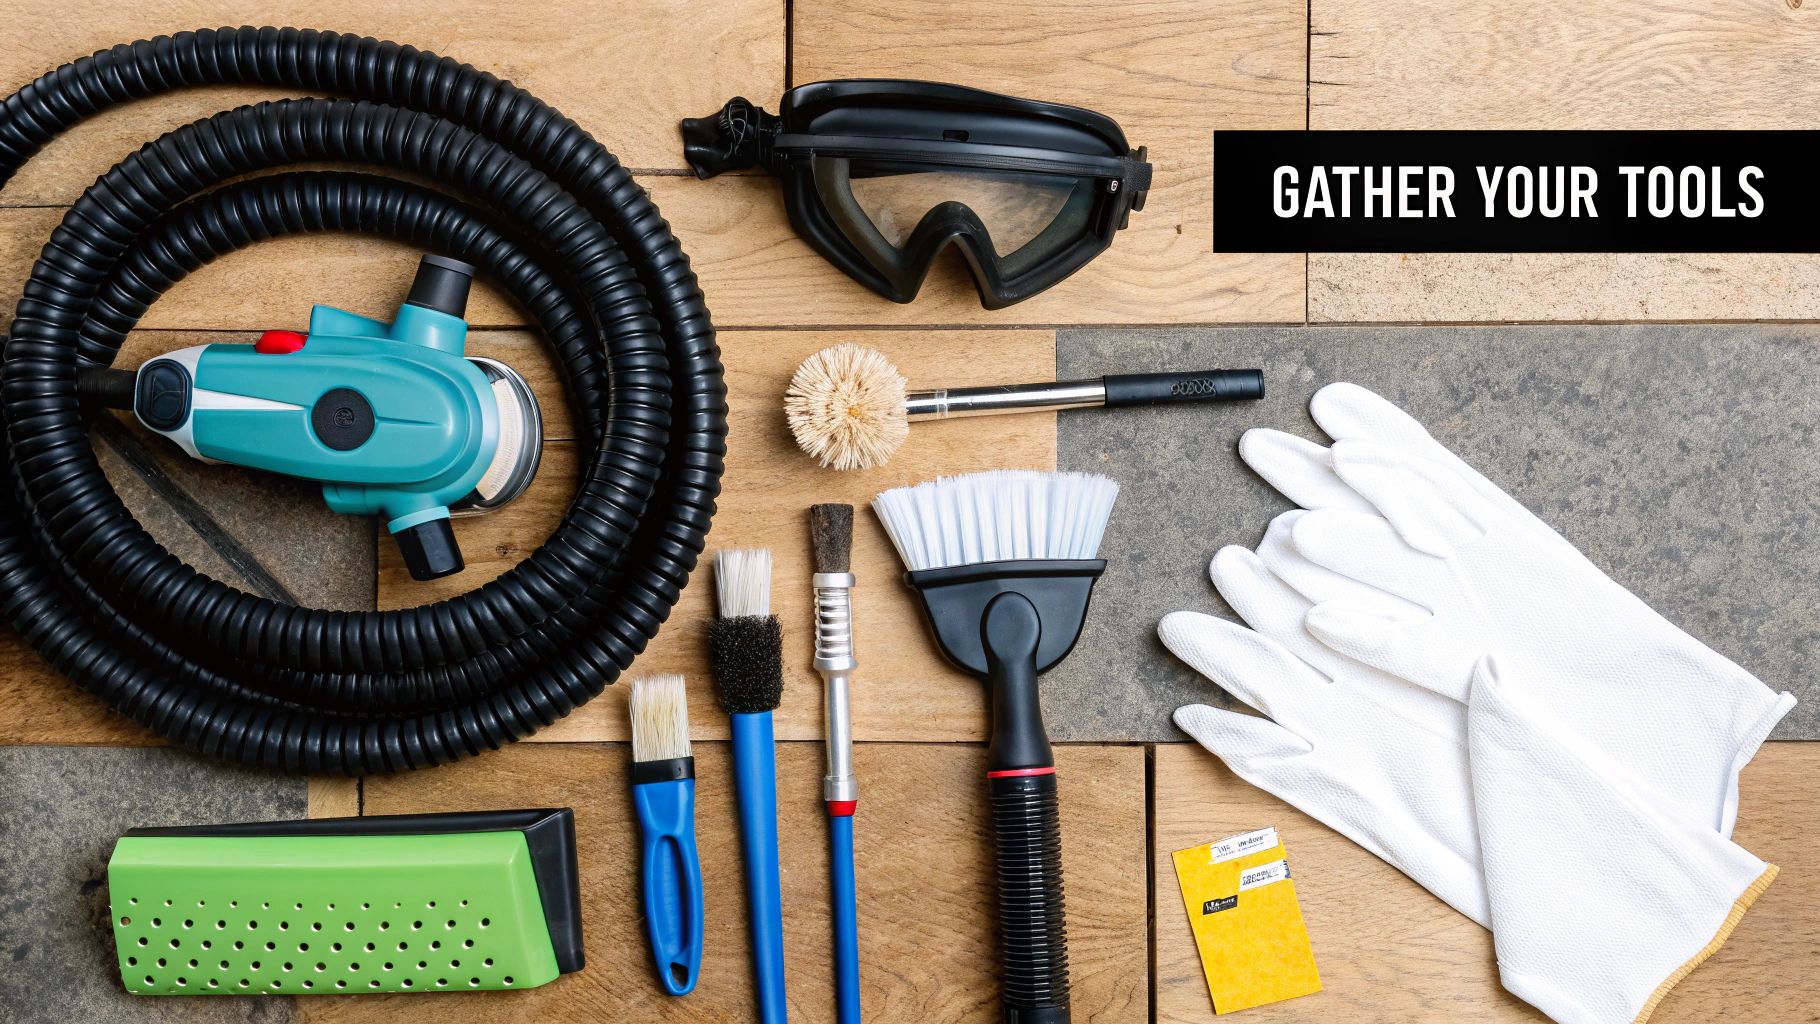
Before you even think about how to clean a vent pipe, you’ve got to get the right gear together. Trust me, showing up to the job with the wrong equipment can turn a simple Saturday task into a frustrating, messy disaster. Having everything you need on hand from the very start makes the whole process safer, smoother, and a lot more successful.
The good news is that most of the essential items are things you probably already have stashed in your garage. A few specialized tools, however, can make a world of difference. You can hunt these down individually or just grab one of the convenient vent cleaning kits available online or at home improvement stores.
Core Cleaning Essentials
These are your workhorses, the tools that will do the heavy lifting of breaking up and pulling out all that built-up gunk. Don't skimp on these; their quality has a direct impact on how clean you can actually get your vents.
Powerful Vacuum: A shop vac is ideal, but a good household vacuum with a long hose attachment is non-negotiable. Its entire job is to suck up every bit of dust and lint you knock loose from the duct walls.
Specialized Vent Brushes: These are not your everyday scrub brushes. For HVAC ducts, you need a long, flexible brush that can snake deep inside. When it comes to dryer vents, a lint brush kit that attaches to a power drill is the gold standard for clearing out that highly flammable buildup.
Screwdriver Set: You'll need a basic set of Phillips and flathead screwdrivers. This is just for the simple task of removing and reinstalling all the vent covers and registers around your home.
A common mistake I see is people thinking any old brush will work. The right brush is designed to scrub the vent walls without causing damage, which is especially important in flexible ductwork where being too aggressive can easily create tears.
Safety and Finishing Touches
Beyond the main cleaning gear, a few other items are critical for protecting yourself and making sure your system runs perfectly when you're done. You’re going to kick up a lot of dust and allergens, so safety equipment isn't optional.
Your safety checklist should include:
Dust Mask or Respirator: Your lungs will thank you. This protects you from inhaling years of accumulated dust, dander, and other lovely things.
Gloves: A sturdy pair of work gloves is a must. They’ll protect your hands from the surprisingly sharp metal edges on vents and ductwork.
Safety Goggles: Keep your eyes clear of falling debris, especially when you're looking up into ceiling vents.
Finally, a clean vent system is only as good as the air that enters it. The perfect finishing touch is having a fresh, clean furnace filter ready to install once the dirty work is over. To help you pick the best one for your home, we put together a helpful guide on finding the best air filters for dust that can really improve your home's air quality.
Your Guide to Cleaning HVAC Ductwork
Alright, it's time to roll up your sleeves and get to know your home's HVAC system a little better. Learning how to clean your vent pipes is a totally manageable job, especially when you break it down into a few clear steps. The most important thing is to work methodically and safely to get a thorough clean without accidentally causing any damage.
First thing's first, and this is non-negotiable: you have to completely shut down your HVAC system. Head to your thermostat and switch the system to OFF. You want to be positive that neither the heat nor the A/C can kick on while you're working. For an extra layer of safety, which I always recommend, find your electrical panel and flip the breaker that powers your furnace or air handler.
This simple infographic gives you a great visual overview of the process.
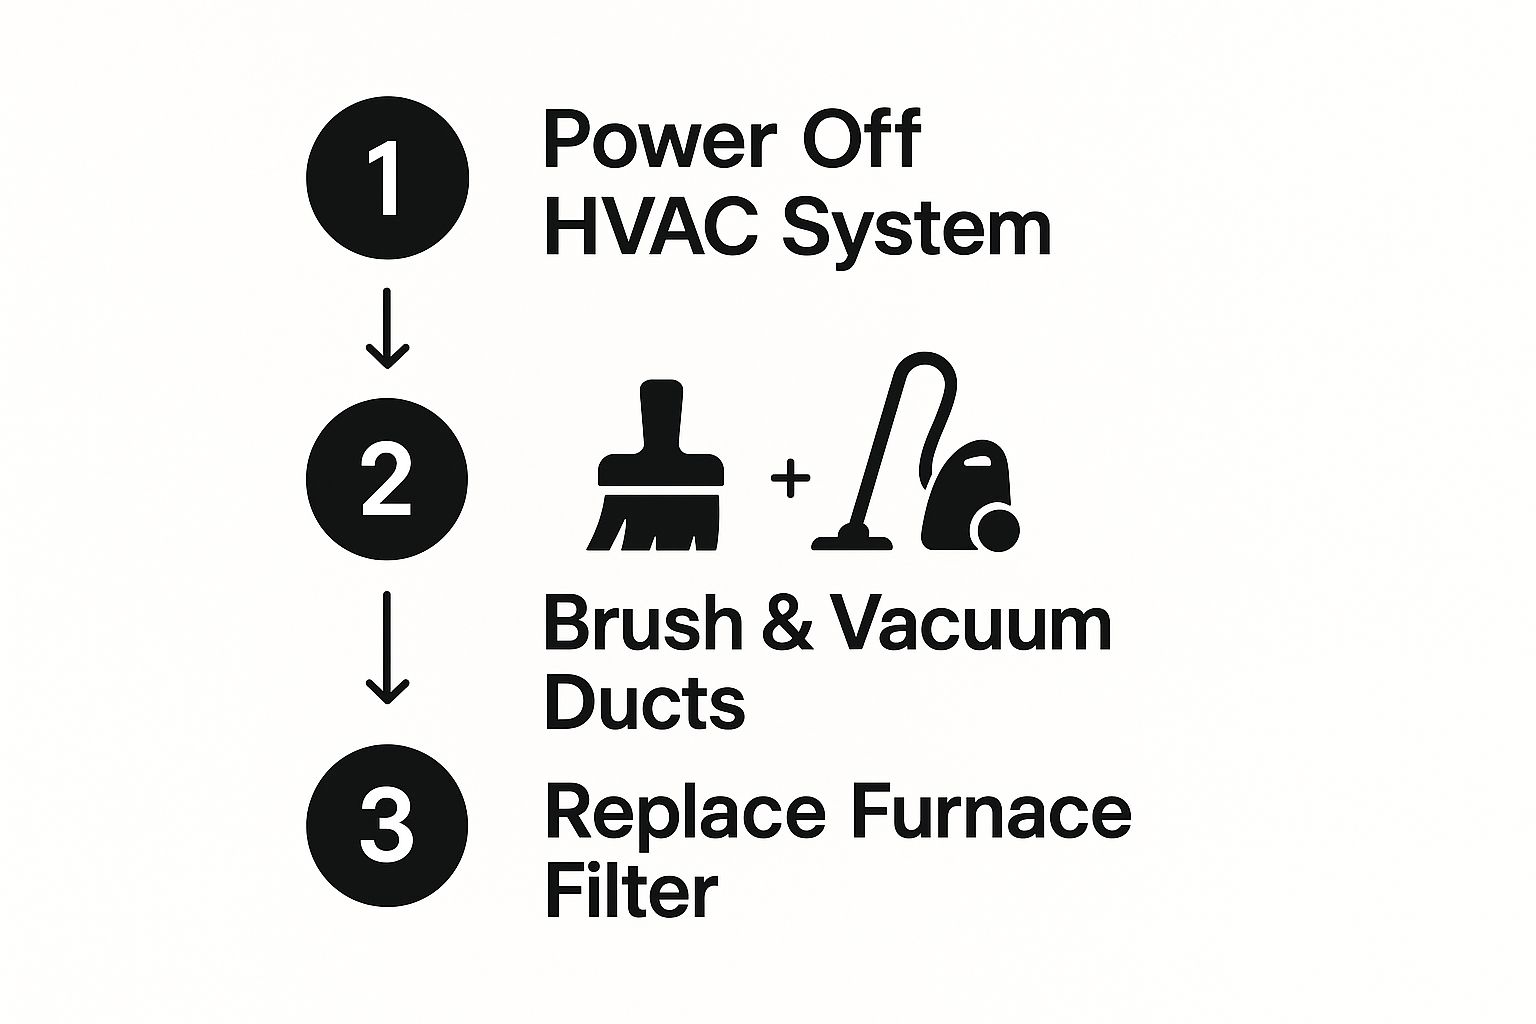
As you can see, the flow is logical. It starts with powering down the system for safety, moves into the active cleaning phase, and finishes with a final step that's absolutely crucial for your home's air quality.
Clearing The Ducts And Vents
With the power safely off, you can get started. Grab a screwdriver and begin removing the vent covers (you might also hear them called registers) from your walls, floors, or ceilings. I like to take these outside or to a utility sink for a good scrub with soap and water to get all that caked-on dust and grime off.
While the covers are drying, it's time to tackle the ducts themselves. Use your vacuum’s hose attachment to clean out the section of the ductwork you can now see. Reach in as far as the hose will allow and suck up all that loose debris: dust bunnies, pet hair, maybe even a long-lost toy or two. This first pass gets rid of the bulk of the mess right off the bat.
For a really deep dive into the whole process, this practical homeowner guide to cleaning air ducts is an excellent resource.
Next, you'll want to grab a long-handled duct brush and gently feed it into the vent pipe. The idea here is to agitate and break free any of that stubborn gunk clinging to the duct walls.
A quick word of caution: if you have flexible ductwork (the silver, accordion-style kind often found in attics), be extra gentle. It's surprisingly easy to tear or puncture this material with aggressive scrubbing, which can lead to major air leaks and a big drop in your system's efficiency. A light touch is all you need.
After you've brushed the inside of the duct, go back in with the vacuum one last time to capture all the particles you just dislodged. You'll need to repeat this brush-and-vacuum process for every single supply and return vent in your home. While you're at it, if you notice any gaps or poor seals around the vents, taking the time to fix them can make a huge difference. That's why we put together a homeowner's guide on how to seal air ducts to walk you through it.
The Critical Final Step
Once you've cleaned every duct and reinstalled all the vent covers, there’s one last thing you absolutely cannot forget. Head to your furnace or air handler and swap out the old filter for a fresh, new one. If you skip this, your newly cleaned system will immediately start pulling air through a dirty, clogged filter, basically undoing all your hard work in an instant.
This single action is what really locks in the benefits of your cleaning, letting you enjoy genuinely fresh indoor air. It's this kind of thorough service that has helped the global duct cleaning industry grow into a market valued at around $3.5 billion.
Tackling Your Dryer Vent for Fire Safety
While we often focus on the air quality side of HVAC, let's switch gears to a critical fire safety mission: your dryer vent. Over time, that innocent-looking vent pipe gets packed with highly flammable lint, creating a serious and often hidden hazard in your home.
Learning this part of how to clean vent pipe maintenance isn't just about helping your dryer run better; it directly protects your home and family from a very real risk.
First things first: unplug your dryer from the wall. This is a non-negotiable safety step. Gently pull the appliance out from the wall to give yourself enough space to work comfortably. From there, you'll need to detach the vent pipe from the back of the dryer and the wall port. It’s usually held on with a simple clamp that’s easy to loosen.
Clearing The Lint Blockage
This is where a specialized dryer vent brush kit proves its worth. These kits are fantastic, usually coming with flexible rods that you can connect together to reach the entire length of your vent pipe.
Attach the brush head to the first rod, insert it into the pipe, and start scrubbing the inside walls with a good back-and-forth motion.
As you push the brush deeper, just add more rod sections. If you hit a really stubborn blockage, here’s a pro tip: connect the end of the rods to a power drill on a low setting. The spinning action of the brush will aggressively break up compacted lint and push it all toward the exterior vent opening.
A clean dryer vent is your first line of defense against common issues like the appliance not heating up, which is often just a symptom of severe lint buildup. If you’re already dealing with that problem, you can find more guidance in this handy resource on dryer not heating troubleshooting.
Final Steps for a Safe Reconnection
Once you've brushed out the entire length of the pipe, grab a vacuum. Clean out any leftover lint from the pipe itself, the dryer outlet, and the wall port. Before you put everything back together, pop outside and make sure the exterior vent cap is clear of debris and that its little flap can open and close freely.
Securely reattach the vent pipe with its clamps. Double-check for a tight seal because you don't want any gaps that could leak dangerous carbon monoxide back into your home. This process also cuts down on airborne dust. If you're battling dust bunnies elsewhere, check out our article explaining why your house is so dusty and how to fix it.
This simple task is so important that the global market for dryer vent cleaning is projected to hit $4.8 billion, largely because homeowners are becoming more aware of the fire risks. Finally, plug your dryer back in and run a quick, empty cycle to make sure everything is connected properly and running smoothly.
Knowing When a DIY Job Isn't Enough
Learning how to clean your own vent pipes is a fantastic skill for any homeowner. It's empowering. But just as important is knowing when to hang up your tools and call in a professional. Some situations are simply too risky or complex for a DIY approach, and pushing forward can do more harm than good.
Let's be real: disturbing hidden mold without the proper containment gear is a recipe for disaster. You could accidentally blast those spores throughout your entire home, turning a localized problem into a major health hazard. That's one scenario where calling a pro isn't just a good idea, it's essential.
Signs You Need Professional Help
Calling for backup isn't admitting defeat; it’s making a smart, strategic decision for your home's health and your family's safety. If you run into any of these red flags, it’s time to pick up the phone:
You Suspect Mold Growth: Do you catch a persistent, musty smell every time the HVAC system kicks on? That's a classic sign of mold hiding somewhere in the ductwork. Professionals have specialized cameras to find it and use antimicrobial treatments to safely kill it off at the source.
Evidence of a Pest Infestation: Finding droppings, shredded nesting materials, or chewed-up ductwork means you’ve got uninvited guests. An expert service won't just clean up the mess; they can often help you pinpoint how the critters got in, preventing a future invasion.
Complex or Inaccessible Ductwork: Older homes, or houses with additions, can have a real maze of ductwork that’s impossible to reach with standard equipment. Pros come armed with tools like flexible, long-reach cameras and industrial-strength vacuums designed to navigate these tricky layouts.
A professional technician’s gear is on a whole other level. Their high-velocity vacuums and powerful rotary brushes deliver a much deeper, more thorough clean than anything you can rent or buy. They’re designed to pull out deeply embedded gunk that consumer-grade tools just can't touch.
When Health Is a Major Concern
Beyond the obvious structural issues, your family's health is the most important factor. If anyone in your household lives with severe allergies, asthma, or other respiratory conditions, the stakes are simply too high for a DIY job.
A professional cleaning goes beyond just removing visible dust bunnies. It targets the microscopic allergens and irritants that can trigger serious health issues, the stuff a shop vac will likely miss. Investing in a certified service gives you the peace of mind that your home's air is genuinely as clean as it can be.
You can explore what a professional air duct cleaning service involves to see how their advanced methods can drastically improve your home's environment. For households with sensitive individuals, this proactive step can make all the difference.
Got Questions About Cleaning Your Vents? We’ve Got Answers.
Even after walking through the steps, it’s totally normal to have a few lingering questions. Getting the details straight is what gives you the confidence to do the job right. Most homeowners I talk to are curious about the timing, the right tools, and what trouble signs to watch out for.
How Often Should I Really Be Cleaning My Vents?
This is probably the number one question people ask. For your home’s HVAC ductwork, a full, professional cleaning every 3 to 5 years is a good rule of thumb. That said, you’ll want to do a lighter, DIY cleaning of the vent covers themselves and the area right inside the duct opening at least once a year.
Dryer vents are a completely different animal. Because they pose a serious fire risk, they need your attention at least once a year, no exceptions.
Can I Just Use a Leaf Blower?
I hear this one a lot. It sounds like a clever shortcut, but trust me, it’s a terrible idea.
Using a leaf blower on a dryer vent can actually make things worse by compacting a lint blockage deeper inside the pipe. For your HVAC system, it’s even more dangerous; you risk blasting years of built-up dust, dander, and allergens all over your house, completely wrecking your indoor air quality.
The golden rule is to always use a vacuum to pull debris out, never a blower to push it in.
What Are the Telltale Signs of a Clogged Vent?
Knowing what to look for can save you a lot of headaches and money down the road. You just have to pay attention.
Key Takeaway: For your HVAC system, be on the lookout for puffs of dust coming from the registers when it kicks on, persistent musty smells, or a sudden, unexplained jump in your energy bills. With your dryer, the warning signs are more urgent: clothes taking forever to dry, the machine getting unusually hot to the touch, or a distinct burning smell.
Catching these issues early is crucial. For HVAC vents, another subtle clue might be uneven temperatures from one room to the next. For your dryer vent, take a peek outside; if you see lint building up around the outdoor vent flap, that’s a clear signal the pathway is blocked and needs to be cleared out immediately. Your own eyes are your best tool for preventative maintenance.
If you're noticing any of these red flags or just want the peace of mind that comes with a professional clean, Covenant Aire Solutions is here to help. Our certified technicians will make sure your home’s air is clean, safe, and flowing right. Contact us today to schedule your service.