air conditioner running but not cooling house - 3-step fix
- Nov 22, 2025
- 17 min read
It's a familiar feeling for any Tucson homeowner: the AC is humming along, but the house just keeps getting warmer. You're paying for it to run, but you're not getting any of the cool relief you desperately need. Before you panic and assume a massive repair bill is in your future, take a breath. More often than not, the culprit is something simple you can spot and fix yourself in just a few minutes.
These initial checks are all about ruling out the easy stuff. Think of it as basic detective work that can save you a ton of time, discomfort, and the cost of a service call you might not even need.
Your First Checks for an AC Not Cooling Properly
Let's walk through the two most common, and easily fixable, reasons your AC might be letting you down.
Check Your Thermostat Settings
Your thermostat is the command center for your entire HVAC system. A wrong setting here is a frequent and surprisingly common reason for a cooling crisis. It's always the first place to look.
Is it set to "Cool"? It sounds obvious, but it's incredibly easy for the mode to get bumped to "Heat" or just "Fan." A fan-only setting will circulate air, but it won't be cold.
What's the temperature set to? Your AC will only kick on its cooling cycle if the set temperature is lower than the current room temperature. If your thermostat is set to 78°F but the room is already 76°F, it has no reason to start cooling.
How's the fan set? Check if the fan is on "Auto" or "On." When set to "On," the fan runs nonstop, even when the cooling components aren't active. This constant circulation of room-temperature air can make it feel like your AC isn't working. We've got a whole guide that dives deeper into why the "Auto" setting is almost always the right choice.
Expert Tip: Take a look at where your thermostat is located. If it’s in direct sunlight or right next to a hot lamp or TV, it’s getting a false, high-temperature reading. This can make it run constantly, thinking the house is hotter than it really is, while other rooms never seem to get cool enough.
Inspect the Air Filter
Once you've confirmed the thermostat settings are correct, your next mission is to check the air filter. A dirty, clogged filter is hands-down one of the most common causes of poor cooling performance we see in the field. It essentially suffocates your system, blocking the airflow it needs to function properly.
When the filter is caked with dust and grime, not enough air can pass over the evaporator coils to be cooled. This not only leaves your home uncomfortably warm but puts a huge strain on your system. It can even cause the coils to freeze over, turning a small problem into a much bigger one.
Checking it is simple. Find the filter slot on your indoor unit, slide the old one out, and hold it up to a light. Can't see the light through it? It’s past time for a new one.
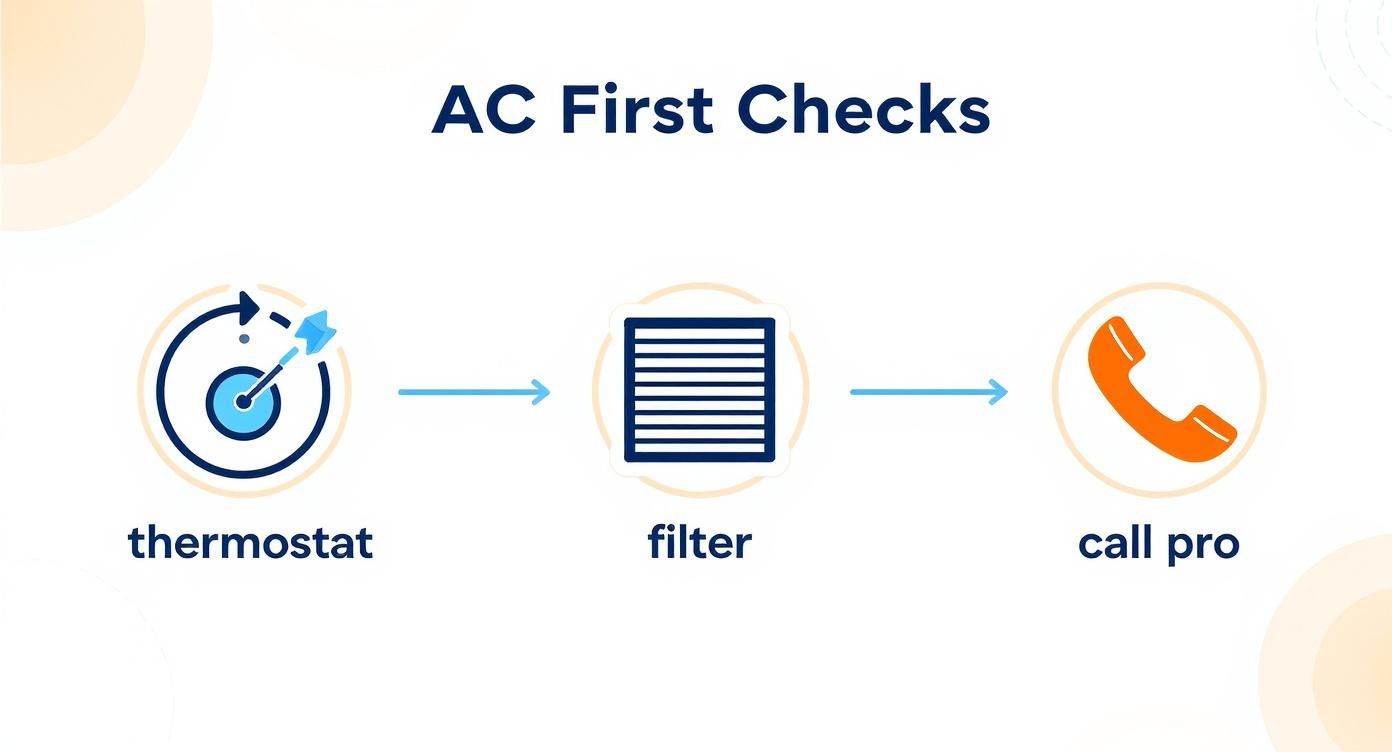
This quick troubleshooting process, checking the thermostat, then the filter, is the fastest way to diagnose and potentially solve the most common cooling issues before you need to pick up the phone.
To make it even easier, here's a quick checklist you can run through.
Initial DIY Troubleshooting Checklist
This table summarizes the simple, safe first steps every homeowner should take when their AC is on but the house isn't getting any cooler.
Component to Check | What to Look For | Simple Action to Take |
|---|---|---|
Thermostat Mode | Is it set to "Cool"? | If not, switch it from "Heat" or "Fan" to "Cool". |
Thermostat Temp | Is the set temperature lower than the room's current temperature? | Lower the set temperature a few degrees below the room temp. |
Thermostat Fan | Is the fan setting on "Auto" or "On"? | Switch it to "Auto" for efficient cooling cycles. |
Air Filter | Is the filter visibly dirty, gray, or clogged with debris? | Replace it with a new, clean filter of the correct size. |
By running through these quick checks, you can often resolve the issue yourself and get back to enjoying a cool, comfortable home without needing a professional visit.
Investigating Common Airflow Obstructions

If checking the thermostat and swapping the filter didn't bring back the cold air, your next move is to hunt for airflow problems. Think of your air conditioner like a living thing: it has to "breathe" to work. It pulls in warm air from your house, "exhales" the heat outside, and sends cool air back to you. If that breathing process gets choked off anywhere along the line, the whole system grinds to a halt.
You'll be left with an air conditioner running but not cooling your house, which is a frustratingly common issue, especially here in dusty Tucson. The good news is, a lot of these blockages are things you can spot and fix yourself without needing any special tools. Let’s walk through a few key areas to check, both inside and outside your home.
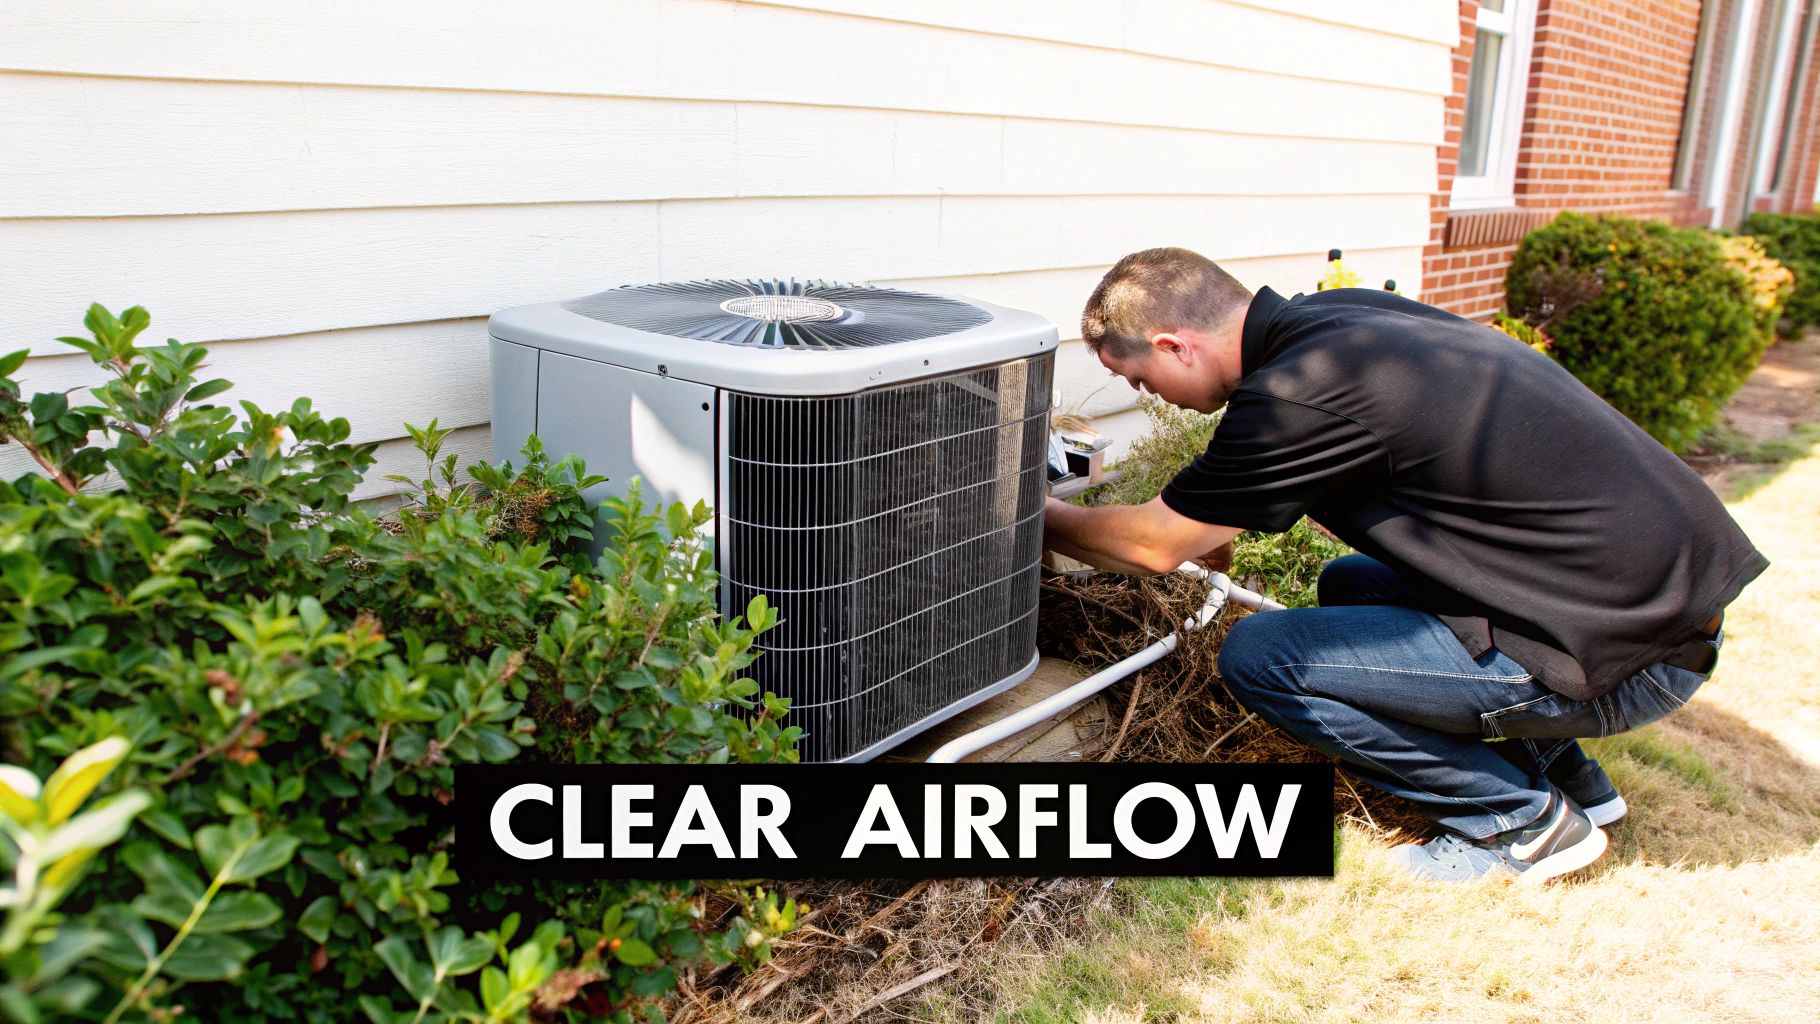
Inspect Your Outdoor Condenser Unit
That big, noisy metal box outside is your condenser unit, and its one job is to dump all the heat it has pulled from your home into the outside air. To do this, it needs a lot of open space. If it can't get rid of that heat, it just gets trapped, and your AC simply can't cool.
Take a quick walk around the unit and keep an eye out for these common culprits:
Overgrown Landscaping: Weeds, bushes, and even tall grass can creep up on the condenser surprisingly fast. You need at least two feet of clear space all the way around the unit for it to breathe properly.
Debris Buildup: After a dust storm or even just mowing the lawn, things like leaves, grass clippings, and dirt get sucked against the unit's metal fins. This buildup acts like a thick blanket, trapping heat inside.
Physical Obstructions: It's easy to forget about the AC unit when you're rearranging the patio. Things like garbage cans, pool toys, or outdoor furniture can get pushed up against it, blocking critical airflow.
Safety First: Before you start clearing anything, you absolutely must turn off the power to the outdoor unit. Find the disconnect box, it's usually a small metal box mounted on the wall nearby, and shut it off. If you can't find it, head to your main electrical panel and turn off the breaker labeled for the AC or condenser.
Once the power is off, you can safely trim back plants and clear away any debris. A gentle spray with a garden hose is usually all it takes to clean the fins. Just be sure never to use a pressure washer, as it can easily damage them.
Check Your Indoor Vents and Registers
While the outdoor unit pushes heat out, your indoor vents are all about moving air around inside. Blockages here are just as bad, and they're often an "out of sight, out of mind" kind of problem that's easy to miss.
Do a quick walkthrough of your house and look at every single supply vent, the grilles where the cold air blows out. Make sure they're all open and not blocked by anything. It’s amazing how often a couch, a rug, or even a kid's toy box gets pushed over a vent, completely messing up the system's balance.
And don't forget about the return air vent. This is the big grille, usually on a wall or ceiling, that sucks air back into the AC to be cooled again. If this gets blocked by a tall bookshelf or an entertainment center, your system will be starved for air and struggle to do its job.
The Problem of a Frozen Evaporator Coil
A more serious airflow problem is a frozen evaporator coil. This part lives inside your indoor air handler and is what actually gets ice-cold to chill the air. But when airflow is weak (usually from a clogged filter or blocked vents), the coil can get too cold, causing the condensation on it to freeze into a solid block of ice.
Once that happens, air can't pass through the frozen fins, and your cooling will stop dead in its tracks.
Signs of a Frozen Coil
You feel very little or no air coming from your vents.
You can see ice forming on the refrigerant lines going into the indoor unit.
You find water pooling on the floor around the indoor unit as the ice starts to melt.
If you think your coil is frozen, the fix is simple: let it thaw. Go to your thermostat and turn the cooling mode to OFF, but switch the fan setting to "ON." This will blow room-temperature air across the ice and help it melt naturally. Don't try to chip or pick the ice off, as you can easily damage the delicate metal fins.
Thawing the coil solves the immediate problem, but a frozen coil is almost always a symptom of a bigger issue. A recurring freeze-up often points to things like dirty ductwork, which you can learn more about in our guide on how to clean air ducts.
Diving into Deeper System Problems
So, you've checked the filter, cleared the vents, and even gave the outdoor unit some breathing room, but your home still feels like a sauna. When the basics don’t solve the problem, it’s a strong sign the issue is buried deeper within your AC’s core components.
When an air conditioner is running but not cooling the house, it often points to a failure that requires a professional’s touch. Understanding what might be going on will help you have a much more productive conversation with a technician. Two of the biggest offenders are refrigerant leaks and a failing compressor: the heart and soul of your cooling system.
The Truth About Refrigerant Leaks
Think of refrigerant as the magic stuff that carries heat out of your house. It’s a specialized compound that cycles through a closed loop, absorbing warmth from your indoor air and dumping it outside. A huge misconception is that air conditioners "use up" refrigerant over time, like a car burns through gasoline. That's just not true.
Your AC is a sealed system. The amount of refrigerant it has on day one should be the same amount it has on its last day of service. If you're low on refrigerant, it means one thing and one thing only: you have a leak.
This is a critical point because simply “topping off” the refrigerant is a band-aid solution that’s expensive, bad for the environment, and won’t last. It's like pumping air into a tire with a nail in it; you’ll be flat again in no time.
Spotting the Signs of a Refrigerant Leak
A refrigerant leak can be sneaky at first, but it will eventually lead to a complete breakdown in cooling. Here are the telltale signs to watch and listen for:
Warm Air from Vents: This is the most obvious one. The air coming out feels room temperature, or maybe just a little cool.
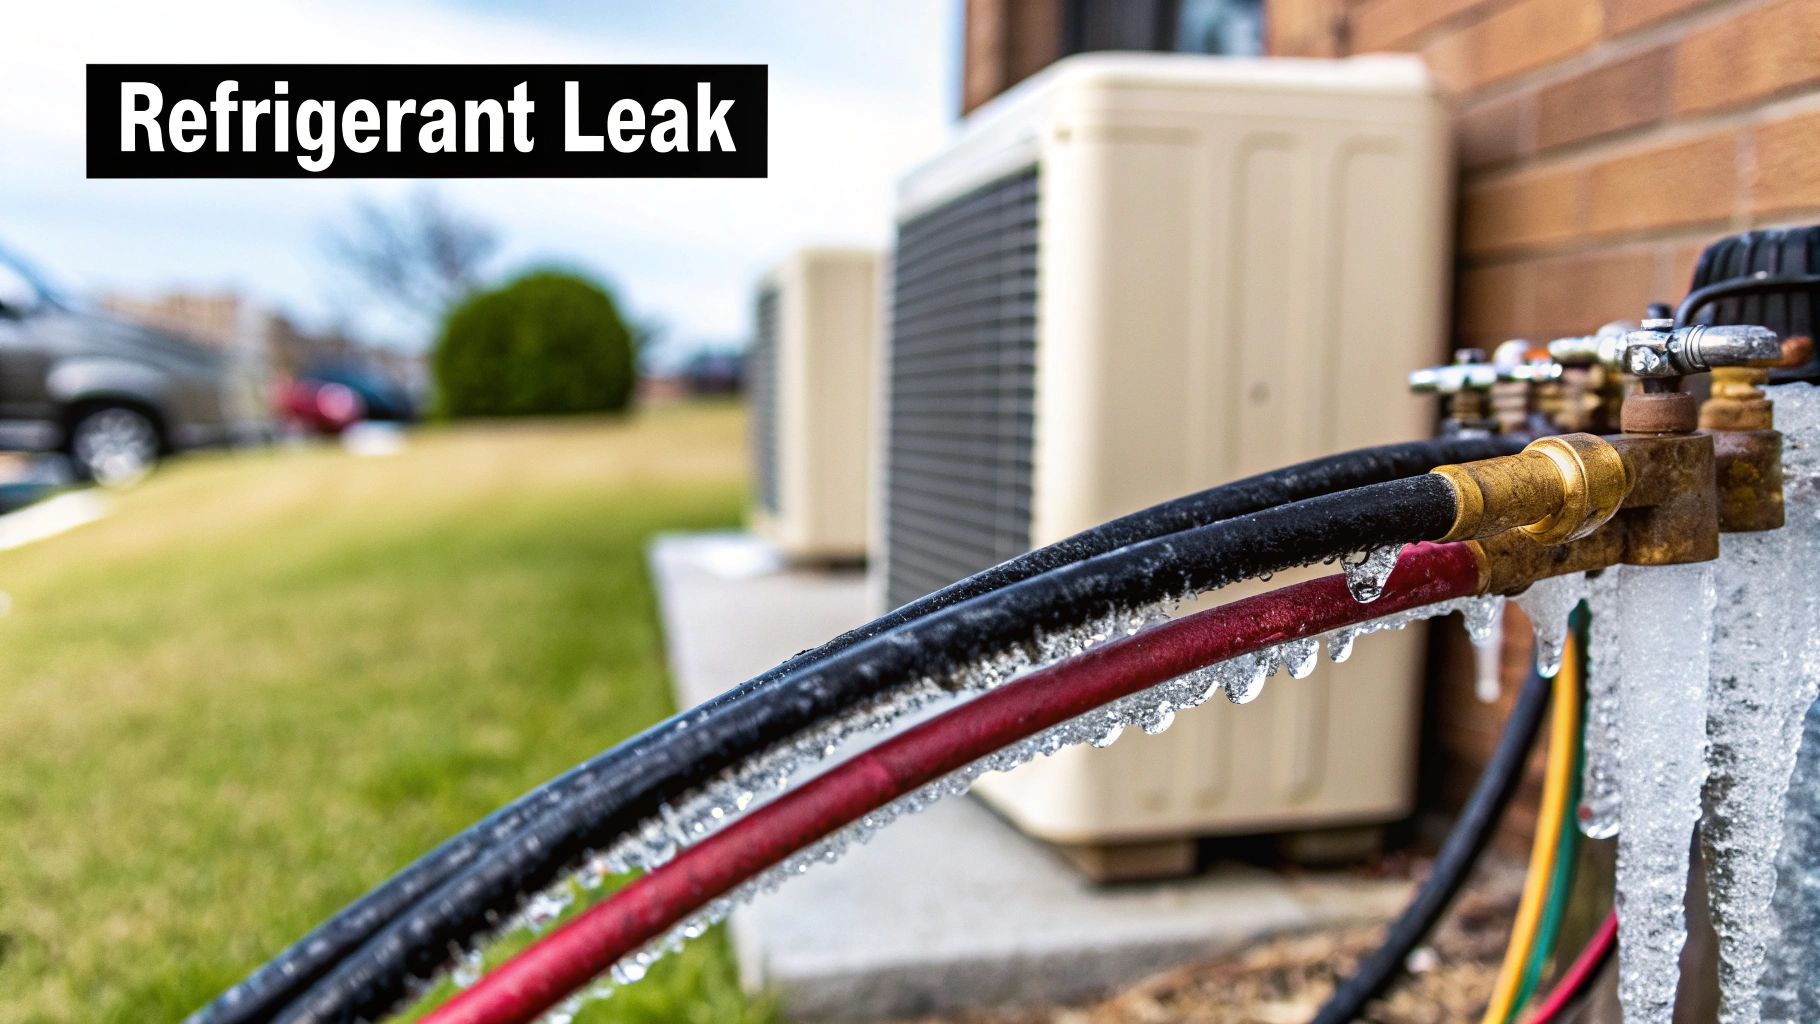
Hissing or Bubbling Noises: A distinct hissing sound near either the indoor or outdoor unit is a dead giveaway for escaping refrigerant gas. You might also hear a gurgling noise coming from the refrigerant lines.
Ice on Refrigerant Lines: Seeing frost or ice building up on the copper lines connected to your outdoor condenser is a classic symptom. As the refrigerant level drops, the pressure change can cause the evaporator coil to get far too cold and freeze over.
Improper refrigerant levels are one of the most common reasons an air conditioner runs but does not cool the house. The U.S. Department of Energy notes that a system with leaks will blow air but won't be able to cool it. A typical home AC only holds a few pounds of refrigerant, and losing just 10-20% can cripple its ability to cool effectively. For a closer look at how these parts work together, check out our guide on the parts of a central air conditioner.
Important Takeaway: A refrigerant leak isn’t just an inconvenience; it’s a system failure that needs immediate professional attention. Running your AC with low refrigerant can cause catastrophic damage to the compressor.
When the Compressor Is in Trouble
If refrigerant is the lifeblood of your AC, then the compressor is its heart. This powerful motor, housed inside your outdoor unit, is what pumps the refrigerant through the system to move heat. It's a heavy-duty, expensive piece of equipment, and when it starts to fail, the signs are usually pretty hard to miss.
A failing compressor is one of the most serious issues your system can face. Interestingly, some problems that seem like component failure can actually be traced back to the day the unit was installed. The art of mastering HVAC unit installation shows just how important a proper setup is for the long-term health of parts like the compressor. If this component dies completely, you’re often looking at a very expensive repair or even a full system replacement.
Symptoms of a Failing Compressor
Catching the signs early can sometimes mean the difference between a repair and a replacement. Here’s what to look out for:
Loud, Unusual Noises: A healthy compressor has a steady, low hum. A failing one, on the other hand, might make loud clanking, grinding, or screeching sounds as its internal mechanics start to break down.
Outdoor Unit Shaking: If the whole outdoor unit starts to shake or vibrate violently when the AC kicks on, the compressor is likely struggling to start.
Frequently Tripped Breakers: The compressor is a major power draw. If it’s on its last legs, it can pull too much electricity, causing it to trip the circuit breaker over and over.
Reduced Cooling Power: In the early stages of failure, a dying compressor might just struggle to pressurize the refrigerant, leading to weak or inconsistent cooling.
Recognizing these symptoms helps you make an informed call to an HVAC professional. You can explain exactly what you're seeing and hearing, which helps the technician diagnose the problem faster and get your Tucson home cool again.
Digging Into Electrical and Control Problems
So, you've checked for airflow blockages and you’re not seeing the classic signs of a refrigerant leak or a dead compressor. What's next? The problem might not be mechanical at all. More often than you’d think, when an air conditioner is running but not cooling the house, the real culprit is a sneaky electrical fault or a control system glitch.
These issues can be frustrating because they often look like something else entirely. Small electrical parts play an outsized role in your AC's function. When one of them goes down, it can stop the cooling cycle dead in its tracks, even while the indoor fan keeps blowing air like nothing's wrong.
The Mighty (and Often Failed) Capacitor
One of the most common electrical failures we see in the field involves a part called a capacitor. It’s basically a small, battery-like cylinder that gives a powerful jolt of electricity to start the motors in your outdoor unit, specifically, the compressor and the condenser fan. Without that initial kick, the motors just can't get going.
Here in Tucson, the relentless sun and heat are brutal on these components, causing them to wear out and fail. When a capacitor dies, you’ll usually notice a few tell-tale signs from the outdoor unit.
Signs of a Failing Capacitor
A humming or buzzing sound: This is the sound of a motor getting power and trying to start, but it just can't get that kick from the dead capacitor.
A distinct clicking: You might hear a "click" as the system tries to engage, followed by silence, and then another click a few minutes later as it tries again.
The big fan isn't moving: Sometimes the compressor hums, but the outdoor fan won't spin. This is a classic sign of a failed run capacitor, and it means the unit can't get rid of the heat it's pulling from your house.
A bad capacitor is an extremely common repair for a pro, and thankfully, it's a relatively affordable one. While the part itself isn't expensive, replacing it means messing with high-voltage electricity. This is a job that absolutely requires proper training and safety tools.
Don't Forget the Circuit Breakers
Before you jump to conclusions about a failed component, always take a quick walk over to your main electrical panel. Your air conditioner actually runs on two separate circuits: one for the indoor unit (the air handler) and a separate, heavy-duty one for the outdoor condenser.
It’s entirely possible for the outdoor unit’s breaker to trip while the indoor unit stays on. If that happens, you get the exact scenario we’re talking about: the indoor fan blows room-temperature air through the vents, making you think the AC is on, but the outdoor unit doing all the heavy lifting has no power. A simple flip of the breaker might solve it. If it trips again, though, that's a red flag for a more serious electrical issue.
When the Thermostat Gets Confused
The thermostat is the brain of your whole operation, but sometimes its signals get crossed. The problem can be more complex than just dead batteries or the wrong setting. A faulty thermostat can send mixed signals, or no signals at all, to your AC unit.
A frequent issue is a bad sensor or a calibration error. The thermostat might think the room is already at 75 degrees when it's actually 85, so it never bothers to tell the outdoor unit to kick on. Another culprit could be faulty wiring between the thermostat and the AC unit itself; a loose connection is all it takes for the command to get lost in transit. Getting a handle on that web of wires isn't easy, but our guide on how to read HVAC wiring diagrams can shed some light on how these systems talk to each other.
Control system glitches are maddening because they can easily trick you into thinking a major, expensive part has failed. By running through these electrical possibilities, you've got a much better chance of pinpointing the real problem.
Knowing When to Call an HVAC Professional in Tucson
You’ve done your part. You checked the thermostat, you swapped in a fresh air filter, and you made sure nothing is blocking the vents or the outdoor unit. But it’s still getting warmer inside.
When the basic DIY fixes don’t bring back the cold air, it’s a big sign that the problem is deeper within the system. Letting an AC run when it’s not actually cooling is a recipe for disaster. It wastes a ton of electricity and, worse, it can cause catastrophic damage to expensive parts like your compressor.
Some problems are simply out of reach for a homeowner. They require specialized diagnostic tools, years of training, and the right certifications to handle safely, especially when you’re dealing with high-voltage wiring or pressurized refrigerant.
Clear Signs It Is Time for a Service Call
While some AC issues are subtle, others are screaming for attention. These are the "shut it down and call a pro" moments. Trying to fix these yourself isn’t just risky for your system; it can be downright dangerous for you.
Here are the definitive signs that your next move should be to call a licensed HVAC technician here in Tucson:
Suspected Refrigerant Leaks: If you hear a hissing sound near the AC unit, see ice forming on the copper lines outside, or just feel lukewarm air blowing from the vents, you’ve likely got a refrigerant leak. This isn’t a DIY job, as handling refrigerant is legally restricted to EPA-certified professionals.
Loud, Alarming Noises: A healthy air conditioner hums. Grinding, screeching, or violent clanking from your outdoor unit points to a major mechanical failure, like a dying compressor motor or a broken fan blade.
Persistent Electrical Problems: You flip the tripped circuit breaker for your AC, and it immediately snaps off again. This means there’s an electrical short or an overloaded part that needs a professional to track down and fix safely to prevent a fire hazard.
Burning Smells: An odor like burning plastic or scorched wiring is an emergency. Shut the system off at the breaker panel right away and call for help.
A professional diagnosis does more than just find the broken part. A good technician figures out why it failed in the first place, which can stop it from happening again. For example, a frozen evaporator coil could be caused by low refrigerant, a weak blower motor, or even a collapsed air duct, all problems with very different solutions.
What to Expect During a Professional Service Call
When a technician from a reputable company arrives, they’ll start with a thorough diagnostic process. This isn’t guesswork. They’ll connect gauges to check refrigerant pressures, use a multimeter to test electrical parts like capacitors and contactors, and visually inspect the whole system for signs of wear and tear.
They should be able to explain what they’ve found in plain English, not confusing jargon. For those managing multiple properties, juggling AC service calls can get complicated. Using a tool like property maintenance management software can help organize maintenance schedules and track repairs efficiently across different locations.
After the diagnosis, you should get a clear, upfront quote for the recommended repair before any work starts. No reputable tech will ever pressure you into making a snap decision.
Common Professional AC Repairs and Cost Estimates
It helps to have a ballpark idea of what different repairs might cost. Here’s a quick look at some of the most common professional fixes for an AC that’s running but not cooling, along with what you might expect to pay in the Tucson area.
Common Professional AC Repairs and Cost Estimates
Professional Repair | Key Symptoms | Estimated Cost Range (Tucson Area) |
|---|---|---|
Capacitor Replacement | The outdoor unit hums or clicks, but the fan won't start. | $150 – $400 |
Refrigerant Leak Repair | Hissing noises, ice building up on the copper lines, weak cooling. | $300 – $1,500+ (Cost varies a lot depending on where the leak is) |
Condenser Fan Motor | The outdoor fan isn't spinning, but you hear a loud hum. | $450 – $850 |
Evaporator Coil Cleaning | Weak airflow, the unit freezes up often, musty smells. | $300 – $600 |
Problems like a bad evaporator coil can be particularly tricky and expensive. To get a better handle on what’s involved with that specific repair, you can read our complete guide on evaporator coil replacement in Tucson.
Ultimately, making an informed call to a trusted, licensed professional is the fastest, safest, and most effective way to get your home cool again.
Common Questions About AC Cooling Problems
Even after doing some digging, you probably have a few more questions about why your AC is running but not doing its job. That’s perfectly normal. Air conditioners are complicated machines, and many problems have similar symptoms.
Here are answers to some of the most common questions we get from homeowners here in Tucson. Our goal is to give you clear, straightforward insights so you can figure out what's going on and what to do next.
Refrigerant Leak vs. Dirty Filter
So, how can you tell if the problem is low refrigerant or just a dirty filter? It's a great question because both will hurt your AC's cooling power, but they show up in different ways.
A dirty filter is basically suffocating your system. It restricts airflow, so you'll feel much weaker, almost pathetic, airflow coming from your vents. The air that is coming out might feel cool, but there just isn't much of it.
Low refrigerant is a different beast entirely. It directly affects the temperature of the air. You'll often feel lukewarm or even warm air blowing out, even if the fan seems to be running at full blast. Other classic signs of a leak are a hissing sound from the unit or ice forming on the copper lines outside, neither of which happens just because of a dirty filter.
Can I Add Refrigerant Myself?
The short answer here is an emphatic no. Never, ever try to add refrigerant (often known by the brand name Freon) to your AC yourself.
For one, it’s a legal issue. Handling refrigerants requires an EPA 608 certification because these chemicals are harmful to you and the ozone layer if they escape.
More importantly, your AC is a closed system. If refrigerant is low, it means there’s a leak somewhere. Just topping it off is like constantly pumping air into a tire with a nail in it; it’s an expensive, temporary fix that ignores the real problem. A pro needs to find that leak and patch it first.
Repair or Replace an Old AC?
This is the big one, especially when you’re dealing with an older unit. When your AC runs but won't cool, the decision usually boils down to three things: age, repair cost, and efficiency.
A good guideline is the 50% rule. If a repair is going to cost 50% or more of what a whole new system would, replacement is almost always the smarter financial move in the long run.
If your AC unit is over 10 to 15 years old and needs a major repair like a new compressor or evaporator coil, it’s usually time to start shopping for a new one. Modern units are so much more efficient that the savings on your monthly utility bills can help offset the upfront cost.
A new, high-efficiency AC can cut your cooling energy use by 20% to 50%. Think about what that means for your TEP bill during a Tucson summer. Those long-term savings are a huge factor when deciding between a major repair and a full replacement.
How Often Should I Service My AC?
To keep your system from failing when you need it most, you should have it professionally serviced at least once a year. The best time is in the spring, before the brutal summer heat kicks in.
Here in Tucson, our air conditioners work incredibly hard for months straight. Annual maintenance isn't just a recommendation; it's essential. A professional tune-up involves:
Cleaning the condenser and evaporator coils so they can actually transfer heat properly.
Checking refrigerant levels and pressures to spot leaks before they become big problems.
Testing all the electrical parts, like capacitors and contactors that are prone to failing in the heat.
Making sure the blower is working right for strong, efficient airflow.
This kind of preventative care can stop most of the issues we've talked about from ever happening, saving you the headache and expense of an emergency call on a 110-degree day.
When DIY checks don't get the cold air flowing again, don't sweat it out. The certified pros at Covenant Aire Solutions are here to diagnose the problem honestly and fix it right the first time.