Central AC Is Leaking Water? Expert Tips & Solutions
- Sep 3, 2025
- 14 min read
Updated: Sep 9, 2025
When you find a puddle of water around your indoor AC unit, it's easy to jump to the worst conclusion. But more often than not, it’s not a sign of a catastrophic failure. It usually points to a simple plumbing problem within the unit itself.
Your air conditioner does more than just cool your home; a huge part of its job is to pull humidity out of the air. This dehumidification process is the key to understanding almost every AC leak.
Your AC's Built-In Dehumidifier
Think about how a cold glass of iced tea "sweats" on a hot, humid day. Your AC works on the exact same principle.
As your system sucks in warm, humid air, it passes over an intensely cold component called the evaporator coil. The moisture in the air instantly condenses on these coils, turning from vapor into liquid water droplets.
This is all part of the plan.
Where the Water is Supposed to Go
That collected water has to go somewhere. It drips off the evaporator coil and into a shallow pan underneath, known as the condensate drain pan. From there, it flows into a PVC pipe, the condensate drain line, which channels the water safely outside your home.
When this little system is working as it should, you'll probably never even notice it's happening. A leak is your first clue that something has interrupted this drainage process. The problem isn't that your AC is making too much water; it's that the water it's making is trapped.
The overwhelming majority of leaks are not due to a complex mechanical breakdown. They are simply plumbing problems within the AC unit itself, where water's exit path is blocked or broken.
This is actually good news. It means you can stop worrying about expensive compressors or refrigerant issues and focus on the simple drainage components. HVAC pros find that a whopping 70-80% of water leaks are caused by a clog in that single drain line. For more on this, you can explore insights on preventing AC water leaks to see why routine checks are so important.
The most common reasons for this drainage breakdown include:
A Clogged Drain Line: This is the big one. Algae, mold, dust, and other gunk can build up inside the pipe over time, creating a stubborn blockage.
A Cracked or Rusted Drain Pan: After years of service, the pan can become brittle and crack, or if it's metal, it can rust through, letting water drip out.
A Frozen Evaporator Coil: Problems like a filthy air filter can choke off airflow, causing the coil to freeze into a solid block of ice. When that ice eventually melts, the sudden gush of water can easily overwhelm the drain pan.
Understanding this basic mechanism puts you in the driver's seat. You're now equipped to start tracking down the source of the leak and figure out if it's a quick fix or something you need to call in a pro for.
Quick Guide to Common AC Leak Causes
To help you quickly diagnose the issue, here's a simple breakdown of the most common culprits, what to look for, and whether you can tackle it yourself.
Potential Cause | Common Symptoms | DIY or Pro Fix |
|---|---|---|
Clogged Condensate Drain | Standing water in the drain pan; water dripping from the indoor unit; AC shuts off automatically. | DIY (Often can be cleared with a shop vac or drain line brush) |
Cracked Drain Pan | Slow, persistent dripping directly under the air handler; visible cracks or rust on the pan. | Pro Fix (Requires disconnecting components to replace the pan) |
Frozen Evaporator Coil | Ice visible on the coil; reduced airflow from vents; AC blowing warm air; a large puddle after it melts. | DIY & Pro Fix (Thaw the unit, change the filter. If it refreezes, call a pro.) |
Disconnected Drain Line | A significant, steady leak; the PVC pipe is visibly detached from the drain pan or other fittings. | DIY (Usually easy to reattach, but may need PVC cement) |
Faulty Condensate Pump | If you have a pump, it may not be turning on; the pump reservoir is overflowing. | Pro Fix (Pump likely needs to be repaired or replaced) |
This table covers the most frequent issues homeowners face. Always remember to turn off the power to your AC unit at the breaker before you start investigating any of these potential problems.
How to Safely Pinpoint the Leak Source
Finding a puddle of water under your central AC is never a welcome sight, but don't panic. Think of yourself as a detective for a moment. Before you can even think about a fix, you have to find exactly where that water is coming from, and doing it safely is priority number one.
The absolute first thing you must do is cut all power to the unit. Water and electricity are a dangerous combination, and this single step protects you from shock while preventing further damage to your AC.
At the Thermostat: Flip your thermostat to the "Off" position. This ensures the AC doesn't try to kick on while you’re inspecting it.
At the Breaker Box: Head to your home's main electrical panel. Look for the circuit breaker labeled "AC," "Air Handler," or "HVAC" and switch it completely off.
Once you're certain the power is disconnected, you can start your investigation.
Find Your Indoor Air Handler
Your search begins at the indoor unit, which pros call the air handler. This is where the evaporator coil, the part that gets cold and collects moisture, lives, along with the drain pan designed to catch it all.
Depending on your home's layout, you'll likely find the air handler tucked away in an attic, basement, or a utility closet.
Grab a good flashlight and get a clear look at the area around the base of the unit. You're looking for the origin of the puddle, which nearly always traces back to the condensate drainage system. This system is what manages all the humidity your AC pulls from the air, a process that’s also vital for your system's overall performance. For more tips on getting the most out of your unit, see our guide on how to improve AC efficiency.
Check the Condensate Drain Components
With any leak, there are two main culprits: the condensate drain pan and the drain line that connects to it. These parts work together to capture and carry water safely away.
The condensate drain pan is the shallow tray sitting right underneath the evaporator coils, and its only job is to catch the drips. Shine your light into the pan and look for one of two classic scenarios.
Is the pan filled to the brim and overflowing? If it looks like a tiny, overflowing bathtub, that's a dead giveaway you have a blockage somewhere down the line. The pan itself is doing its job, but the water has nowhere to go.
Or, is the pan mostly empty, but you still see water pooling underneath it? This points to a problem with the pan itself. Look closely for hairline cracks, especially common in older plastic pans, or any dark, rusty spots on a metal pan that might have corroded all the way through.
A common mistake is thinking an overflowing pan and a cracked pan are the same issue. An overflow points to a clog in the drain line. A leak from a cracked or rusted pan means the pan itself has failed and needs to be replaced.
Next, follow the PVC pipe that leads out of the drain pan. This is your condensate drain line. Carefully check every connection point. Are the fittings tight, or has a joint worked its way loose? Look for any slimy algae or mineral deposits right at the opening where the pipe exits the pan; that's a tell-tale sign of a partial clog that's been causing water to back up.
Clearing a Clogged Condensate Drain Line
If your drain pan is filled to the brim, congratulations: you've likely found the culprit behind your leaky AC. This is far and away the most common reason for water pooling around an indoor unit. The good news is, it's often a straightforward fix you can handle yourself.
Over time, that condensate drain line gets clogged with a nasty, slimy mix of algae, mold, and dust. When that gunk builds up, the water has nowhere to go but back into the pan, eventually overflowing.
Getting the water flowing again is the name of the game. I’m going to walk you through two simple but effective methods to clear that blockage using just a few common tools. One method uses suction to yank the clog out, while the other uses a simple household cleaner to dissolve it from the inside.
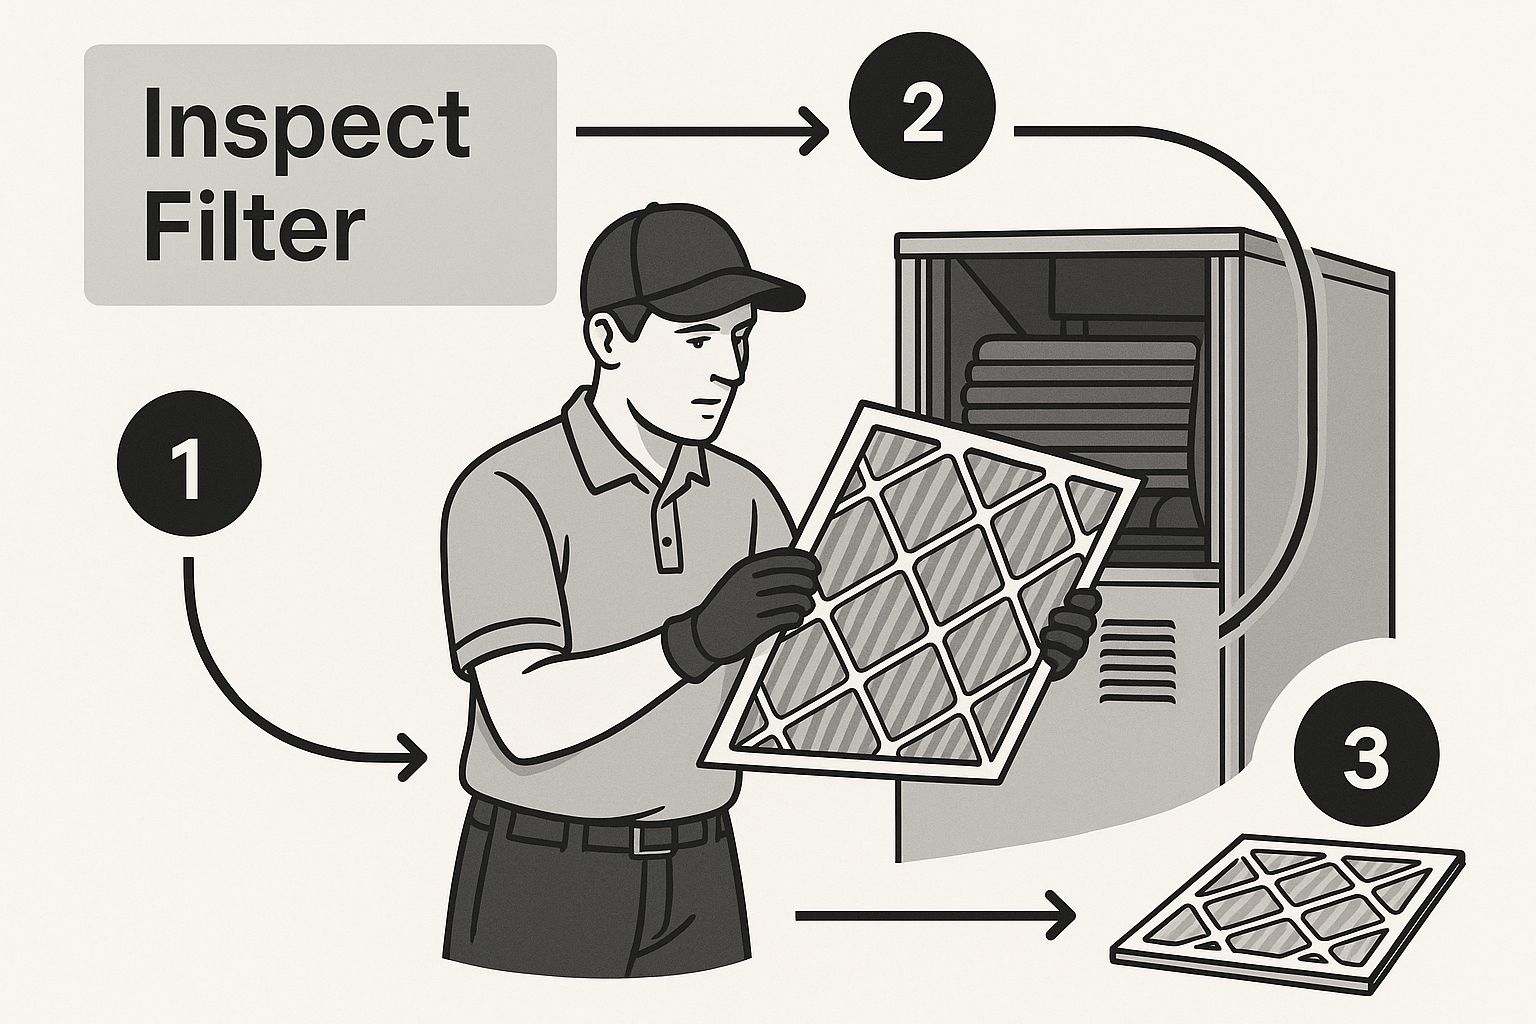
As you can see, a clean filter is your first line of defense. It stops a huge amount of dust and debris from ever getting deep enough into the system to cause these kinds of clogs in the first place.
Using a Wet/Dry Vacuum to Clear the Clog
One of the fastest ways to deal with a clog is to just suck it right out. You’ll need a wet/dry shop vacuum for this job.
First things first, you need to find the outside end of your condensate drain line. It’s usually a white or black PVC pipe, about an inch thick, sticking out of a wall near your outdoor condenser unit. Sometimes it’s just a straight pipe, and other times it has a 90-degree elbow pointing down toward the ground.
Once you’ve got it, shove the hose of your shop vac over the end of the pipe. You want to create as tight a seal as you possibly can; wrapping a towel around the connection point really helps. Now, turn the vacuum on and just let it run for a minute or two. You'll probably hear a distinct thump or change in sound as the clog gets pulled into the vacuum's canister.
Pro Tip: Don't be shocked when a bunch of murky, sludgy water comes flying out. It looks gross, but it's the best sign that you've just solved your problem.
Dissolving Buildup with Vinegar
No shop vac? No problem. A vinegar solution is another great trick, and it's also perfect for routine maintenance to prevent future clogs. Understanding how these drain lines work is pretty similar to basic home plumbing, and if you're interested in the fundamentals, this ultimate guide to plumbing is a great resource.
For this method, you need to find the access tee on the drain line, which is located near your indoor air handler. Look for a T-shaped PVC fitting that has a removable cap on top.
Here’s what you do:
Pop the Cap: Go ahead and unscrew the cap from the access tee.
Pour It In: Slowly pour about one cup of distilled white vinegar right into the opening. Vinegar is acidic enough to break down all that algae and slime without damaging your pipes.
Let It Work: Give the vinegar at least 30 minutes to sit in the line. This gives it time to really dissolve the gunk.
Flush It Out: After a half-hour, flush the line by pouring a few cups of fresh water down the same access tee. This will wash away the debris and any leftover vinegar.
After using either the vacuum or the vinegar, pop back inside and take a look at the drain pan. You should see the water level slowly going down. For a more detailed walkthrough, you can follow our guide on https://www.covenantairesolutions.com/post/how-to-clean-ac-condensate-drain-line-like-a-pro.
If the pan is still full of water after all that, the clog might be deeper or more severe than a DIY fix can handle. At that point, it’s probably time to call in a professional.
Beyond the Drain Line: Other Common AC Leak Culprits
If you've checked the drain line and it’s clear, but your central AC is still leaking water, it's time to dig a little deeper. Often, leaks that aren't a simple clog point to issues with airflow or parts that have simply worn out after years of service. These problems can seem a bit more intimidating, but they usually have straightforward causes.
One of the most dramatic-looking (and messy) problems is a frozen evaporator coil. This is when the coil inside your indoor air handler gets so cold that condensation flash-freezes right on it, eventually building up into a solid block of ice.
You'll know it's frozen if you open the access panel and see what looks like a giant ice cube where a metal coil should be. When that ice eventually melts, the sudden gush of water completely overwhelms the drain pan, causing a major leak.
What’s Causing My Evaporator Coil to Freeze?
A frozen coil is almost always a symptom of a bigger problem, typically poor airflow or low refrigerant. The two main culprits are easy enough to investigate yourself.
A Dirty Air Filter: This is the #1 cause, hands down. A clogged filter essentially chokes your AC system, stopping warm air from flowing over the evaporator coil. Without that warm air to absorb heat, the coil’s temperature plummets until it freezes solid.
Low Refrigerant: If your system has a refrigerant leak, the pressure inside the lines drops. This change in pressure makes the remaining refrigerant get extremely cold as it circulates, which can easily freeze the coil.
If you see ice, the first thing to do is turn the AC off completely but leave the fan running (switch it to "On"). This will help thaw the ice block faster. While it's melting, go check your air filter. If it’s filthy, replacing it might be all you need to do to fix the problem for good.
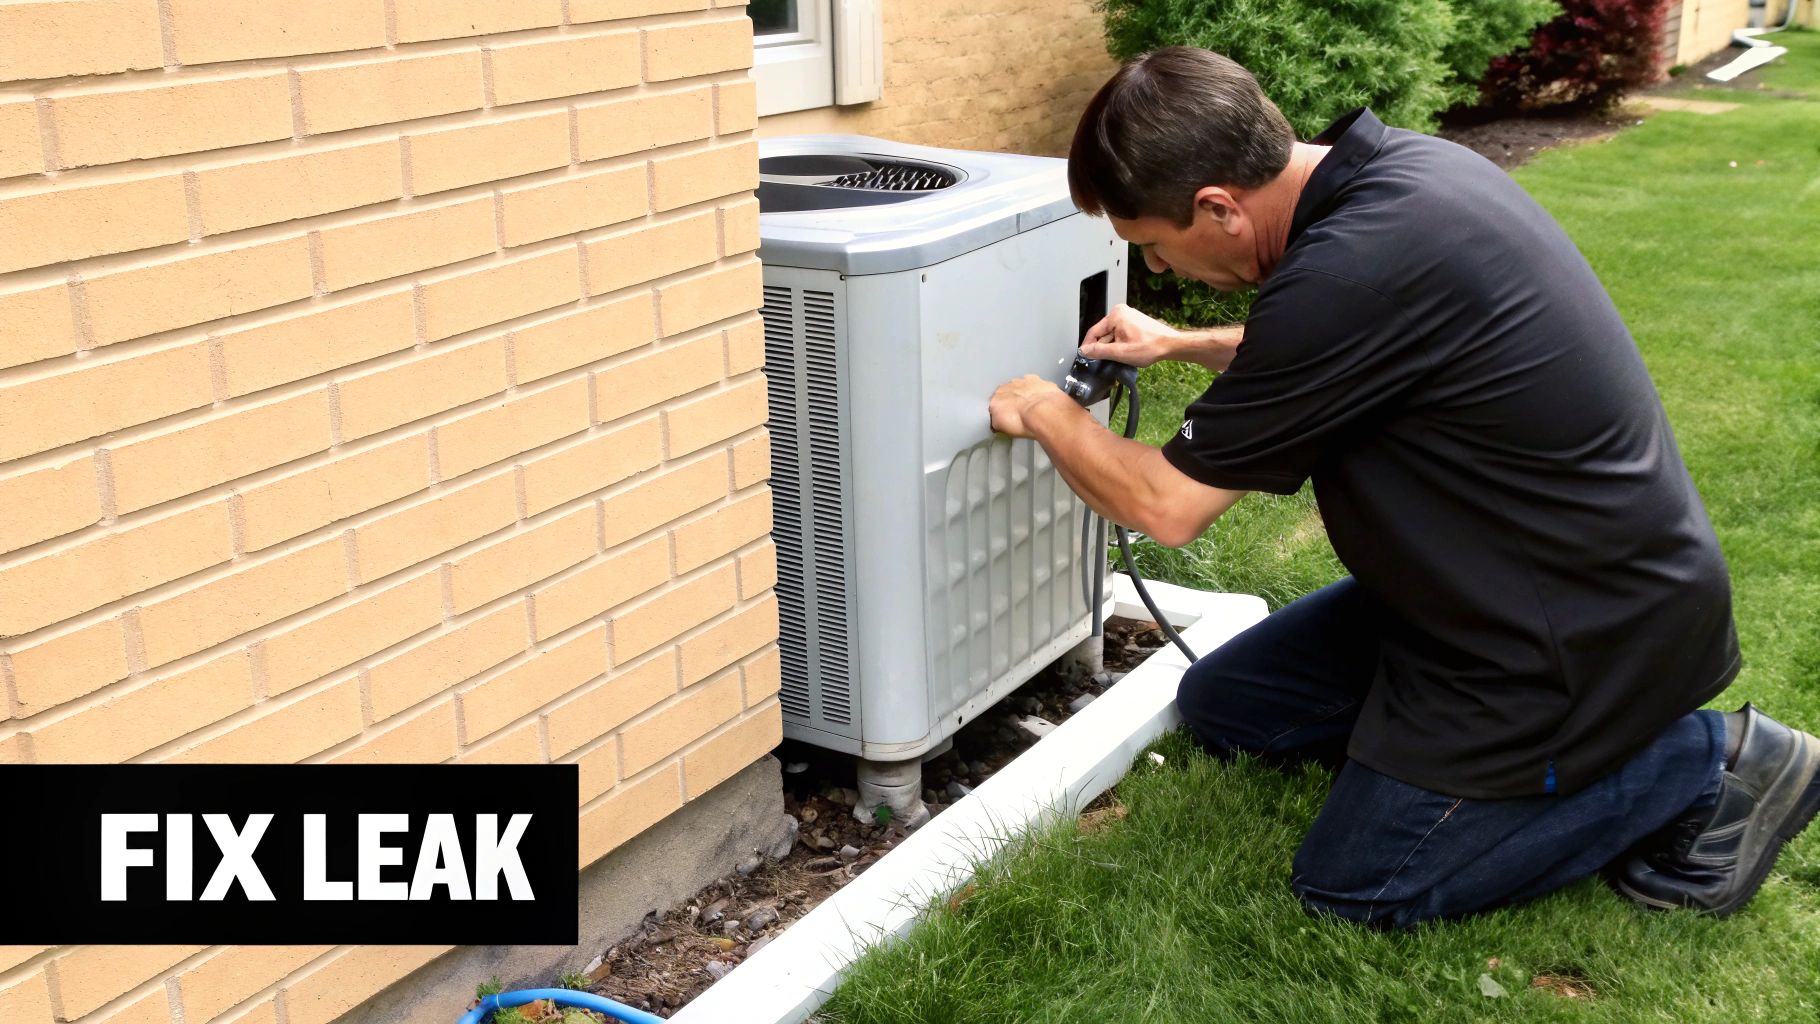
But what if you replace the filter and the coil just freezes up again a few days later? That’s a tell-tale sign of a refrigerant leak, and that’s a job strictly for the pros. Studies have found that AC systems can leak an average of 6-7.5% of their refrigerant annually, which is more than enough to degrade performance and cause this exact kind of freezing issue. You can read more about the impact of refrigerant leakage on system efficiency.
Looking for Damaged or Failed Parts
Sometimes, the leak has nothing to do with clogs or ice. It's just a simple case of a part wearing out. The two components you'll want to inspect are the drain pan and the condensate pump.
A cracked drain pan is a common problem, especially in older units. After years of constant contact with water, metal pans can rust through, and plastic ones can become brittle and crack. If you see a slow but steady drip coming from directly under the air handler, even when the pan isn't overflowing, get a flashlight and inspect the pan itself for any signs of damage.
Many systems, especially those installed in basements, use a small condensate pump to move the water up and out of the home. If this little pump burns out or fails, water will back up and spill out of its reservoir. You can often test it by carefully pouring a little water into the reservoir; a working pump should kick on automatically and drain it away.
Key Takeaway: While changing a dirty filter is an easy DIY fix, problems like a refrigerant leak, a cracked drain pan, or a bad condensate pump really need professional attention. Trying to tackle these yourself can easily lead to bigger, more expensive problems.
If you've gone through these steps and are still stumped, our ultimate AC troubleshooting guide has even more in-depth solutions for common cooling problems.
Alright, you've fixed the immediate leak, that's a huge win. But let's be honest, you don't want to go through that again. The best way to deal with a central AC leaking water is to make sure it never happens in the first place.
A little bit of consistent maintenance goes a long way. Think of it as spending a few minutes every month to save yourself from a weekend of chaos, water-logged floors, and a surprise bill from a repair company.
Your Simple AC Maintenance Checklist
You don’t need a toolbox full of specialized gear or an engineering degree to keep your system happy. Consistency is the name of the game here. A few simple tasks done regularly will do far more good than a massive, once-a-year cleaning spree.
Here’s a straightforward plan any homeowner can tackle:
Change Your Air Filter Religiously: Seriously, this is the most important thing you can do. A clogged filter chokes the airflow to your system, which can cause the evaporator coil to freeze up. When that ice melts, it’s going to overwhelm your drain pan and spill everywhere. Check it monthly and swap it out at least every 90 days. If you’ve got pets or live in a dusty area, you'll probably need to do it more often.
Keep the Drain Line Clear: Don't wait for a clog to announce itself. Once every few months, pour about a cup of distilled white vinegar down the condensate drain line's access port (it’s usually a PVC pipe with a cap). This simple trick helps break down any gunk or algae that’s starting to build up before it can create a full-blown blockage.
Inspect the Drain Pan: Every time you're in there changing the filter, give the drain pan a quick once-over. Are you seeing any standing water? Rust spots? Cracks? Catching these little things early can stop a major leak in its tracks.
A proactive approach is everything. Taking five minutes for these checks each month is infinitely easier, and cheaper, than ripping up drywall because a slow leak went unnoticed for weeks.
The Value of a Professional Tune-Up
While your DIY efforts are critical, they don't cover all the bases. An annual professional check-up is the other half of the equation. An HVAC technician has the tools and training to perform deeper inspections that are just out of reach for most of us.
During a professional tune-up, a tech will get into the nitty-gritty, like:
Deep cleaning the evaporator and condenser coils.
Checking refrigerant levels to make sure they’re spot-on.
Testing all the electrical components and connections for safety and wear.
Thoroughly flushing the entire condensate drain system.
This yearly service ensures your AC runs at peak efficiency. More importantly, it gives a trained eye the chance to spot bigger problems on the horizon, like a failing condensate pump or a slow refrigerant leak, before they leave you sweating on a hot July afternoon.
For a complete look at how professional checks fit into a year-round plan, check out your essential HVAC maintenance schedule. And remember, proactive care includes keeping the unit itself clean; this guide on cleaning your AC unit has some great tips that apply to central systems, too.
Answering Your Top Questions About a Leaking AC
Even after you've spotted the leak, a bunch of questions probably start swirling around. What's this going to cost me? Is it safe to leave on for just a little longer? Is that puddle of water actually dangerous? Getting clear answers helps you make the right call, so let's tackle the most common questions we hear from homeowners.
How Much Will It Cost To Fix a Leaking AC?
The repair bill for a leaking AC can swing wildly, all depending on what's causing the problem.
If it's just a simple clog in the drain line, you might get away with a DIY fix using some household vinegar. That'll only cost you a few bucks and a little bit of your time. If you have a pro come out to flush that same line, you’re likely looking at a bill between $75 and $250.
But for the more serious stuff, the price tag goes up.
Cracked Drain Pan: Getting this part swapped out can run anywhere from $200 to $600.
Failed Condensate Pump: If the pump that pushes water out has given up, a new installation is typically between $250 and $450.
Refrigerant Leak: This is the big one. Tracking down and fixing a refrigerant leak is a complex job, often costing from $500 to over $1,500, depending on where the leak is and how much refrigerant needs to be replaced.
Can I Keep Running My AC if It’s Leaking?
Honestly, you really shouldn't. The best and safest thing you can do is shut the system down immediately.
Letting it run is just asking for trouble. That water has to go somewhere, and that somewhere is usually your ceilings, drywall, or floors. What starts as a small HVAC problem can quickly turn into a massive, expensive water damage restoration project.
Your first move should always be to shut the system down completely. Head to your thermostat and switch it to "Off." Then, for good measure, find the corresponding breaker in your electrical panel and flip it off, too. This prevents any more water damage and cuts off the risk of electrical hazards.
Plus, if the leak is a symptom of a frozen evaporator coil, continuing to run the AC puts your compressor at serious risk. The compressor is the heart of your system and one of the most expensive parts to replace. It's not worth the gamble.
Is the Water Leaking From My AC Dangerous?
The water itself is just condensation, basically distilled water pulled from the air, so it's not toxic. The real danger comes from what that water can create.
Standing, stagnant water is the perfect breeding ground for mold and mildew. Once mold takes hold, it can release spores into your air, tanking your home's air quality and triggering allergies or even more serious respiratory problems. You can learn more about why clean air is so vital in our guide to [indoor air quality testing in Tucson](https://www.covenantairesolutions.com/post/indoor-air-quality-testing-in-tucson-breathe-healthier).
Beyond the health risks, that puddle creates a slip-and-fall hazard. And if the water gets anywhere near electrical wiring, you're looking at a serious risk of shock or an electrical short that could damage your system or even start a fire. Cleaning it up quickly is a must.
If you're dealing with a frustrating AC leak or just want a professional to make sure your system is ready for the season, don't wait. The certified technicians at Covenant Aire Solutions are here for you 24/7 with honest advice and expert service to get your home comfortable again. https://www.covenantairesolutions.com