Expert Cleaning Air Conditioning Coils for Better Efficiency
- Sep 1, 2025
- 10 min read
Cleaning your air conditioning coils is one of those high-impact DIY tasks that seriously boosts your system's efficiency and lifespan. When you let them go, you're forcing your AC to work way harder than it should, which leads to bigger bills, premature failure, and a breeding ground for nasty allergens.
Why Cleaning Your AC Coils Is a Game Changer
Let's be honest, cleaning AC coils probably isn't high on your weekend to-do list. But this one task packs a serious punch for your home's health, comfort, and your wallet. It's about so much more than a little dust; it’s about the core function of your entire cooling system.
When coils get caked in dirt, grass, and all the grime that accumulates outside, they simply can't transfer heat the way they're supposed to. This one little problem sets off a domino effect across your whole HVAC system.
The Real Cost of Dirty Coils
Your air conditioner has to run longer and harder just to hit the temperature you set on the thermostat. This puts a massive strain on its most expensive parts. The compressor, which is the heart of your AC, really takes a beating from this extra workload, and that can lead to an expensive and premature failure.
Think of it like trying to breathe with a cloth over your mouth. Your AC unit is suffocating, struggling to pull in air and release heat, which wastes energy and shortens its lifespan.
Beyond the mechanical stress, dirty coils hit you directly in the wallet. The U.S. Department of Energy estimates that a proper coil cleaning can lead to a 20% increase in energy efficiency. For you, that translates directly into lower monthly utility bills and a smaller carbon footprint. You can dig into more data on HVAC efficiency from this Verified Market Reports research.
More Than Just Efficiency
The impact of dirty coils goes beyond mechanics and money; it directly affects your family’s well-being. The indoor evaporator coil, hidden away from sight, is a dark, damp environment: the perfect place for unwanted growth. When you neglect it, it can become a hotspot for:
Mold and mildew that gets circulated all through your home.
Bacteria and allergens that can trigger respiratory issues.
Unpleasant, musty odors coming straight from your vents.
Regularly cleaning your air conditioning coils is a fundamental step toward a healthier home. By clearing out all that contamination, you're making sure the air your family breathes is cleaner and safer. To learn more, check out our guide on top tips for improving indoor air quality in Tucson.
Gathering Your Coil Cleaning Toolkit
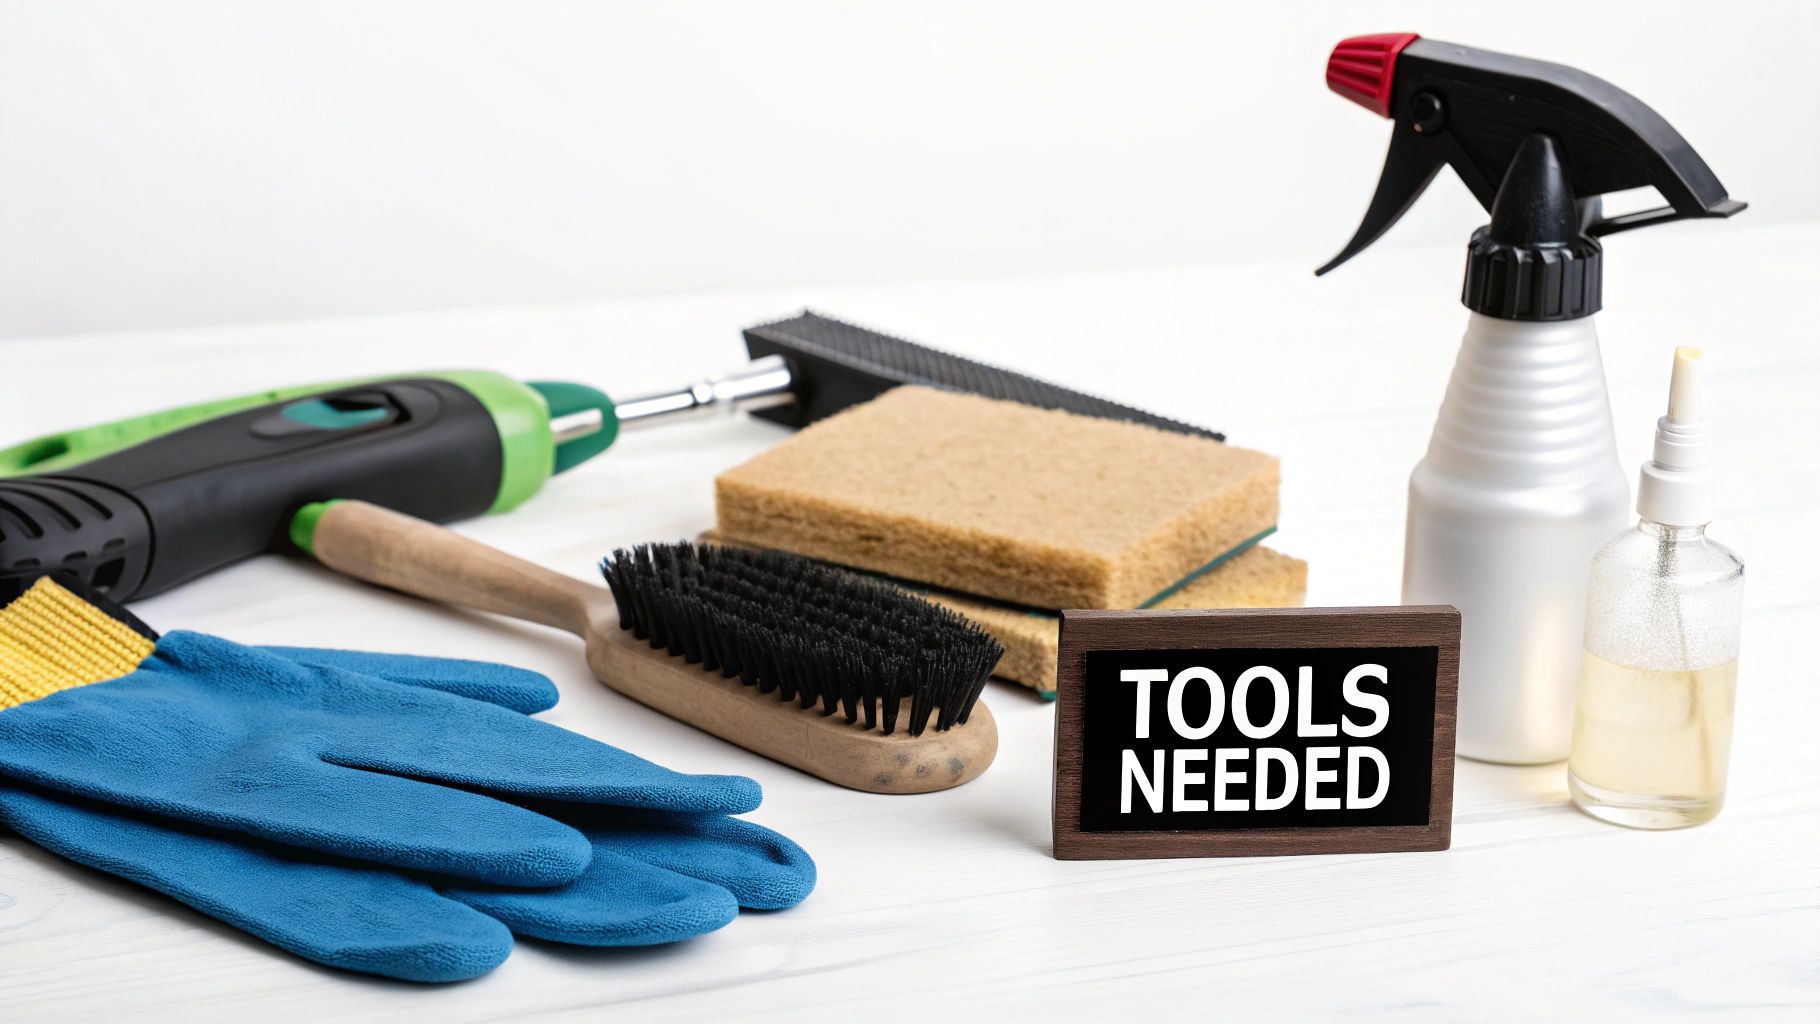
Before you even think about touching your AC unit, let's talk about gear. Having the right tools on hand makes cleaning your air conditioning coils faster, safer, and way more effective. This isn't a job for dish soap and an old sponge, trust me, using the wrong stuff can cause more harm than good. A proper toolkit is your best defense against damaging your system.
Getting everything together before you start saves you from those frustrating mid-project runs to the hardware store. A little preparation is the secret sauce to a successful DIY cleaning that actually boosts your AC's performance. It’s a simple step that pays off in efficiency, just like the strategies we cover for how to save on your heating bill.
To make it easy, I've put together a checklist of exactly what you'll need, why you need it, and a few pro tips I've picked up over the years.
Your Essential AC Coil Cleaning Checklist
Tool or Supply | Its Purpose | Insider Tip |
|---|---|---|
Foaming Coil Cleaner | A non-acidic formula designed to cling to coils, expand, and lift away grime without causing corrosion. | Don't just grab any degreaser! Household cleaners are too harsh and can eat away at the aluminum fins over time. Stick to a product made for HVAC systems. |
Safety Glasses | Protects your eyes from chemical splash-back and any dirt or debris that gets knocked loose. | A must-have. You'd be surprised how much gunk can fly out of those coils once you start spraying. |
Waterproof Gloves | Keeps the chemical cleaner off your skin and prevents irritation. | Simple, but non-negotiable. Some of these cleaners can be pretty rough on your hands. |
Fin Comb | A specialized tool used to gently straighten the delicate aluminum fins on the coils, which often get bent. | Bent fins kill airflow. This little tool is cheap and makes a massive difference in your AC's efficiency. Get one with multiple size options to match your unit. |
Garden Hose & Nozzle | Used for rinsing the cleaner and debris off the coils after the foam has done its job. | Set the nozzle to a gentle, wide spray, like a "shower" or "mist" setting. High pressure will flatten the fins you just straightened! |
Screwdriver/Nut Driver | To remove the screws or bolts holding the outer panel of your condenser unit in place. | Check the type of fasteners on your unit before you start. It’s usually a Phillips head or a hex-head nut. |
With these items ready to go, you've got everything you need to tackle this job like a professional. You're not just cleaning; you're restoring performance and helping your system run more efficiently for the season ahead.
Tackle Your Outdoor Condenser Coils
Your outdoor AC unit is in a constant battle with the elements. We're talking lawn clippings, dust, cottonwood fluff, you name it. Over time, all that gunk builds up on the condenser coils, and that’s a real drag on your AC's cooling power. Cleaning them is one of the best things you can do for your system.
But first, let’s talk safety. This isn't a step you can afford to skip. You have to be 100% sure the power to the unit is off.
Start by heading to your home's main electrical panel. Find the circuit breaker for your AC unit and flip it to the "Off" position. Done? Good. Now, head outside to the condenser unit and look for the exterior disconnect box, usually mounted on the wall right next to it. Open it up and either pull out the disconnect block or flip the switch to off. This double-kill switch approach is non-negotiable for your safety.
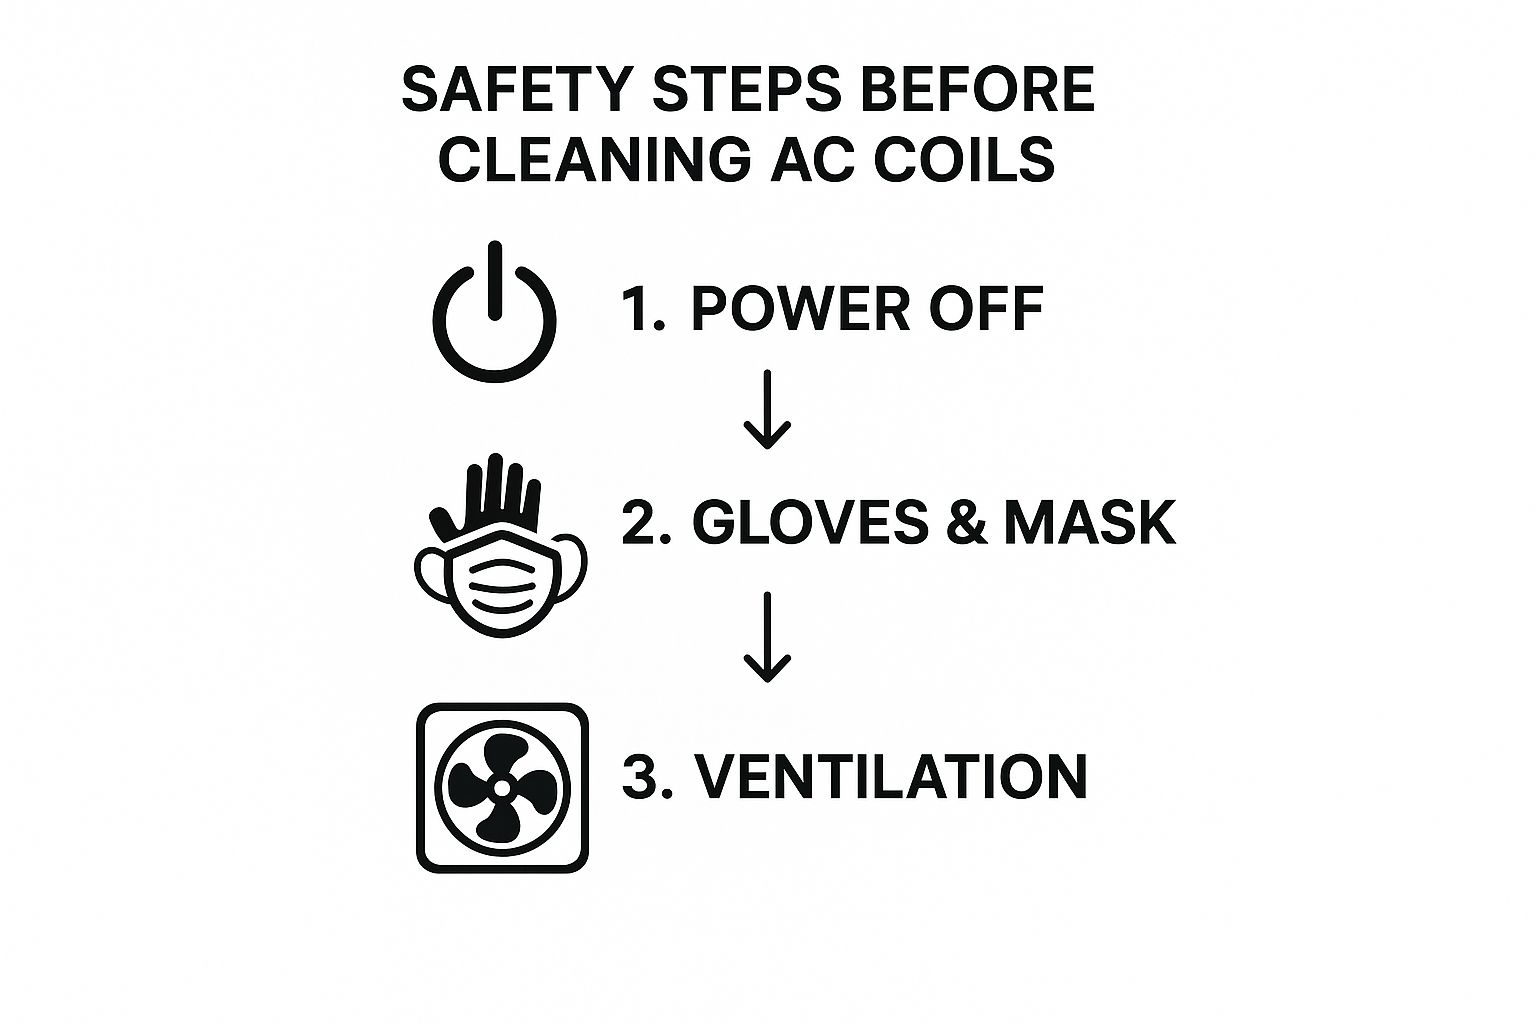
Seriously, following these safety steps is the most important part of the entire job. Power off, protective gear on.
Clear Out the Debris
With the power safely cut, you can get your hands dirty. Most outdoor units have a fan cage on top that's held on with just a few screws. Carefully remove them and lift the top panel off. Be gentle here, you don't want to yank on the fan wires connected to it.
Now for the fun part. Reach inside the unit and start clearing out all the big stuff by hand. You’ll probably be surprised by how many leaves, twigs, and grass clippings have made a home in there. Getting this clutter out of the way first makes the actual cleaning process way more effective.
Get the Coils Sparkling
It's time for the deep clean. For this, you'll need a commercial, foaming coil cleaner made specifically for HVAC systems. These cleaners are big business; the global market was valued at around USD 6.23 billion in 2023, so you know there's a real demand for products that work.
Spray the cleaner generously all over the outside of the coil fins. Just follow the directions on the can, but you'll typically let it sit for 5-10 minutes. You'll actually see the foam expand and dig into the fins, chemically breaking down all that caked-on grime and lifting it right to the surface. It does the hard work for you.
The real pro-tip for rinsing is to spray from the inside of the unit out. This pushes all the dirt, foam, and gunk away from the delicate fins, not deeper into them.
Grab a garden hose with a gentle spray nozzle, nothing high-pressure that could bend the fragile aluminum fins. Bent fins are a fast track to restricted airflow. Rinse the coils thoroughly until the water runs clear and all the foam has washed away.
Once everything is clean and rinsed, you can carefully put the top fan cage back on. For a more in-depth look at this process, check out our easy DIY guide to cleaning condenser coils.
Alright, with the outdoor unit squared away, let's head inside and tackle its partner: the evaporator coils. These guys are tucked away inside your air handler or furnace cabinet. Cleaning them is a bit more delicate than the outdoor unit, mostly because the last thing you want is a soapy, watery mess inside your house.
Unlike the condenser coils that get battered by rain, leaves, and dirt, your evaporator coils are dealing with indoor stuff: dust, pet dander, and whatever else is floating around in your air. When all that gunk mixes with the condensation that naturally forms on the coils, it can become a breeding ground for mold and mildew. Not great for your indoor air quality.
Finding and Getting to the Coils
First up, you have to find them. Look for a metal box attached to your furnace, usually hiding out in a closet, the basement, or the attic. And just like we did outside, the very first thing you do before opening anything is to shut off the power at the circuit breaker. Safety first, always.
Once you're sure the power is off, you'll need to take off the access panel on the air handler. This is usually held on by a few screws or clips. Inside, you'll see the evaporator coils, which typically look like a radiator with tons of thin metal fins, often in an A-shape or a flat slab. It can be a tight squeeze in there, so work slowly and be careful not to bend the fins or mess with any wiring.
The No-Mess Cleaning Method
You obviously can't just blast a garden hose in here. The best tool for this job is a no-rinse, self-rinsing foaming coil cleaner. This stuff is made specifically for evaporator coils. You just spray it on, and the foaming action gets to work, lifting all that dirt and grime right off the surface.
The real beauty of a no-rinse cleaner is how it cleans up after itself. As your AC runs, the normal condensation that forms on the coils will rinse the cleaner and all the loosened gunk away. It all flows down into the condensate drain pan and safely out of your home. No manual rinsing required.
Just follow the directions on the can and apply the foam cleaner liberally, making sure to cover all the coil surfaces you can reach. The idea is to let the product do the heavy lifting for you, breaking down all that grime without any aggressive scrubbing or creating a watery disaster.
Don't Overlook the Condensate Line
While you've got everything open, now is the perfect time to give the condensate drain line a quick inspection. This is the little PVC pipe that's responsible for carrying all that condensation water away from your indoor unit. It's notorious for getting clogged with sludge and algae over time, which can cause water to back up and spill everywhere, leading to some serious water damage.
Take a peek inside the line for any blockages. If you see some buildup, you can often clear it out with a wet/dry vac on the end of the pipe outside your house. Another trick is to flush it with a 50/50 mix of distilled vinegar and water. A clear condensate line is absolutely essential for preventing leaks and making sure your system drains properly, especially on those brutally hot summer days.
Smart Habits for Year-Round AC Health
Giving your coils a thorough cleaning is a fantastic reset for your AC system. But to keep it running that efficiently, you need to build some smart, year-round habits. Trust me, a little consistent upkeep is way easier than another major cleaning project, and it keeps your system humming through every season.
Think of it as preventative care. The single most important habit? Paying attention to your air filter. It's your system's first and most critical line of defense against dirt.
Prioritize Your Air Filter
When your air filter gets clogged, it forces your entire HVAC system to struggle. This strain allows dust and other gunk to slip right past the filter and settle directly onto your evaporator coils, completely undoing all your hard work. A consistent filter schedule is non-negotiable for keeping those coils clean.
Standard Filters: Check them monthly, but plan on swapping them out at least every 90 days.
Homes with Pets or Allergies: You've got more airborne particles, so you'll need to be more vigilant. Change your filter every 45-60 days.
This simple task is the foundation of a healthy AC. For more tips on building a solid upkeep routine, check out our essential HVAC maintenance guide.
Give Your Outdoor Unit Space
Don't forget about the unit outside! Your condenser needs room to breathe, and some simple landscaping choices can make a huge difference in keeping those outdoor coils clean and ensuring proper airflow.
Make sure you have at least two feet of clear space all the way around your condenser unit. Overgrown bushes, tall grass, and even a leaning fence can trap heat and act like a vacuum, sucking debris right into the delicate fins.
Trimming back nearby plants and clearing away fallen leaves stops them from decomposing and getting pulled into the unit. This simple yard work helps your coils stay cleaner for much longer.
Learn to Listen to Your AC
Finally, start paying attention to the little signs your system gives you when it needs attention. This kind of proactive awareness is huge in the commercial world; in fact, the United States makes up 82.3% of the North American market for coil cleaning services, largely driven by strict efficiency standards. You can see more insights on commercial HVAC coil cleaning on dataintelo.com.
Catching issues early can be the difference between a quick fix and a costly repair. Listen for new or unusual noises, notice if the cooling power seems to be fading, or pay attention to musty smells coming from the vents. These are your AC’s warning signs that it might be time for another cleaning or a call to a professional.
Common Questions About Cleaning AC Coils

Let's dive into some of the most frequent questions I hear from homeowners just like you. The first one is almost always about timing.
How Often Should I Clean My Air Conditioning Coils?
For most homes here in Arizona, giving the coils a good cleaning once a year is perfect. I always recommend doing it in the spring, right before the summer heat really kicks in, to get your system ready for its busiest season.
But, your situation might be a little different. If you live near a dusty field, have pets that shed a lot, or get slammed by cottonwood every year, you'll probably want to check on them twice a year. Keeping up with this is a huge part of your system's health, and it's a key reason people look into whether an AC maintenance plan is worth it.https://www.covenantairesolutions.com/post/is-an-ac-maintenance-plan-worth-it
Can I Use a Pressure Washer on My Coils?
Please don't do this. I see it happen, and it's a critical mistake that can turn a simple cleaning into a costly repair.
A pressure washer is way too powerful. It will instantly bend and flatten the delicate aluminum fins on the coils. Those fins are essential for transferring heat out of your home.
Damaged fins choke off airflow, forcing your compressor to work overtime and tanking your system's efficiency. A regular garden hose with a simple spray nozzle has all the power you need to rinse the coils safely and effectively.
Stick to the gentle approach. It’s all that’s needed to get the job done right without causing any damage.
For a professional cleaning that guarantees peak performance and includes a full system check-up, trust the experts at Covenant Aire Solutions. Schedule your service today and get ready to breathe easier all summer long.