how to reduce humidity in home: 5 easy, effective tips
- Nov 26, 2025
- 16 min read
To get a handle on the humidity in your home, you first have to figure out where all that moisture is coming from. Sometimes, it's as simple as running the exhaust fan during a shower or covering your pots when you cook. These small habits can make a surprising difference. For those more stubborn, sticky situations, a dehumidifier is going to be your best friend.
Why Your Home Feels So Humid
That heavy, damp feeling in the air isn't just uncomfortable; it's your home's way of telling you there's too much moisture. Finding the source is the first real step to fixing it. Most of the time, the culprits are everyday activities we don't even think twice about, but they're pumping a shocking amount of water vapor into your indoor environment.
Think about it: a single hot shower can release over a pint of water into the air. Boiling a big pot of pasta for dinner adds even more. When this happens in a space without good ventilation, that moisture has nowhere to escape and ends up settling into your walls, furniture, and the very air you breathe.
Common Sources of Indoor Moisture
But excess humidity isn't always an inside job. What's happening outside, especially with the local climate, plays a massive role. Here in Tucson, when the monsoon season hits, the outdoor air is already saturated. That makes it incredibly tough to keep your indoor air dry.
Beyond the weather, your house itself can be part of the problem. Small, hidden leaks from pipes, appliances, or even the roof can slowly and consistently release moisture. This constant dampness is the perfect breeding ground for mold and mildew, which is often why you might notice a persistent musty smell.
You’re aiming to keep your indoor relative humidity between 30% and 50%. Once it climbs above 60%, you’re rolling out the welcome mat for mold and dust mites, which can be a nightmare for anyone with allergies or asthma.
Pinpointing Your Problem Areas
To really tackle the issue, you've got to play detective and identify the specific humidity hotspots in your home. Start by looking for the tell-tale signs.
Here’s a quick rundown of some common humidity trouble spots and what you can do about them.
Quick Guide to Humidity Hotspots and Fixes
Problem Area | Primary Cause | Quick Solution |
|---|---|---|
Bathrooms | Steam from hot showers and baths | Run the exhaust fan for 20-30 minutes after every shower |
Kitchen | Steam from cooking, boiling, and dishwashing | Use lids on pots/pans; run the range hood vent |
Laundry Room | Steam from washer; unvented dryer exhaust | Ensure the dryer vents directly outside; check for lint clogs |
Basement/Crawl Space | Poor ventilation; moisture from the ground; leaks | Seal foundation cracks; use a dehumidifier; improve air circulation |
Closets & Storage | Trapped air; lack of circulation | Leave doors ajar; use moisture-absorbing products |
Keep an eye out for these visual clues as well:
Condensation: If you see fog or water droplets on the inside of your windows, that’s a classic sign the air in your home is holding too much moisture.
Musty Odors: That damp, earthy smell, especially in basements, laundry rooms, or closets, is a red flag for hidden moisture and potential mold.
Sticking Doors: Wood naturally absorbs moisture, causing it to swell. If your interior doors suddenly start sticking or won't close properly, high humidity is a likely culprit.
Visible Mold or Mildew: Any dark spots on walls, ceilings, or tucked into bathroom corners are an unmistakable sign that you need to take action fast.
Poor ventilation is one of the biggest offenders. If your bathroom and kitchen fans don't actually vent to the outside, you're just moving that moist air around inside your house. You can learn more about why proper air exchange matters by exploring how to calculate air changes per hour accurately.
Sometimes, persistent humidity points to a bigger structural issue. It's always a good idea to get a professional roof inspection to rule out any hidden leaks that could be causing serious damage behind the scenes.
When that damp, sticky feeling starts creeping into your home, you don't have to wait for a major project to get some relief. You can actually start bringing down the humidity right now with a few smart, no-cost tweaks to your daily routine.
These strategies are all about tackling moisture at its source: improving your home's ventilation and managing the everyday things that pump water vapor into your air.
Harness the Power of Ventilation
Good air movement is your best friend in the fight against high humidity. Stagnant, moist air gets trapped easily, but simply giving it an escape route can make a world of difference.
You already have the best tools for the job: your exhaust fans. They're designed specifically to pull damp air out of the two biggest problem areas, the bathroom and the kitchen.
In the Bathroom: Always, always run your exhaust fan during a shower or bath. Here's the pro tip, though: leave it running for another 15-20 minutes after you're done. That's how long it takes to clear out all the lingering steam that would otherwise seep into your walls and ceiling.
In the Kitchen: When you're cooking, especially boiling a big pot of pasta or simmering a sauce, flip on your range hood vent. It pulls all that steam and condensation right off the stovetop and vents it outside where it belongs.
No exhaust fans? No problem. On a dry day, you can create a natural cross-breeze. Just open windows on opposite sides of the house. This lets fresh, less humid air flow through, pushing the damp, stale air out.
A common mistake I see is people using bathroom or kitchen fans that don't actually vent outside. If your fan just recirculates the air, it's not removing any moisture; it's just blowing it around the room. For a real fix, that humid air needs to be completely expelled from the house.
Make Small Changes to Your Daily Habits
Beyond your fans, a few small adjustments to your everyday habits can add up to a much drier, more comfortable home. These might seem minor on their own, but together, they make a huge impact.
For instance, think about your shower. Taking slightly cooler, shorter showers generates a lot less steam, meaning less moisture gets into the air in the first place.
Here are a few more practical changes you can make today:
Cover Your Pots and Pans: It sounds simple, but just putting a lid on a boiling pot dramatically cuts down on the amount of steam that escapes into your kitchen.
Manage Your Laundry: Your clothes dryer is a humidity-making machine. Make sure its vent hose runs directly outside and is totally clear of lint buildup, which can trap moist air inside. On a nice day, drying clothes on an outside line is the best way to keep all that moisture out of your house.
Check Your Air Conditioner: Your AC is a natural dehumidifier. But if its condensate drain line gets clogged, all that water it pulls from the air can back up and leak inside. Knowing how to check and unclog your AC's condensate drain line is a great DIY skill that prevents both water damage and extra humidity.
These immediate steps are powerful because they put you in control. By making them part of your routine, you’re actively managing moisture where it starts, leading to a big improvement in your home's air quality and comfort.
Choosing and Using the Right Dehumidifier
When you've tried improving ventilation and changing a few daily habits but the air inside still feels sticky, a dehumidifier is your next best move. Think of it as a specialty tool with one simple job: pulling all that extra moisture right out of the air. These machines are absolute game-changers, especially for those stubbornly damp spots like basements, laundry rooms, or bathrooms that just don't get enough airflow.
It's no secret that more and more homeowners are turning to them. The U.S. dehumidifier market is expected to jump from USD 5.6 billion in 2025 to a whopping USD 9.2 billion by 2035. That growth is really being driven by a better understanding of how humidity impacts our health and the challenges of modern homes. You can read the full analysis on the dehumidifier market trends if you want to dive deeper into the numbers.
Of course, before you run out and buy new equipment, it's always smart to start with the low-hanging fruit. This flowchart lays out the first line of defense perfectly.
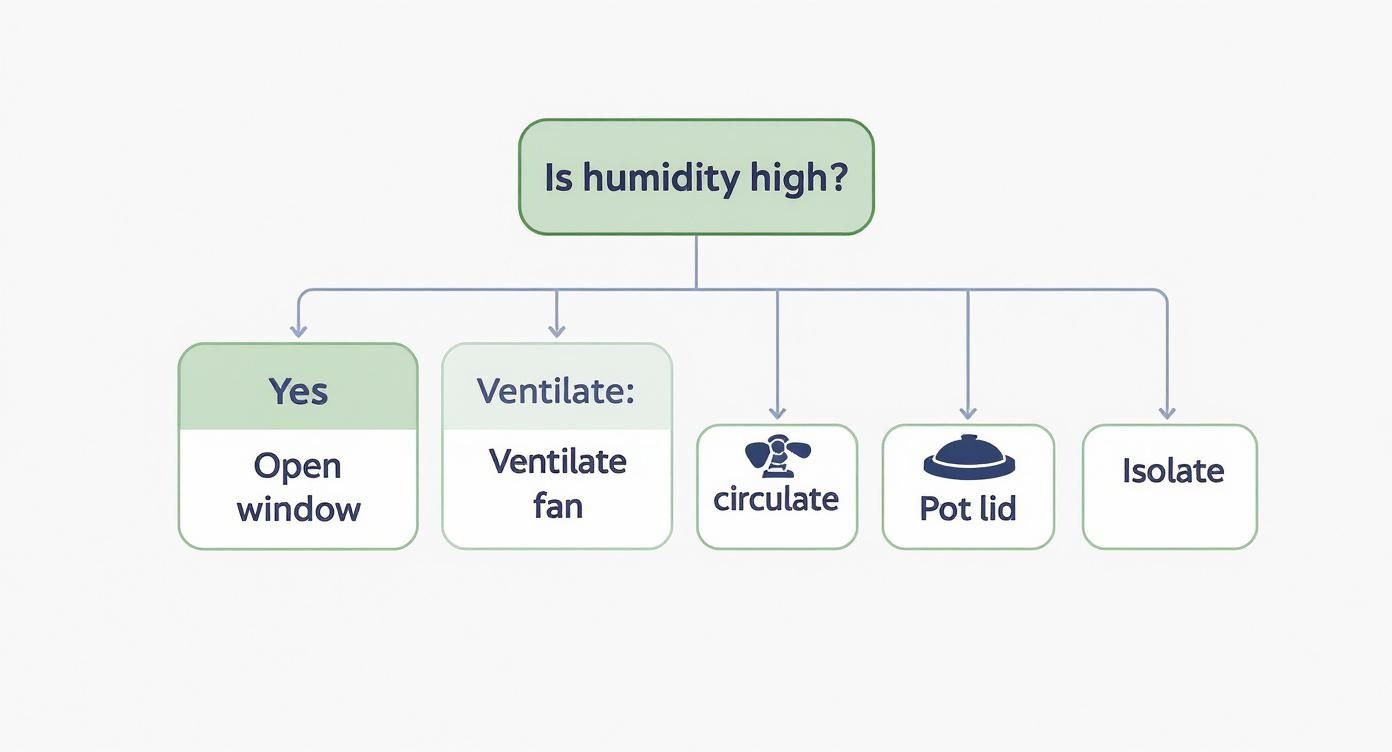
The big takeaway here is to always handle the basics first. Get the air moving and tackle moisture at the source before bringing in the heavy machinery.
Finding the Right Dehumidifier Size
Picking a dehumidifier isn't a one-size-fits-all deal. The most important thing to look at is the unit's capacity, which tells you how many pints of moisture it can pull from the air in a 24-hour period. Getting this right for your room's size and dampness level is key to making sure it works efficiently.
If you go too small, the unit will run constantly and never quite get the humidity under control. It's a waste of energy and will wear the machine out fast. Go too big, and it will turn on and off too frequently, which is also inefficient and can leave the room feeling unevenly dry.
To nail the right size, you need to look at two things:
Square Footage: Just measure the length and width of the room and multiply them to get the square footage. Easy enough.
Moisture Level: How damp does it actually feel? A room that feels a little muggy is "moderately damp." A space with condensation on the windows or that classic musty smell is "very damp" or even "wet."
Here’s a quick guide to help you match the capacity to your space.
Dehumidifier Sizing Guide
Room Condition | Up to 500 sq. ft. | Up to 1,000 sq. ft. | Up to 1,500 sq. ft. |
|---|---|---|---|
Moderately Damp | 20-Pint Unit | 25-Pint Unit | 35-Pint Unit |
Very Damp | 25-Pint Unit | 35-Pint Unit | 50-Pint Unit |
Wet (Visible Water) | 35-Pint Unit | 50-Pint Unit | 70-Pint Unit |
Optimal Placement and Operation Tips
Where you place your dehumidifier is just as important as its size. For it to do its job, air has to be able to circulate all the way around it.
A common mistake I see is people shoving the dehumidifier right up against a wall or a bookshelf. This blocks the air vents and basically suffocates the machine, making it almost useless. Always leave at least six inches of clear space on all sides.
Once it's in a good spot, a few simple settings will get you on your way to that sweet spot of 40-50% humidity.
Set the Humidistat: Nearly all modern units have a built-in humidistat. Just set it to your target humidity, and the machine will cycle on and off automatically to maintain it. This is a big energy saver.
Close Doors and Windows: Your dehumidifier is meant to treat the air in one enclosed area. If you leave doors or windows open, you're trying to dehumidify the entire neighborhood, a battle you will definitely lose.
Figure Out Drainage: You'll have to empty the collection tank, and in really humid weather, that could be every single day. For a truly set-it-and-forget-it setup, find a model with a continuous drainage port so you can hook up a hose to a floor drain.
If you’re looking for a more permanent solution that covers the whole house, you might want to look into a unit that ties directly into your HVAC system. We cover all the details in your guide to a dehumidifier for HVAC systems.
Essential Dehumidifier Maintenance
Finally, a little bit of upkeep will keep your dehumidifier running like a champ for years. If you neglect it, you'll see its performance drop, and it might even fail on you way sooner than it should.
The number one task is cleaning the air filter. When that filter gets clogged, the machine has to work way harder, which uses more electricity and pulls less water from the air. Check the manual, but a good rule of thumb is to clean the filter every few weeks when it's getting a lot of use. Usually, a quick rinse under warm water is all it needs.
Long-Term Solutions for Moisture Control
Quick fixes like running fans or a dehumidifier are great for immediate relief, but they're really just managing the symptoms of high humidity. To truly win the war against moisture, you have to go after the root of the problem, and that usually means looking at your home’s structure. These long-term solutions are all about creating a solid barrier that stops humid air from getting inside in the first place.
Think of it as fortifying your home against the elements. When you improve your insulation and seal up air leaks, you're not just tackling humidity. You’re also making your home more energy-efficient, which translates directly into lower utility bills all year round. It’s an investment that pays you back in both comfort and savings.
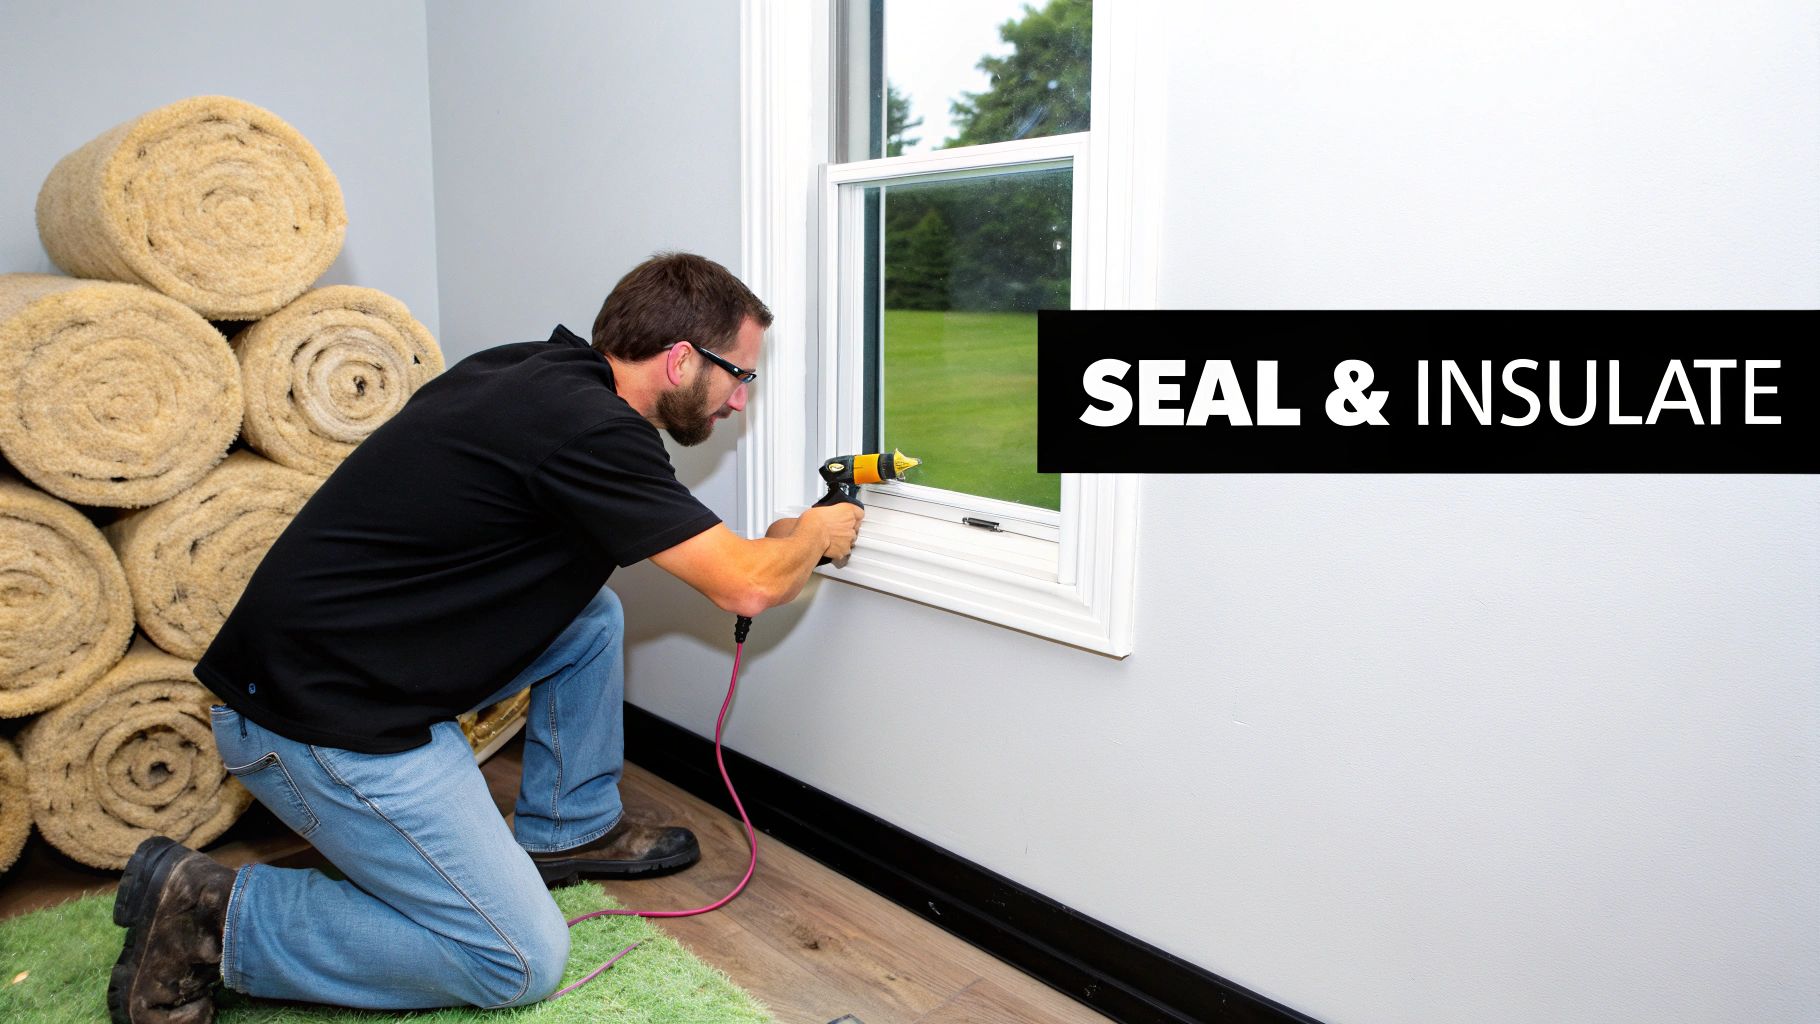
Prioritize Air Sealing and Insulation
Your home is like a ship; even the smallest crack can let in a surprising amount of water. Except, in this case, the "water" is sticky, humid air from outside. Those tiny, often invisible gaps around windows, doors, light fixtures, and plumbing pipes become superhighways for moisture, especially during Arizona's monsoon season.
Air sealing is simply the process of hunting down and closing off these gaps. It’s one of the most powerful moves you can make to get humidity under control.
A huge mistake I see homeowners make is thinking new windows are a magic bullet. They spend a fortune on an upgrade, but if the frame around that shiny new window isn't properly caulked and sealed, humid air will just pour in around the edges. It completely defeats the purpose.
Here are the usual suspects for air leaks:
Window and Door Frames: The gaps between the frame and the wall are notorious weak spots.
Recessed Lighting: Those "can lights" in your ceiling can be major culprits for air leaking in from the attic.
Plumbing and Wiring Penetrations: Check for gaps where pipes and wires enter your home through walls, floors, and ceilings.
Once you’ve sealed the leaks, insulation is your next line of defense. It’s the key to keeping your cool, conditioned air in and the hot, humid air out. Upgrading attic insulation is a big one, as a poorly insulated attic lets a ton of heat and humidity radiate down into your living space. Learning how to find air leaks can save you significant money by sealing your home is really the foundational first step.
Address Ground-Level Moisture Sources
If your home has a basement or crawl space, you’re fighting a battle on a second front: ground moisture. The soil around and under your foundation is a massive, constant source of water vapor that can seep right through porous concrete.
This is where you get into more intensive projects like waterproofing and encapsulation.
Basement Waterproofing: This involves applying a special waterproof sealant or membrane to your basement walls, either inside or out. It creates an impermeable barrier that physically blocks water from getting through the foundation.
Crawl Space Encapsulation: This is a game-changer. The process involves completely sealing the crawl space with a heavy-duty vapor barrier that covers the ground and walls. It stops ground moisture from ever entering the space and rising up into your home.
These are definitely bigger projects, but they offer a permanent fix for stubborn humidity problems that start from the ground up. And if you’re dealing with major structural issues, maintaining your sewer lines is absolutely critical. A compromised sewer line can introduce a shocking amount of moisture into the ground right next to your foundation, creating a never-ending humidity problem.
By focusing on these structural improvements, you fundamentally change how your home deals with moisture. You create a tighter, better-insulated envelope that doesn't just keep humidity out, but also boosts your overall comfort and protects your home's integrity for years.
Let's be honest, while a good dehumidifier and some smart ventilation can work wonders, some humidity problems are just symptoms of a much bigger issue lurking within your home's core systems. Knowing when to put down the caulk gun and pick up the phone to call a pro is crucial for protecting both your house and your health.
If you’ve tried everything and the air still feels heavy, sticky, and damp, it's time to face the music: the problem is probably bigger than you can see.
Nine times out of ten, persistent humidity points straight back to your HVAC system. It’s the heart and lungs of your home's air quality, and when it’s not doing its job right, no amount of portable gadgets will ever truly fix the underlying issue. An experienced technician can spot complex problems that are impossible to diagnose without the right tools and years of training.
Red Flags That Signal a Deeper Problem
Some signs are more than just a minor annoyance; they're your home sending out an S.O.S. If you're noticing any of these issues cropping up again and again, it's a clear signal you need a professional to figure out what's really going on.
Ignoring these warnings can lead to serious damage down the road, from structural rot in your walls to chronic air quality issues that can impact your family's breathing.
Stubbornly High Humidity: You’re running a perfectly sized dehumidifier 24/7, you've sealed every crack you can find, and you're a stickler for ventilation, but your hygrometer is still stubbornly parked above 60%. This means there's a moisture source so significant that your DIY efforts can't even make a dent.
Recurring Mold or Mildew: You scrub away those gross mold spots on the window sills or in the bathroom corners, only to see them creep back a few weeks later. This frustrating cycle means you’re just cleaning the symptom, not curing the disease: the moisture that’s letting it grow in the first place.
A Persistent Musty Odor: If your house has that constant damp, earthy smell (especially in the basement or a specific room), it’s a classic sign of moisture trapped somewhere you can't see it, inside walls, under the floor, or deep within your ductwork.
These are all clear signs that the problem has graduated beyond a simple fix and needs an expert eye.
Diagnosing Hidden HVAC Issues
When you call in a licensed HVAC technician, they see things you can't. They’re trained to identify systemic problems that are often the real culprits behind that never-ending damp feeling.
A perfect example is an air conditioner that’s too big for the house, a surprisingly common issue we call oversizing. An oversized AC blasts your home with cold air and cools it down way too fast. While that might sound good, it means the system shuts off before it completes a full cycle. A huge part of that cycle is pulling moisture out of the air. So, it never runs long enough to actually dehumidify your home properly.
I’ve seen countless homes where the owners were frustrated by constant dampness, only to find out their AC unit was twice the size they actually needed. A professional load calculation is the only way to ensure your system is sized correctly to both cool and dehumidify effectively.
It can be tough to know what you can tackle yourself versus what requires a professional. Sometimes, a simple fix is all you need, but other times, that same symptom points to a much bigger problem.
Here’s a quick guide to help you tell the difference.
DIY vs Professional Humidity Solutions
Symptom | Possible DIY Fix | When to Call an HVAC Pro |
|---|---|---|
Foggy windows | Increase ventilation; run a dehumidifier. | Condensation appears between the window panes (a failed seal). |
Musty smell in one area | Clean the area thoroughly; improve local air circulation. | The odor is widespread, persistent, and you can't find the source. |
AC struggles on hot days | Clean or replace the air filter; clear debris from the outdoor unit. | The system runs constantly but just can't cool or dehumidify the house. |
A visible spot of mold | Clean with an appropriate mold-killing solution. | The mold comes right back or covers an area larger than 10 sq. ft. |
Ultimately, a pro is needed when the problem is systemic, hidden, or related to the complex machinery of your HVAC unit.
Preparing for a Professional Assessment
When you do decide to call an HVAC company, a little prep work can make the visit much more effective. Before they arrive, jot down a list of the specific symptoms you’ve noticed, which rooms are the worst, and what you’ve already tried to do to fix it. This gives the technician a huge head start.
During the visit, a good technician will do more than just glance at your thermostat. They should perform a thorough inspection, which might include checking your ductwork for leaks, measuring the airflow from your vents, and testing your AC's refrigerant levels and overall performance.
And don't be shy; ask questions! A trustworthy contractor will be happy to walk you through their findings and explain their recommendations in plain English. Asking about their experience with humidity control and getting a detailed, written estimate are essential steps to finding the right person to finally bring comfort back to your home.
Answering Your Home Humidity Questions
Even after dialing in the right strategies, a few questions about home humidity usually pop up. Getting these details right is what really makes the difference between a home that feels okay and one that feels truly comfortable. Let's tackle some of the most common questions we hear from homeowners to help you fine-tune your approach.
From navigating Arizona's wild seasonal swings to figuring out if your houseplant obsession is part of the problem, we'll clear up any confusion.
What Is the Ideal Humidity Level for My Home?
The sweet spot for indoor relative humidity is a moving target, but you generally want to stay between 30% and 50%. This is the magic range for comfort, health, and even protecting your home's wood floors and furniture.
Once you creep above 50%, you’re rolling out the welcome mat for dust mites and mold, which can be a nightmare for anyone with allergies or respiratory issues.
This ideal number also changes with the seasons:
In the summer, we're aiming for the lower end of that range, somewhere between 40% and 50%. This helps your home feel cooler, which means your air conditioner doesn't have to work quite so hard.
In the winter, the desert air gets incredibly dry. A level closer to 30% is often fine, but if you dip too low, you'll start noticing dry skin, scratchy throats, and annoying static electricity. Sometimes the problem is actually too little moisture; you can learn more about the signs your air is too dry in our detailed guide.
How Can I Tell if My AC Is Removing Humidity?
Your air conditioner is your number one weapon against humidity. The very process of cooling air pulls moisture out of it. If your AC is working correctly, your home should feel noticeably less sticky and heavy after it runs.
The easiest way to see this in action is to find the condensate drain line outside your home.
On a humid monsoon day, you should see a steady drip or even a small trickle of water coming out of this pipe. That's a great sign! It means your system is successfully wringing that moisture out of your indoor air and getting rid of it. If you never see water coming out, especially when it feels muggy inside, you might have a problem.
A huge red flag is when your AC cools the house to the right temperature, but it still feels clammy or damp inside. This often means the unit is oversized; it blasts cold air so fast that it shuts off before it has a chance to complete a full dehumidification cycle. It could also point to a refrigerant issue.
Do Houseplants Make Humidity Worse?
Yes, but probably not as much as you think. Plants do release a bit of moisture into the air through a process called transpiration. Unless you've turned your living room into a literal jungle, a few houseplants are unlikely to be the main cause of high humidity.
That said, if you're a plant lover and struggling with moisture, a large collection in a small, poorly ventilated space can definitely contribute.
Here are a few things you can do:
Don't Overwater: Soggy soil isn't just bad for your plants; that excess water evaporates and adds moisture right back into the air. Let the top inch or two of soil dry out before watering again.
Make Sure They Drain: Always use pots with drainage holes. Water sitting in the bottom of a pot is a recipe for root rot and extra ambient moisture.
Give Them Some Space: Packing plants tightly together creates a little high-humidity microclimate. Spreading them out improves air circulation around each one.
At the end of the day, good ventilation and air circulation are way more important for managing your home's humidity. The small amount of moisture from your plants can easily be handled by running a fan or placing a small dehumidifier nearby if needed.
Managing home humidity effectively often comes down to having a reliable, properly sized, and well-maintained HVAC system. If you've tried these tips and still struggle with that sticky, uncomfortable feeling, it might be time for a professional assessment. The experts at Covenant Aire Solutions can diagnose hidden issues and provide lasting solutions to keep your home comfortable and healthy all year long. Visit us at https://www.covenantairesolutions.com to schedule your consultation today.