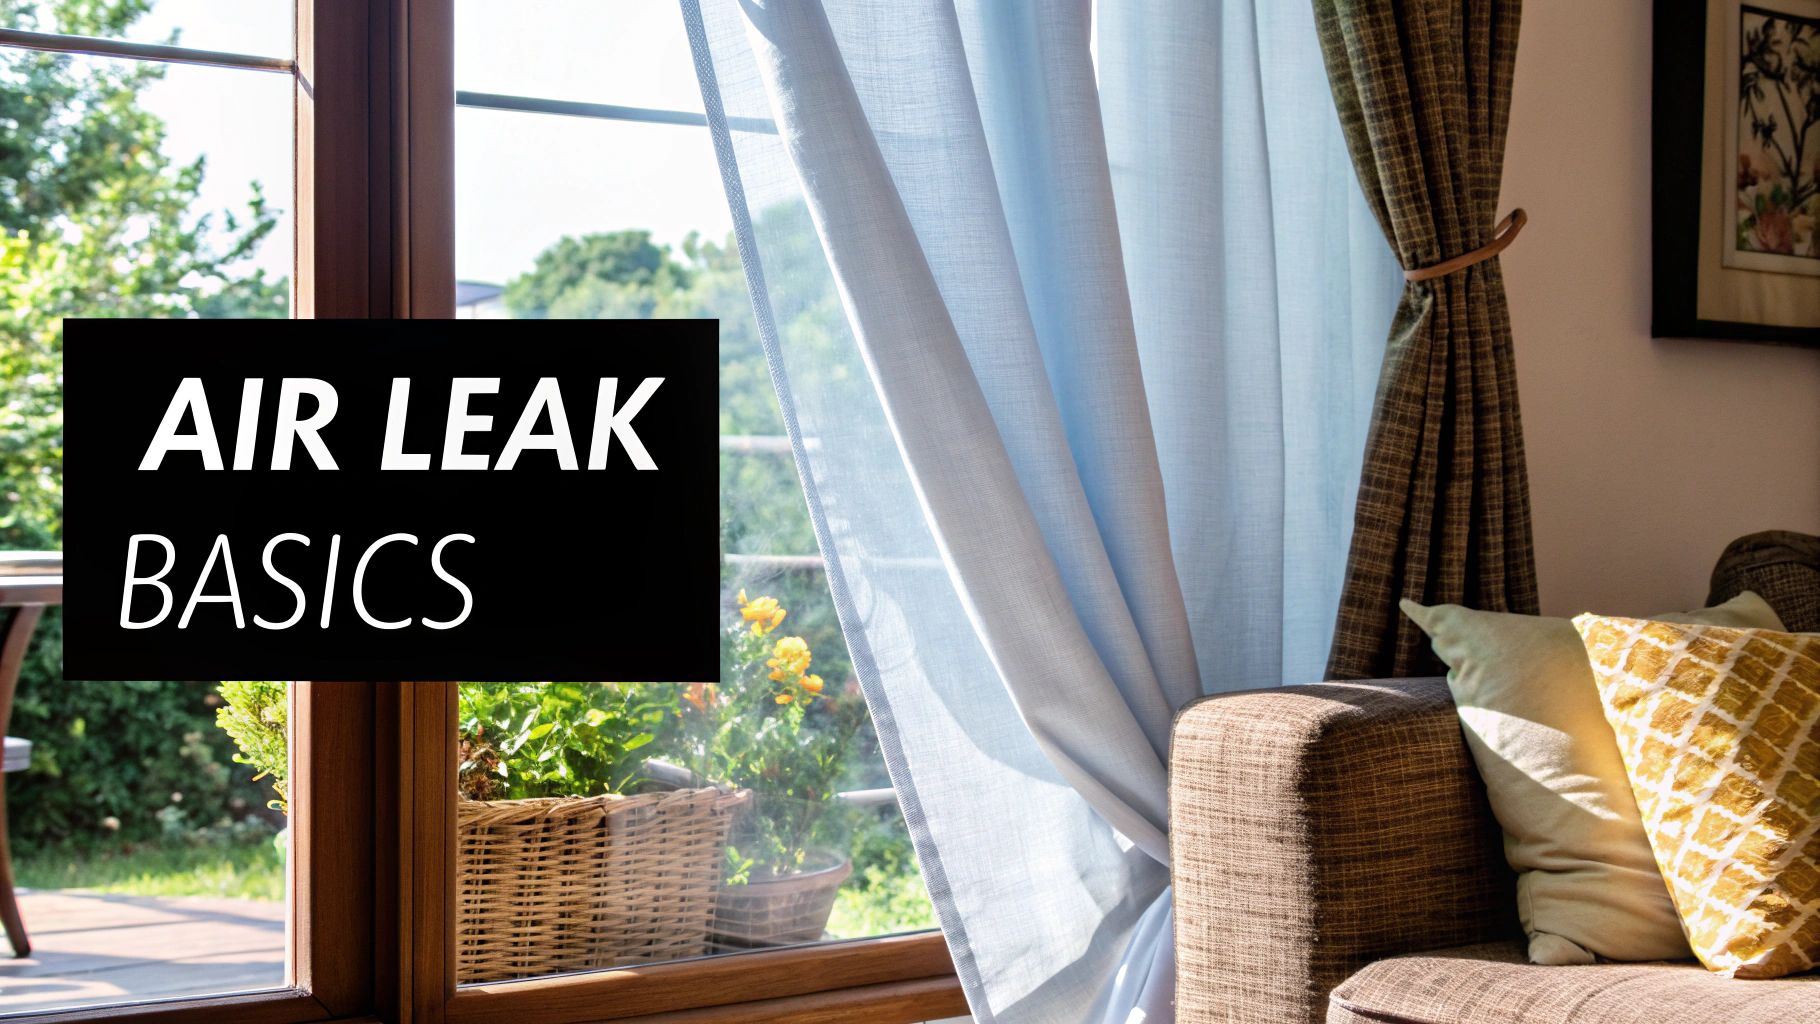
How to Find Air Leaks: Save Money by Sealing Your Home
- Jul 24, 2025
- 13 min read
The simplest way to start hunting for air leaks is to just use your senses. On a windy day, walk around your home and pay close attention to the usual suspects: windows, doors, and even electrical outlets. You'd be surprised how much of a difference these small gaps can make on your comfort and your energy bills.
Why Chasing Down Drafts Is Worth Your Time
It’s tempting to write off a little draft as a minor annoyance, but those hidden gaps are more than just a nuisance; they're silent money pits. When you have unsealed cracks and openings, you're creating a constant energy drain that forces your heating and cooling systems to work much harder just to keep your home at a stable temperature.
That extra workload shows up directly on your monthly utility bills. It's like trying to fill a bucket that has a hole in it; you’re constantly losing what you put in. Your HVAC system is fighting the same battle, trying to compensate for the conditioned air that's always escaping.
It's More Than Just High Energy Bills
The fallout from air leaks goes beyond your wallet. These gaps can seriously degrade your home's indoor air quality by acting as tiny doorways for all sorts of outdoor pollutants.
Allergens and Pollutants: Dust, pollen, and other airborne junk can easily find their way into your living space, which is bad news for anyone with allergies or respiratory problems.
Moisture Intrusion: Humid air from outside can get pulled in, leading to moisture issues. This can create the perfect environment for mold and mildew to take hold.
Think air leaks are a small problem? The U.S. Department of Energy found that in industrial settings, leaks in compressed air systems can waste 20-30% of all energy consumed. While a house is different, it really puts into perspective how much energy even tiny gaps can waste.
Ultimately, taking the time to hunt down and seal drafts is one of the smartest investments you can make in your home. You'll boost your home’s energy efficiency, which is a huge part of keeping your system healthy. For a deeper dive, take a look at our guide to HVAC system efficiency. You'll end up with a healthier, more comfortable place for you and your family to live.
Common Air Leak Hotspots in Your Home
To help you get started, I've put together a quick-reference table of the most common places I find air leaks in homes. This should help you prioritize your search and know what you're looking for.
Location | Common Cause | Detection Difficulty |
|---|---|---|
Windows & Doors | Worn weatherstripping, poor sealing | Easy |
Attic Hatch | Improper sealing, uninsulated cover | Easy to Moderate |
Electrical Outlets/Switches | Gaps around the fixture boxes | Easy |
Recessed Lighting | Unsealed "can" lights in the ceiling | Moderate |
Basement Rim Joists | Gaps where the foundation meets the wood frame | Moderate |
Plumbing & Wiring Holes | Gaps around pipes and wires entering the home | Moderate to Hard |
Focusing on these areas first will give you the biggest bang for your buck. Even sealing a few of these common spots can make a noticeable difference in your home's comfort and efficiency.
Mastering the Visual and Touch Inspection
Sometimes, the best tools you have for finding drafts are the ones you were born with: your eyes and your hands. Before you spend a dime, a simple walkthrough can uncover some of the most common culprits behind a drafty, inefficient home. I always tell homeowners to do this on a cool, windy day, as the moving air makes the leaks much easier to feel.
Start with the obvious spots: windows and doors. Slowly run your hand along the edges of the frames. Do you feel a distinct cold spot or even a subtle breeze? That’s a classic sign your weather stripping has given up or the caulk has cracked and pulled away from the frame.
Take a good look at the sealant itself, too. Is it brittle, cracked, or visibly shrinking? Those are dead giveaways that the seal is broken and needs to be redone. Don't forget to check less obvious places like the attic hatch and any doors that lead to unconditioned spaces like a garage or basement. These are notorious for air leaks.
Subtle Clues and Hidden Leaks
Air leaks don't always announce themselves with a chilly draft. Sometimes, the evidence is a bit more subtle, left behind by the dust and debris that air carries with it over time.
Discolored Insulation: Head up to your attic or down to the basement and look at the insulation. If you see dark, dirty-looking patches, that's a telltale sign that air has been filtering through that exact spot for a long, long time.
Recurring Cobwebs: Ever notice how cobwebs reappear in the same corner right after you clean them? Spiders are surprisingly great draft detectors. They love to build their webs in places with consistent, gentle airflow.
Gaps Around Penetrations: This is a big one. Look closely where pipes, wires, or vents come into your home through walls, floors, or ceilings. Gaps around these penetrations are incredibly common entry points for outside air.
A draft is more than just an annoyance; it's a direct hit to your wallet. Every bit of unconditioned air that sneaks in forces your HVAC system to work overtime, burning more energy and driving up your utility bills.
Finding and sealing these gaps does more than just make your home feel cozier. It also helps your air conditioner run far more effectively. In fact, improving your AC’s performance is one of the biggest wins of a well-sealed home. You can learn more about how to improve AC efficiency in our dedicated guide. By taking a systematic approach, you can turn a simple visual check into a powerful diagnostic tool for a more efficient house.
Using Household Items as Leak Detectors

So, your initial walk-through made you suspicious of a few spots. You can feel a faint draft, but you’re not quite sure. It's time to confirm those hunches. The good news is you don’t need a professional's toolkit to get some real answers on how to find air leaks. A couple of everyday items you probably have lying around can do the trick beautifully.
We're talking about the classic incense test and the simple plastic wrap method. These old-school techniques are surprisingly effective at making invisible air currents visible. It’s no surprise that sealing homes is big business; the professional air leak testing market is a massive industry valued at nearly USD 4.9 billion, and it's expected to more than double by 2034. That alone shows how critical finding and fixing leaks has become for saving energy.
The Incense Stick Test
This is my personal favorite for checking drafts around windows, doors, and even electrical outlets. Why? Because the smoke gives you undeniable visual proof. The idea is wonderfully simple: use the smoke to trace the exact path of moving air.
First, you’ll want to create a still environment. Close all your windows and doors, and kill any fans, the furnace, or the AC. Now, carefully light an incense stick. Hold it near the edge of a spot you suspect is leaking, like the corner of a window frame or right along the floor by a door.
Now, just watch the smoke. If it gets pulled into the room or pushed away from the wall, you've found a leak. If the smoke rises straight up without any drama, that spot is probably sealed up tight.
Safety First: It goes without saying, but be careful with that lit incense stick. Keep it well away from flammable things like curtains or papers, and never, ever leave it unattended. I like to keep a small bowl of water handy to put it out safely when I'm done.
The Plastic Wrap Method
What about areas where waving a stick of smoke around isn't a great idea, like near vents or larger gaps? For those, the plastic wrap test is a fantastic alternative. It’s especially good at pinpointing leaks you can’t easily feel.
Here’s how you do it:
Prep the Plastic: Cut a piece of lightweight plastic wrap (the clingy kitchen kind works perfectly) a bit larger than the area you're testing, like a heating vent or outlet cover.
Tape it Up: Use painter's tape to secure just the top edge of the plastic over the opening. Let the rest of it hang loose.
Watch for Movement: Now, observe. If the plastic wrap billows outward or gets sucked tight against the opening, you've confirmed an air leak.
This trick is particularly revealing for checking your ductwork. If you tape plastic over a supply vent and it blows outward even when the HVAC system is off, that could signal pressure differences from leaks somewhere else in your ducts. It’s a simple but powerful diagnostic tool.
Simulating a Pro Test on a DIY Budget
When the simple hand test or incense stick trick isn’t cutting it, you might feel like you need to call in the pros with their fancy equipment. But hold on, you can get surprisingly close to a professional blower door test using stuff you probably have in your garage.
This DIY method is my go-to for finding those really sneaky drafts. The whole idea is to depressurize your house, basically turning it into a giant vacuum. By pulling air out faster than it can get in, you create negative pressure. This makes even the tiniest, most insignificant crack whistle like a train, making it impossible to ignore.
Prepping Your House for the Pressure Test
Before you fire up the fan, a little prep work is essential. You need to create a sealed environment for this to work safely and effectively.
Seal it up tight: Walk through your home and shut and lock every single window and exterior door. Don't forget the fireplace damper!
Power down: Turn off any appliance that uses combustion, like your gas furnace or water heater. You’ll also want to switch off all exhaust fans in the kitchen and bathrooms.
Pick your spot: Find a central exterior doorway. This is where you'll place a powerful box fan, making sure it's facing outward to pull air from inside the house.
Once the fan is in place, you need to seal the rest of the doorway around it. I usually use cardboard and some heavy-duty tape for this. The goal is simple: make sure the only air leaving the house is going through that fan. This forces outside air to rush in through every unsealed gap and crack you have.
Now, let’s be clear: this isn't a replacement for a calibrated professional energy audit. But it’s a remarkably effective way to get a real-world sense of where your home is bleeding energy. The pros use the same principle; they just have specialized gear to get precise measurements.
With your fan running on its highest setting, it's time to go hunting. Grab your incense stick or just use your hand and walk through the house again. You'll be absolutely amazed. Those drafts you were searching for before will now feel like a steady breeze. Places that seemed perfectly sealed will reveal their secrets.
This quick visual breaks down the process of finding a leak, checking its size, and sealing it up the right way.
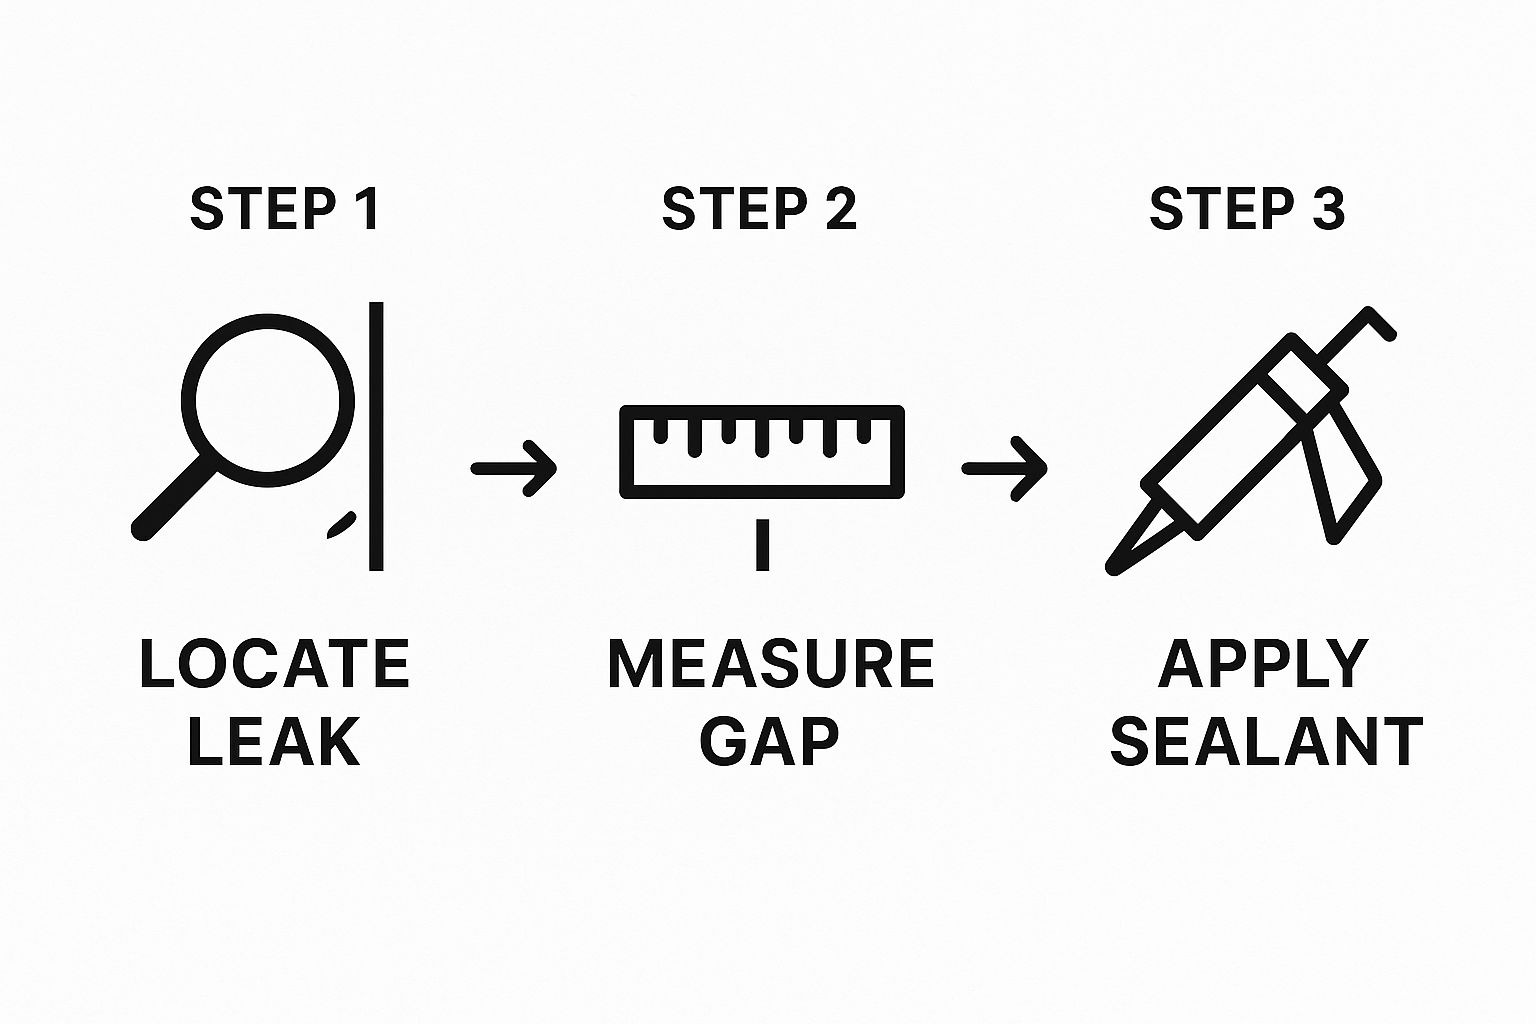
Following these key steps ensures you're not just finding the problem but applying a fix that will actually last.
You've done the DIY basics, sealed up the most obvious culprits, and yet... something's still not right. Those stubborn drafts persist, or your energy bills are still making you wince. This is the point where many homeowners hit a wall.
While DIY methods are fantastic for catching low-hanging fruit, they can only take you so far. When you’ve done all you can and the problem isn't solved, it's time to bring in a professional energy auditor.
Think of it this way: an auditor doesn't just look for drafts; they perform a full diagnostic on your home's performance. They use sophisticated equipment like blower doors and infrared cameras that can see what the naked eye can't, pinpointing hidden leaks inside walls, ceilings, and other hard-to-reach spots.
The value of this precision is clear. The professional air leak testing market was valued at around USD 664 million and is projected to skyrocket to USD 1.63 billion by 2037. This isn't just for homes; industries from construction to automotive manufacturing rely on this tech to ensure top-notch quality and performance.
Deciding to Make the Call
So, when is it officially "call a pro" time? It's less about a single event and more about persistent issues that just won't go away. A professional audit is your best bet if you're experiencing:
Stubborn Comfort Issues: Are some rooms always freezing in the winter or sweltering in the summer, no matter how you fiddle with the thermostat? This points to a bigger issue than a simple window draft.
Unexplained High Bills: If you've sealed obvious gaps and your energy costs are still stubbornly high, hidden leaks are the likely villain. An audit finds the source of the bleeding, which is a critical step beyond the tips in our guide on real strategies that cut heating costs.
Moisture or Odor Problems: Finding condensation on your windows? Smelling musty odors? These can be signs that air is seeping in from damp places like your crawlspace or attic, bringing moisture and unpleasant smells with it.
To help you decide whether to keep tackling it yourself or hire an expert, here’s a quick comparison of what each approach offers.
DIY vs. Professional Air Leak Detection
Feature | DIY Methods | Professional Energy Audit |
|---|---|---|
Tools Used | Incense sticks, plastic wrap, flashlights, wet hands | Blower door, infrared camera, smoke pencils, pressure gauges |
Accuracy | Good for finding obvious, large drafts and visible gaps | Precisely measures total air leakage and pinpoints hidden leaks |
Scope | Limited to what you can see, feel, and easily access | Comprehensive home performance assessment, including hidden areas |
Outcome | A good starting point for basic weatherization | A detailed, prioritized report with a clear action plan |
Cost | Low (cost of basic materials like caulk & weatherstripping) | Higher initial investment (typically a few hundred dollars) |
Best For | Finding and fixing easy, common air leaks | Solving complex comfort issues and high energy bills |
Ultimately, DIY is a great first step, but a professional audit provides a complete picture.
An energy audit isn't just a test; it's a comprehensive roadmap for your home. The final report will rank air leaks by severity, giving you a clear, prioritized action plan to make your home more comfortable and efficient for years to come.
Your Next Steps After Finding a Leak
So, you’ve done the detective work and found where those pesky drafts are sneaking into your home. Pinpointing the sources of these energy thieves is a huge step, but the job is only half done. Now it's time to shift from finding the leaks to fixing them, turning all that effort into real energy savings and a much more comfortable house.
The next move is all about choosing the right tool for the job. You wouldn't use a hammer to turn a screw, and the same logic applies here. A one-size-fits-all approach just doesn't work for air sealing; the right material depends entirely on the size and location of the gap you need to fill.
Choosing the Right Sealing Material
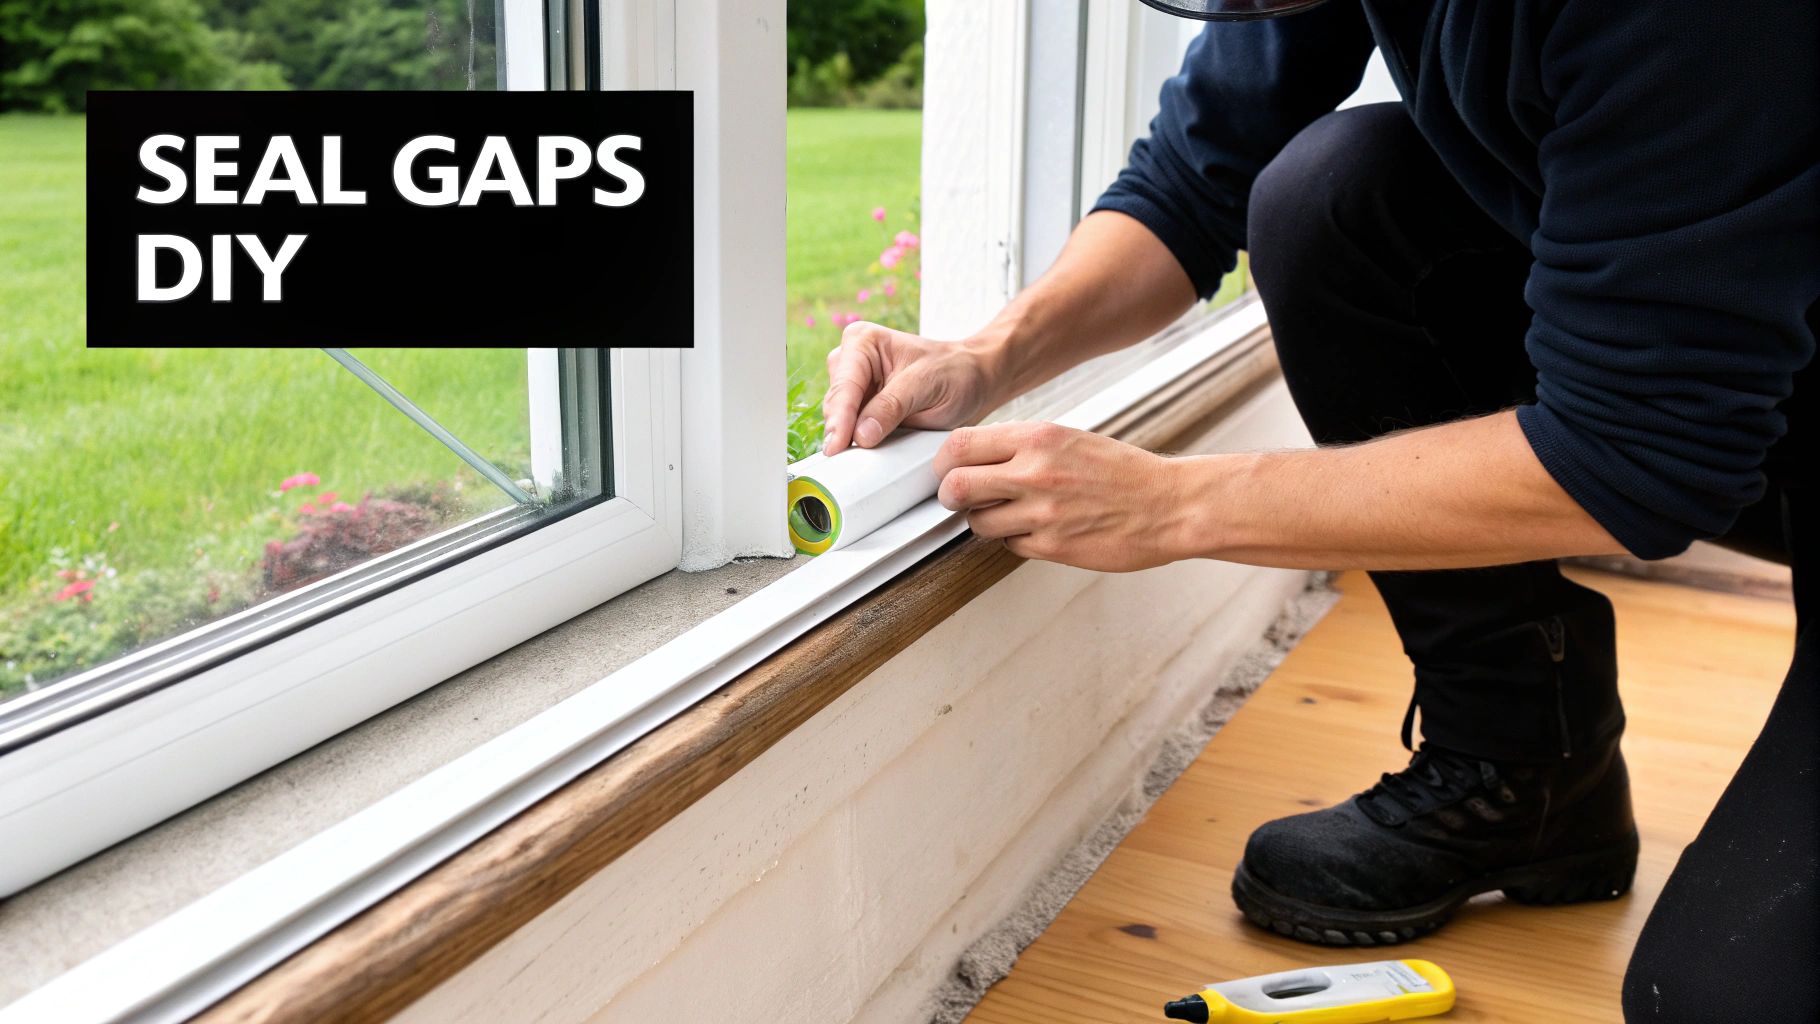
For those small, hairline cracks and gaps you found around stationary window and door frames, caulk is going to be your best friend. It’s simple to apply, flexible, and creates that perfect airtight seal you’re looking for.
When you're dealing with parts that move, like the gap between a door and its frame or where a window sash meets the track, you need weatherstripping. It seals the opening but still allows the door or window to work just like it should.
Foam Sealant: Got bigger gaps, especially where pipes or wiring punch through your walls? Expanding foam sealant is the way to go. It expands to fill those awkward, irregular spaces completely, forming a tough barrier against drafts.
Outlet Gaskets: Don’t overlook the electrical outlets and switch plates on your exterior walls. These are notorious for letting cold air in. Inexpensive foam gaskets are incredibly easy to install right behind the faceplate and make a surprising difference.
One of the most common mistakes I see is people using the wrong product for the leak, like putting rigid caulk where flexible weatherstripping is needed. This can actually make the problem worse or even damage your window or door. Always match the material to the specific leak you're fixing.
Sealing these gaps is a direct investment in your home's efficiency. When you stop drafts, your HVAC system doesn't have to work nearly as hard, and you’ll see the difference in your energy bills. To really double down on those savings, you should also learn how to program your thermostat effectively. Combining smart thermostat use with a well-sealed home is a powerful one-two punch against wasted energy.
You’ve done the work and hunted down those pesky drafts. But even after a thorough inspection, you might still have a few questions rolling around in your head. That’s perfectly normal.
Let's tackle some of the most common questions homeowners have once they start their air-sealing journey.
How Much Can I Really Save by Sealing Leaks?
This is the big one, right? While every home is different, the U.S. Department of Energy gives us a great benchmark: homeowners can save an average of 15% on heating and cooling costs just by air sealing and adding proper insulation. For many families, that adds up to hundreds of dollars back in their pockets each year.
But the savings don't stop at your utility bill. Sealing up leaks takes a huge amount of stress off your HVAC system. It doesn't have to work nearly as hard to keep you comfortable, which means less wear and tear and a longer, healthier life for your equipment.
What Are the Biggest Air Leak Hotspots?
In my experience, the most significant air leaks almost always pop up where two different building materials meet. It’s those transitions that create tiny gaps.
When you're hunting for leaks, focus your energy on these problem areas first:
The Attic: This is ground zero for air leaks. Check around the attic hatch, recessed lighting fixtures (a huge culprit!), and any pipes or vents that penetrate the ceiling.
The Basement or Crawlspace: Pay close attention to the rim joists. That’s the spot where the wooden frame of your house sits on top of the concrete foundation, a notorious spot for air to sneak in.
Windows and Doors: Old, cracked caulk and worn-out weatherstripping are low-hanging fruit. They're common, but thankfully, they're also some of the easiest fixes.
Here's something to keep in mind: Air leaks can be sneaky. A draft you feel coming from a ceiling light might actually start at an unsealed electrical outlet on an exterior wall. Air travels in complex, three-dimensional paths you wouldn't expect.
Can Air Leaks Affect My Health?
Absolutely, and it's a point that often gets overlooked. Those uncontrolled leaks aren't just letting in outside air; they're pulling in everything in that air. We're talking about pollen, dust, mold spores, and other outdoor allergens that can seriously degrade your home's air quality.
This is a major concern, especially for anyone in the house with asthma or allergies. Sealing leaks gives you back control over your indoor environment. If you want a truly complete picture of what's floating around in your air, you might consider professional indoor air quality testing in Tucson to pinpoint any hidden pollutants. At the end of the day, sealing your home is about more than just comfort and savings; it's about the health of the air you breathe every single day.
For professional help diagnosing and solving your home's comfort and efficiency problems, trust the certified technicians at Covenant Aire Solutions. We provide expert HVAC services to ensure your home is sealed, safe, and comfortable. Contact us today for a consultation at covenantairesolutions.com.