How to Troubleshoot AC Problems A Homeowner's Guide
- Dec 17, 2025
- 13 min read
When your AC gives up the ghost on a sweltering Tucson day, it's easy to feel a wave of panic. But before you pick up the phone to schedule an expensive repair, take a breath. Learning how to troubleshoot ac problems yourself often starts with a few incredibly simple, tool-free checks.
You'd be surprised how many "broken" air conditioners are just suffering from a minor hiccup you can fix in minutes.
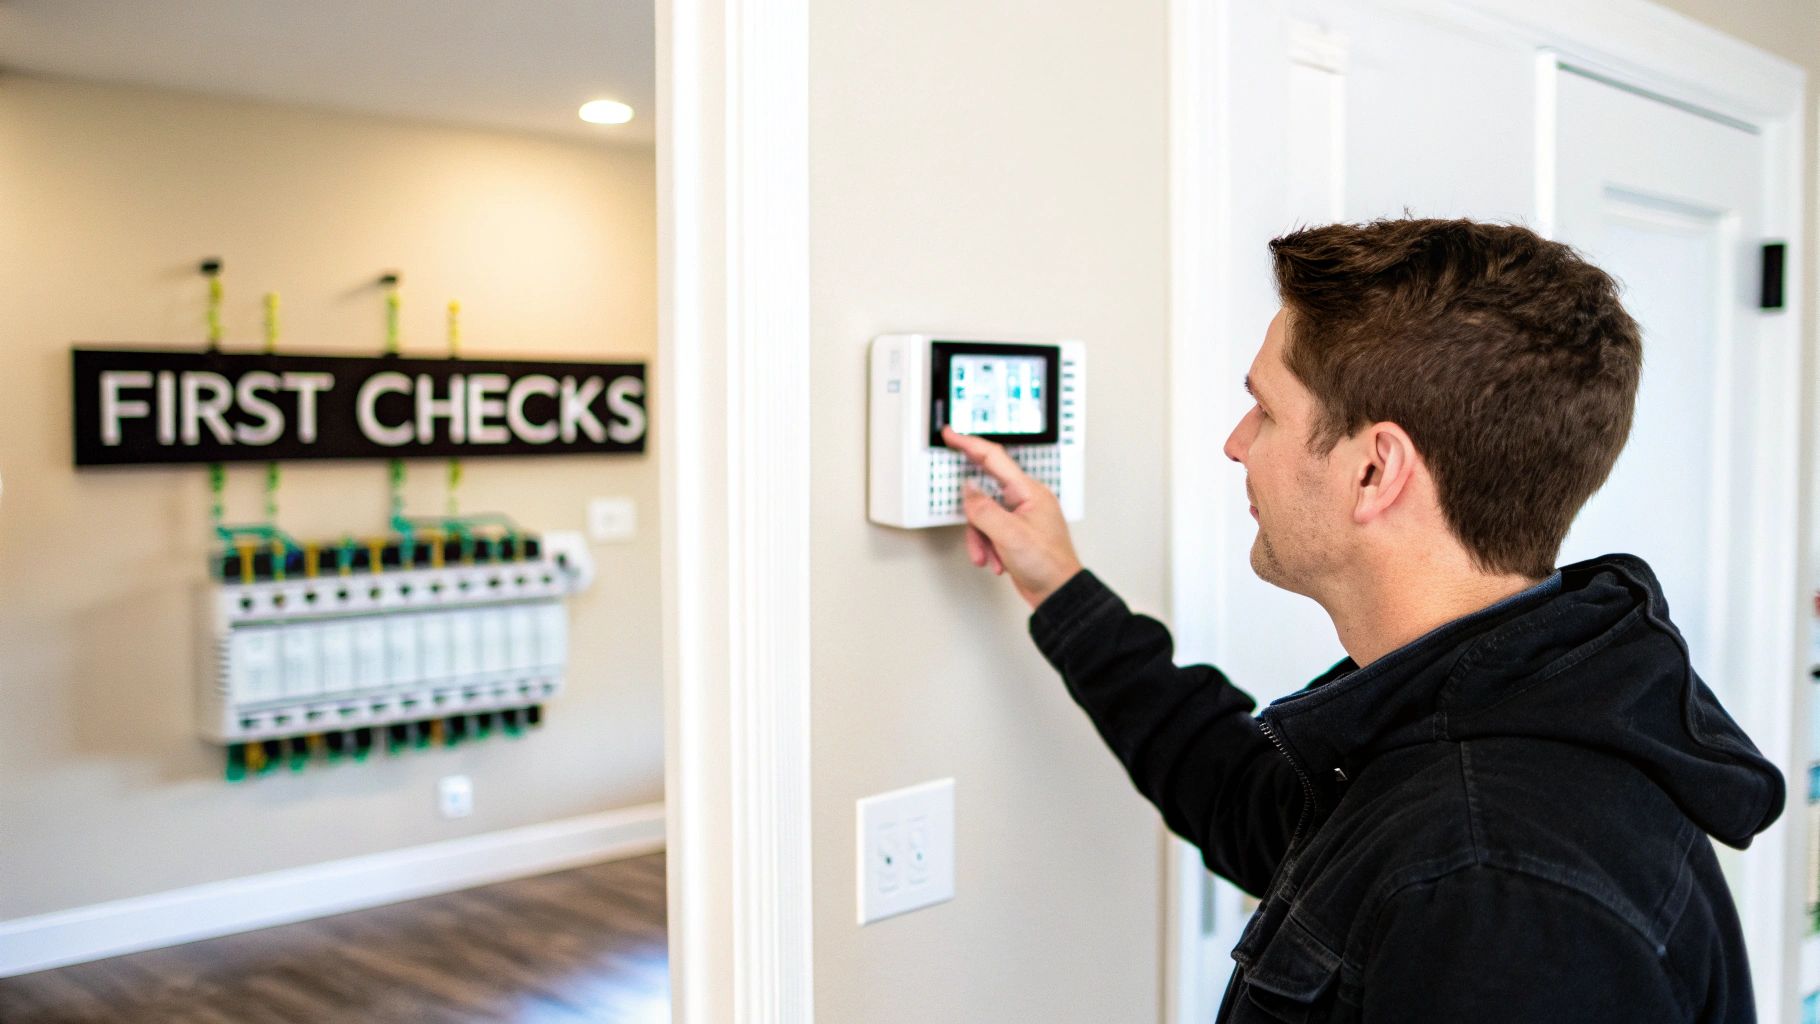
Your First Checks When the AC Fails
When the air in your home starts feeling thick and warm, it’s natural to assume the worst: a catastrophic failure is underway. The good news? That's rarely the case. Most of the time, AC failures are caused by simple oversights, not major breakdowns.
By walking through the same initial steps a professional technician would, you can often pinpoint the problem and get the cool air flowing again, saving yourself both time and a service call fee.
Start with the Thermostat
The thermostat is the command center for your entire HVAC system, and honestly, it's the number one source of trouble. It might seem too simple, but checking it first is a pro move.
First things first, make sure the system is actually set to "cool" and the temperature is dialed in at least five degrees lower than what the room currently feels like. It's an easy mistake to make, especially with programmable thermostats. If you want to dig deeper into the settings, our guide explains the difference between the fan "on" or "auto" setting.
Next, take a look at the thermostat's screen. Is it completely blank or just not responding? The batteries are probably dead. Most digital thermostats run on standard AA or AAA batteries that are a breeze to swap out.
A dead thermostat is one of the most common reasons we get a "no-cool" service call. Popping in a fresh set of batteries is a two-minute fix that can bring your AC back to life and save you the cost of a visit.
This little decision tree simplifies those first crucial steps when you realize your air conditioner has stopped working.
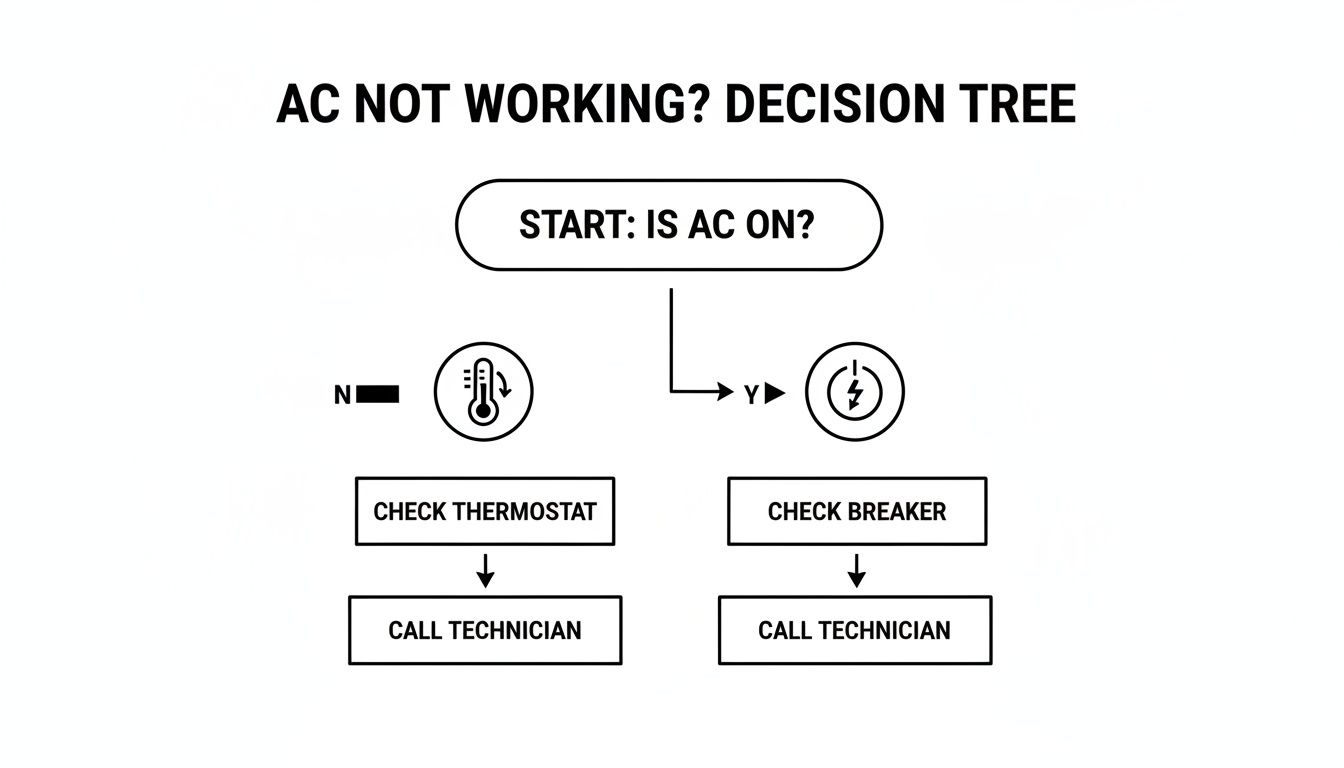
As the flowchart shows, always start with the thermostat. It's the easiest thing to check and the most common point of failure.
Check for Power Issues
Okay, so the thermostat settings are correct and it has fresh batteries, but there's still no cold air. The next logical step is to see if the system is even getting power. Simple electrical issues are another top cause of AC failures.
Start by heading to your home's main electrical panel (the breaker box). Look for the circuit breaker labeled "AC," "Air Conditioner," or maybe "HVAC." Has it flipped to the middle or "off" position? If so, push it firmly all the way to "off" and then back to the "on" position to reset it.
If the breaker trips again right away, do not reset it again. This is a clear sign of a more serious electrical problem that needs a licensed professional to diagnose safely.
Solving Common Airflow and Filter Issues
If your AC is running but the air trickling out of the vents feels weak or isn't nearly as cold as you expect, the problem often isn't a major mechanical failure. More often than not, it's a simple matter of airflow. Think of it this way: an AC system struggling to breathe is like trying to run a marathon while breathing through a coffee straw. It just can't perform.
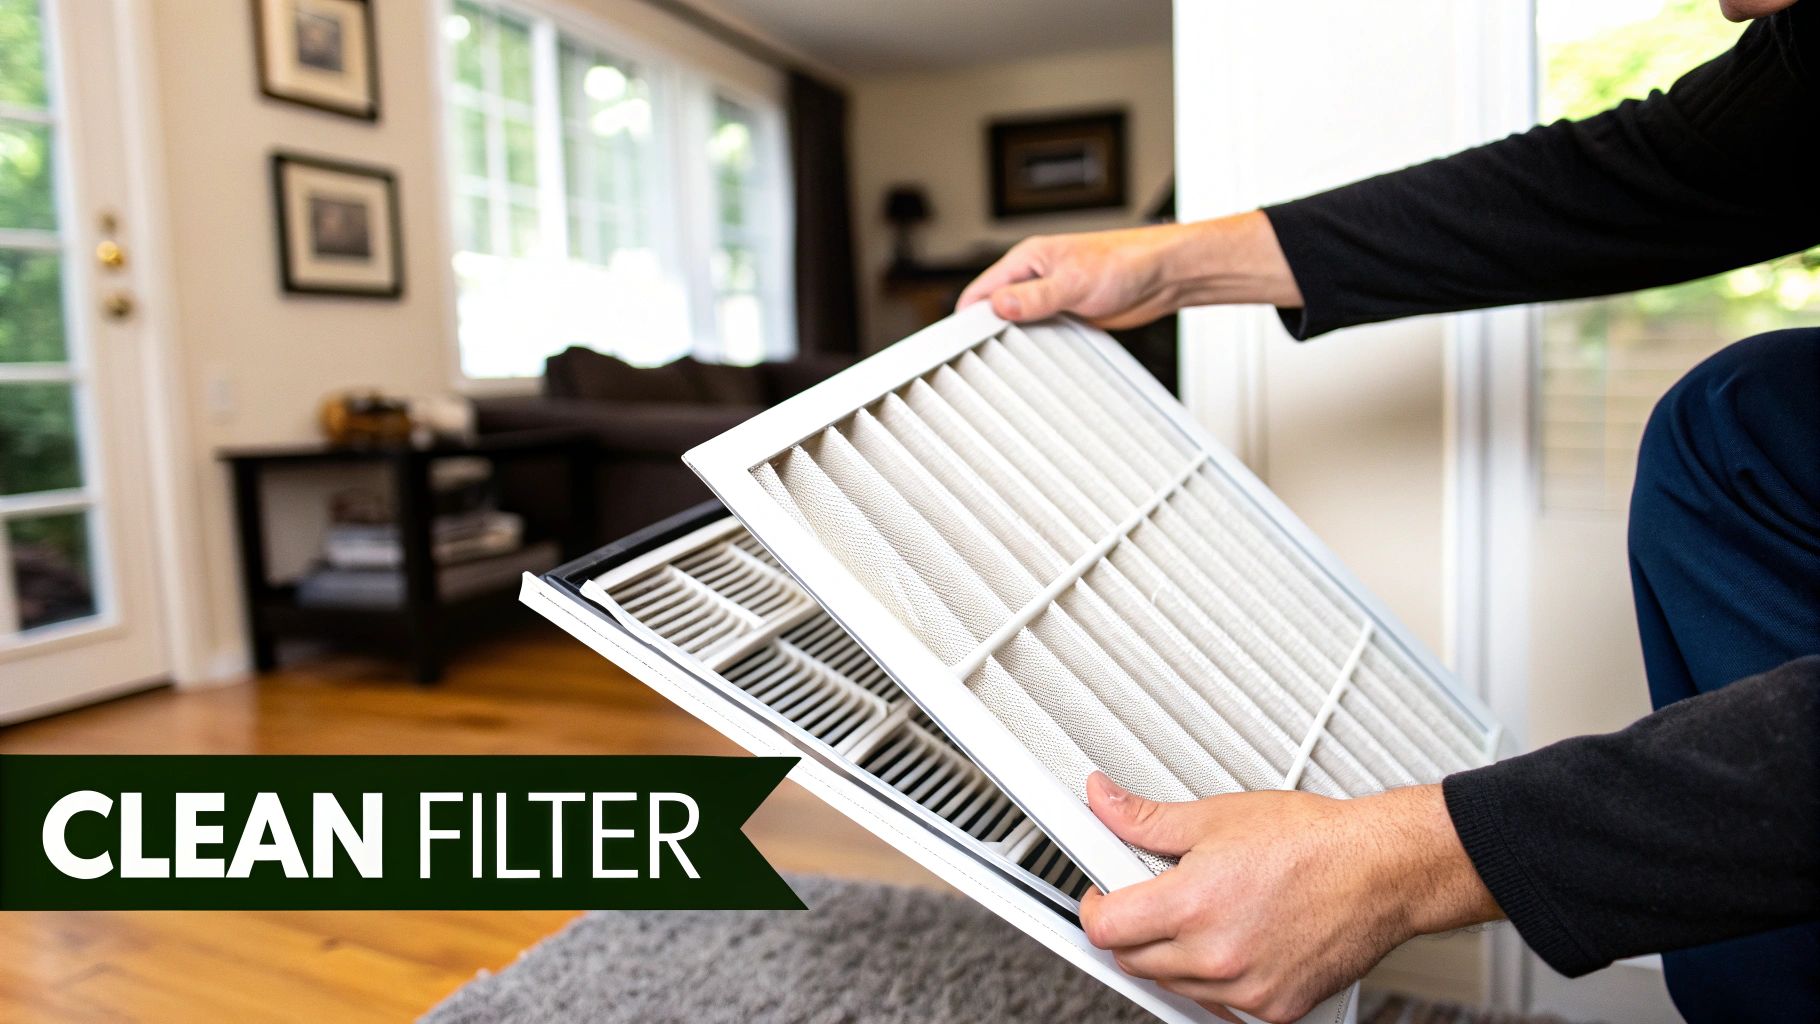
The first and most important place to look is the air filter. This simple piece of pleated paper has a massive impact on your system’s health, your comfort, and your monthly power bill. A dirty, clogged filter literally chokes your air conditioner, forcing it to work much harder and longer to cool your home.
Locate and Inspect Your Air Filter
First things first, you need to find the filter. It's usually in one of two places: tucked into a slot right at the indoor air handler unit (often found in a closet, the attic, or a basement) or sitting behind a large return air grille on a wall or ceiling. Finding it is your first win in learning how to troubleshoot AC airflow problems.
Once you’ve located it, slide the old filter out. The eyeball test is pretty reliable here; hold it up to a light. If you can't easily see the light shining through, it’s long overdue for a change. A filter this dirty can restrict airflow so badly that it causes the indoor evaporator coil to freeze into a solid block of ice, bringing your cooling to a screeching halt.
A clogged air filter isn't just a minor issue; it's the number one cause of poor cooling and system inefficiency. Studies show that replacing a dirty filter can slash your air conditioner's energy use by 5% to 15%. That's a real saving over the course of a brutal Tucson summer.
Replacing it is a breeze. Just look for the size printed on the filter's cardboard frame and grab a new one with the exact same dimensions. When you slide the new one in, pay attention to the arrow printed on the side, it needs to point in the direction of the airflow, which is towards the furnace or air handler.
For households with allergy sufferers, you might want to explore the best HVAC filters for allergies to significantly boost your indoor air quality.
Check Your Vents and Registers
With a fresh, clean filter in place, your next move is to make sure the cool air has a clear path into your rooms. Take a quick walk through your house and inspect all the supply and return air vents.
Supply Vents: These are the registers where the cool air blows out. You'd be surprised how often they get blocked by furniture, rugs, or drapes. Make sure they are all open and unobstructed.
Return Vents: This is the big grille that sucks air back into the system to be re-cooled. It needs to be completely clear to allow for proper circulation. Never block it.
It's a common myth that closing vents in unused rooms saves energy. In reality, it can throw off the pressure balance in your ductwork, leading to reduced efficiency and even causing duct leaks over time. It's best to keep them all open.
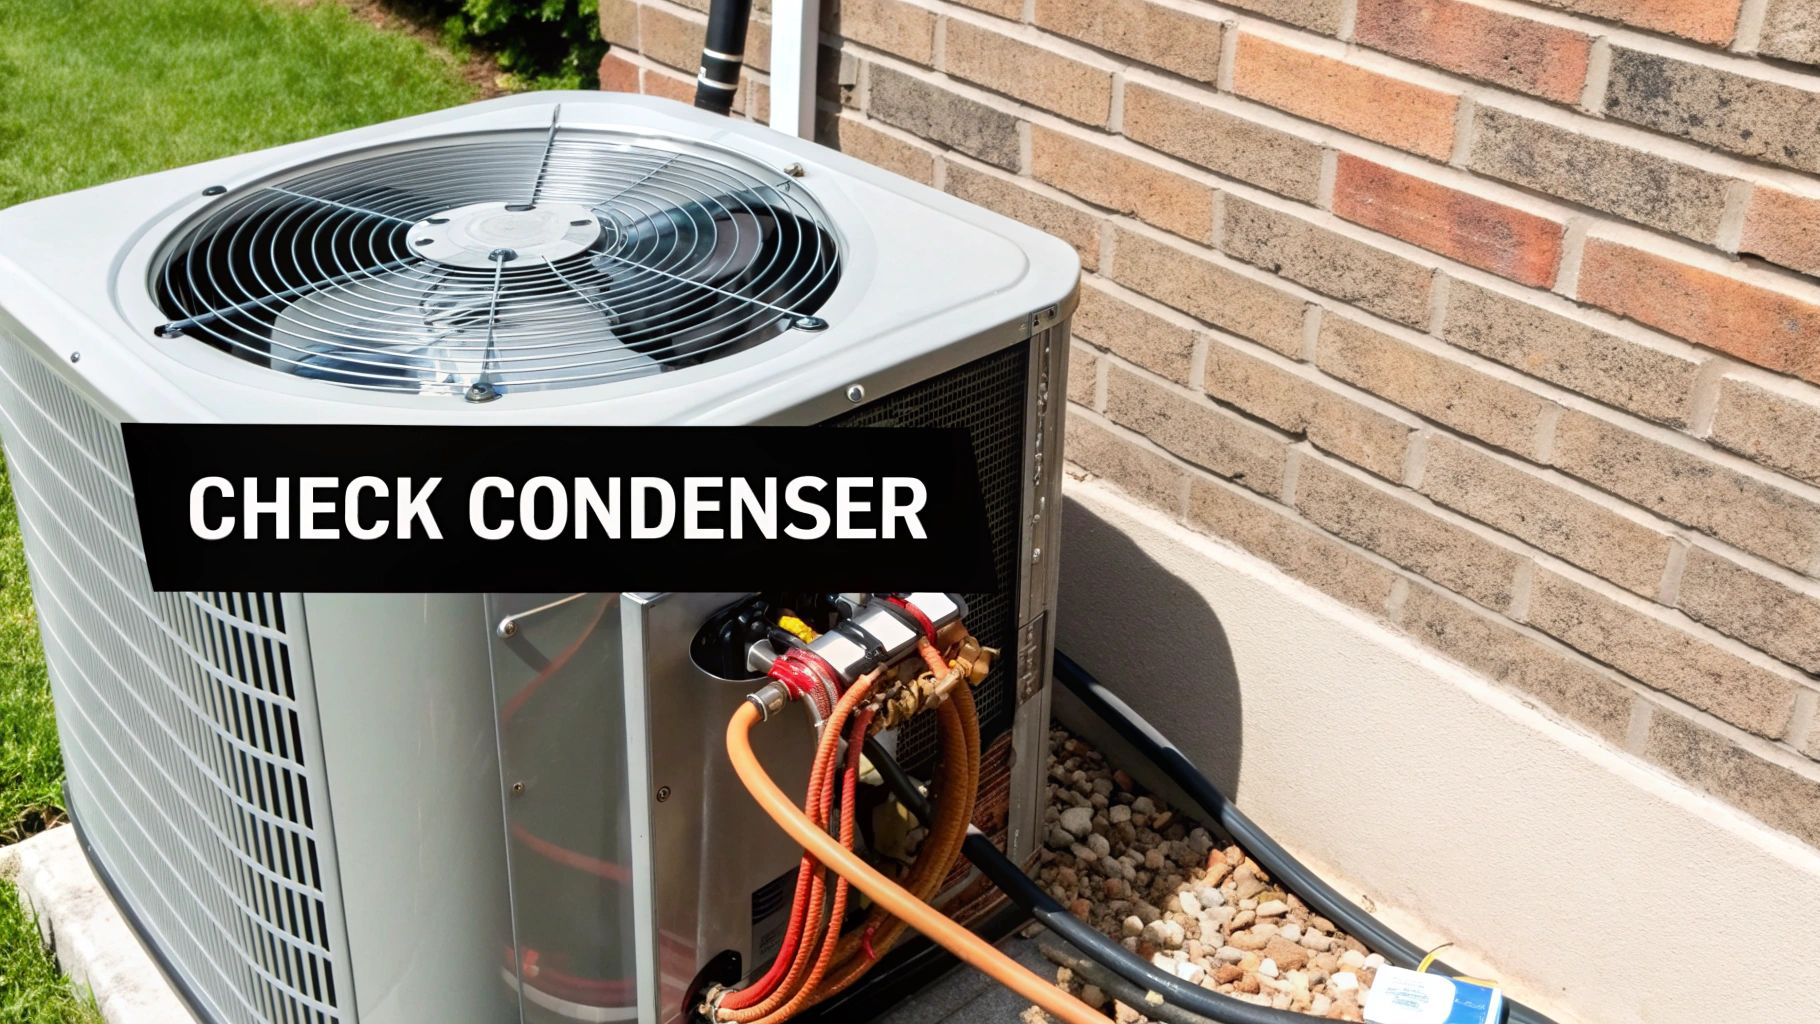
Clear the Outdoor Condenser Unit
Finally, your AC system needs to breathe outside just as much as it does inside. The job of the big, noisy outdoor unit (the condenser) is to dump all the heat it has pulled out of your home. It can't do that effectively if it's being smothered.
Head outside and take a look at the unit. As a rule of thumb, it should have at least two feet of clear space around it on all sides. Gently pull away any encroaching weeds, trim back shrubs, and clear away any leaves or grass clippings that have piled up against it.
A quick rinse with a garden hose (on a gentle setting, please!) can also work wonders to wash away dirt and debris from the delicate metal fins. This simple step ensures the system can release heat properly, a critical checkpoint on any AC troubleshooting list.
Alright, you've checked everything inside. Now it's time to head outdoors and take a look at the condenser unit, that big, noisy box that's the real workhorse of your AC system. This is where all the heat from inside your house gets dumped outside. Given that it lives out in the harsh Tucson sun, dust, and monsoon storms, it's no surprise that a lot of problems start right here.
When everything's running smoothly, you should hear a steady, low hum from the condenser, and the big fan on top should be spinning without any wobbling or hesitation. Getting familiar with what "normal" looks and sounds like is half the battle for any homeowner.
Common Red Flags to Watch For
As you get closer to the unit, just use your eyes and ears. You don't need to be a pro to spot some obvious signs of trouble. Listen for any weird noises and look for anything that just seems off.
Here are a few of the most common symptoms I see and what they usually mean:
Loud Humming or Buzzing: If the unit is making a loud humming noise but the fan blades aren't moving, kill the power immediately. Go to your breaker box and shut it off. This is a classic sign of a failed capacitor, which is like a battery that gives the motors the kick they need to start. If you let it keep humming, you risk burning out the much more expensive compressor.
The Fan Isn't Spinning: Is the unit dead silent and the fan is completely still? This could be a simple power issue (did the breaker trip?) or a dead fan motor. But if it's humming and not spinning, that capacitor is again the prime suspect.
Visible Ice on the Copper Lines: Seeing frost or solid ice on the copper pipes running from the condenser into your house is a major red flag. This almost always points to either a serious airflow problem (like that filthy filter we talked about) or a refrigerant leak.
Safety First: Before you even think about touching or hosing down the condenser, you have to cut all power to it. Find the outdoor disconnect, it's a metal box usually mounted on the wall right by the unit, and pull the handle out. For good measure, I always recommend flipping the corresponding two-pole breaker in your main electrical panel, too.
How a Pro Thinks
Knowing these symptoms is incredibly helpful because it allows you to give a technician some great information if you end up having to call for service. We follow a logical sequence, starting with the simple stuff like power and the thermostat before moving on to airflow and refrigerant levels. Only then do we start testing individual electrical parts.
Keeping the fins on the outside of the unit clean is also huge for performance. If you see a blanket of dirt, dust, or cottonwood seeds clogging it up, you can often restore a good bit of efficiency yourself. We've put together a straightforward walkthrough on how to clean your condenser coils with our easy DIY guide.
However, any work that involves opening up that electrical access panel, like testing or replacing a capacitor, is a job that absolutely must be left to a licensed and insured HVAC professional.
Diagnosing Water Leaks and Drainage Problems
Finding a puddle of water around your indoor air handler is definitely alarming, but don't panic just yet. It's rarely a sign that your whole system has failed. More often than not, you're just looking at a simple drainage issue that you can probably solve yourself.
As your air conditioner works its magic, it pulls a ton of moisture out of the air. All that condensation has to go somewhere, right? It's collected and channeled into a primary condensate drain line, usually a white PVC pipe that leads outside. The catch is that this dark, damp pipe is the perfect breeding ground for algae and gunk, which can build up and create clogs. When that happens, the water has nowhere to go but back into your house.
Locating and Clearing the Drain Line
To clear a minor blockage, the first step is finding where that drain line exits your house. It’s almost always located near your outdoor condenser unit.
Got it? Great. The easiest fix is to attach a wet/dry shop vacuum to the end of the pipe. The powerful suction is usually enough to pull all that gunk right out. Just let the vacuum run for a minute or two to make sure you've cleared the blockage completely.
If you want a more detailed walkthrough, we've put together a handy homeowner's guide to HVAC condensate line cleaning.
Understanding Your AC's Safety Features
Thankfully, your HVAC system has a built-in backup plan for these kinds of clogs. Most indoor units are installed inside a secondary drain pan, which is there specifically to catch any overflow. Tucked inside that pan, you'll usually find a small but critical device called a float switch.
Think of this switch as your system's emergency brake. If water in the pan rises high enough to lift the float, it immediately sends a signal to shut down your entire AC system. This simple safety feature can prevent a minor clog from causing thousands of dollars in water damage to your ceilings, walls, and floors.
So, if your AC suddenly shuts off and you see water sitting in that pan, a clogged drain line is almost certainly the culprit.
On a related note, proper drainage around your foundation is also key to preventing moisture issues. For broader solutions, it's worth exploring expert drainage solutions for yards to help manage overall property moisture and protect your home's foundation.
Knowing When to Call an HVAC Professional
Going the DIY route with your AC can be incredibly empowering, but wisdom lies in knowing your limits. It’s one thing to change a filter or reset a breaker, but it's another thing entirely to start messing with complex electrical components or pressurized refrigerant lines. Stepping aside for a pro isn't admitting defeat; it's making a smart, safe call for your home and your wallet.
Learning how to troubleshoot your AC is as much about recognizing what you can't fix as what you can. Some symptoms are more than just annoyances, they're bright red flags warning you to put down the tools and pick up the phone.
Non-Negotiable Signs You Need a Pro
Some AC problems come with serious risks, either to your personal safety or to the very expensive heart of your system. If you see, hear, or smell any of the following, the next step is simple: shut the whole system down at the breaker box and call a licensed technician. No exceptions.
Trying to "just see" what's wrong in these situations can turn a repairable issue into a full system replacement.
Suspected Refrigerant Leaks: Hear a faint hissing sound from the indoor or outdoor unit? See a greasy, oily film building up on the copper lines? You almost certainly have a refrigerant leak. Handling refrigerant is not a DIY job; it requires EPA certification and specialized tools.
Major Electrical Faults: Any kind of burning smell is an immediate stop sign. Likewise, if you reset a breaker and it trips again right away, you're dealing with a persistent electrical short. Don't keep flipping it.
The Compressor Won't Turn On: The compressor is the engine of your air conditioner. If it refuses to start, often making a loud humming or clanking noise when it tries, the cause could be anything from a simple capacitor to a seized motor. Guessing wrong here can cause catastrophic damage.
A classic homeowner mistake is repeatedly resetting a breaker that keeps tripping. The first reset is a diagnostic step. Anything after that is just forcing electricity into a faulty circuit, which can overheat wires and create a legitimate fire hazard.
When DIY Fixes Aren't Enough
Sometimes, the problem isn't a sudden, dramatic failure. It's a persistent, nagging issue that your basic troubleshooting just can't seem to solve. These tricky, often intermittent problems are where a pro's diagnostic tools and years of experience become invaluable. They can find the root cause much faster than you can with a checklist.
Loud Mechanical Noises: Grinding, squealing, or banging are not normal operating sounds. These noises point to serious internal mechanical problems, like worn-out motor bearings or a loose part rattling around where it shouldn't be.
Intermittent Cooling: This is one of the most frustrating problems. If your AC works perfectly one day and struggles the next, you could be chasing a complex electrical issue, a failing sensor, or an incorrect refrigerant charge.
Skyrocketing Energy Bills: A sudden, unexplained jump in your electricity bill is a huge red flag. It often means the system is working way too hard to cool your home due to a hidden mechanical problem or refrigerant issue that's killing its efficiency.
While you can handle many initial checks, understanding the bigger picture of system health is key. For more on long-term efficiency, it's helpful to know how often to service your HVAC system. And if you're facing an urgent problem right now, our emergency air conditioning repair guide for homeowners offers crucial advice on what to do while you wait for a technician. Making the right call protects your investment and, most importantly, keeps your family safe and comfortable.
Common AC Troubleshooting Questions Answered
When your air conditioner suddenly quits on a sweltering Tucson day, your mind starts racing with questions. We get it. Here are some straightforward answers to the most common issues we hear about from homeowners trying to diagnose a problem. Think of this as your first-response guide to figure out what's going on.
Why Is My AC Running but Not Blowing Cold Air?
This is, without a doubt, the number one call we get. When the fan is running but the air isn't cold, it usually points to one of two things: a seriously clogged air filter or a dirty outdoor condenser unit.
A blocked filter chokes off the airflow moving across the indoor coils, so they can’t absorb heat from your home. Likewise, a condenser unit caked in dirt and debris can't effectively release that heat outside.
Of course, it could also be something more serious, like low refrigerant from a leak or even a failing compressor. But always start with the simple stuff. Try swapping in a fresh air filter and giving the outdoor unit's fins a gentle cleaning with a garden hose. If that doesn’t solve it, it's time to have a pro look at the mechanicals.
How Often Should I Really Change My AC Filter?
The textbook answer depends on the filter. Those basic 1-inch fiberglass filters? They really do need to be changed monthly. The higher-end pleated ones can often go up to 90 days.
But honestly, your specific home environment matters a lot more than what the package says.
Got Pets? If you have shedding animals, you should be checking that filter monthly, period.
Dusty Climate: Here in Tucson, the dust is no joke. That alone is a good reason to check more frequently.
Allergies in the Family? For anyone sensitive to allergens, a clean filter is non-negotiable for maintaining good indoor air quality.
Keeping that filter clean is the single most important thing you can do for your AC’s health and your own electric bill. It's a small task with a massive payoff.
Is It Bad to See Ice on My Air Conditioner Lines?
Yes, seeing ice on your AC lines is a definite red flag. It’s not normal. This almost always points to either a critical airflow problem or a refrigerant issue. The top cause, by a long shot, is a blocked air filter. It prevents warm indoor air from moving across the cold evaporator coils, causing them to get too cold and freeze over.
Another common culprit is a refrigerant leak. When the system is low on refrigerant, the pressure drops and can cause the coils to freeze up.
If you spot ice, the first thing you need to do is turn the AC system off completely. Leave the fan running in the "ON" position (not "AUTO") to help it thaw out faster. Check your filter and replace it if it's dirty. If the ice comes back after everything thaws, you absolutely need a technician to find and fix the underlying leak or blockage.
Ignoring ice can lead to catastrophic compressor failure, which is a much more expensive problem to fix.
What Does a Humming Noise from My Outdoor Unit Mean?
A loud, persistent humming or buzzing sound is usually a cry for help from the electrical components inside your condenser. If you hear the hum but the big fan on top isn't spinning, the problem is very often a failed capacitor. A capacitor is a small, cylinder-shaped part that gives the motors the kickstart they need to get going.
It could also be a bad contactor (an electrical switch) or a compressor that is trying, and failing, to turn on. For any of these situations, your next move is to go to your circuit breaker and shut off all power to the outdoor unit. Letting it continue to hum and strain can burn out the motors, turning a small repair into a major one. This is one for the pros.
When you've tried the basics and your AC still isn't cooperating, don't hesitate to call in the experts. For reliable, honest, and professional HVAC service in the Tucson area, trust Covenant Aire Solutions to get your system running perfectly again. Visit us online at https://www.covenantairesolutions.com to schedule a service call today.