Thermostat Wiring Color Codes: Complete Guide for Easy Installation
- Sep 8, 2025
- 12 min read
Updated: Sep 9, 2025
When you pop the cover off your thermostat, that bundle of colorful wires can look pretty intimidating. But don't worry, there's a method to the madness. HVAC systems use a standardized color-coding system to make sure everyone, from seasoned pros to ambitious DIYers, can tell what each wire does at a glance.
Think of it as a universal language for your home's heating and cooling. Getting a handle on these basics is the first step toward tackling a thermostat installation or figuring out why your system isn't working right.
The Most Common Thermostat Wires
While there are some exceptions out there (we'll get to those), most modern thermostats stick to a pretty consistent color scheme. The chart below is your quick-reference guide to the most common wires you'll encounter.
Standard Thermostat Wiring Reference Chart
This table breaks down the essentials: the wire's color, the terminal letter it connects to on the thermostat, and its main job in the HVAC system.
Wire Color | Terminal Letter | Primary Function |
|---|---|---|
Red | R, Rh, Rc | 24V Power (from the transformer) |
White | W, W1, W2 | Heating (controls the furnace/heat) |
Yellow | Y, Y1, Y2 | Cooling (controls the air conditioner) |
Green | G | Fan Blower (operates the indoor fan) |
Blue/Black | C | Common Wire (provides continuous power) |
Orange | O, B, O/B | Reversing Valve (for heat pumps) |
This chart covers the foundational wires. Just remember that while these colors are the standard, you should always take a picture of your old thermostat's wiring before you disconnect anything. It's the best way to ensure you know exactly where everything goes.
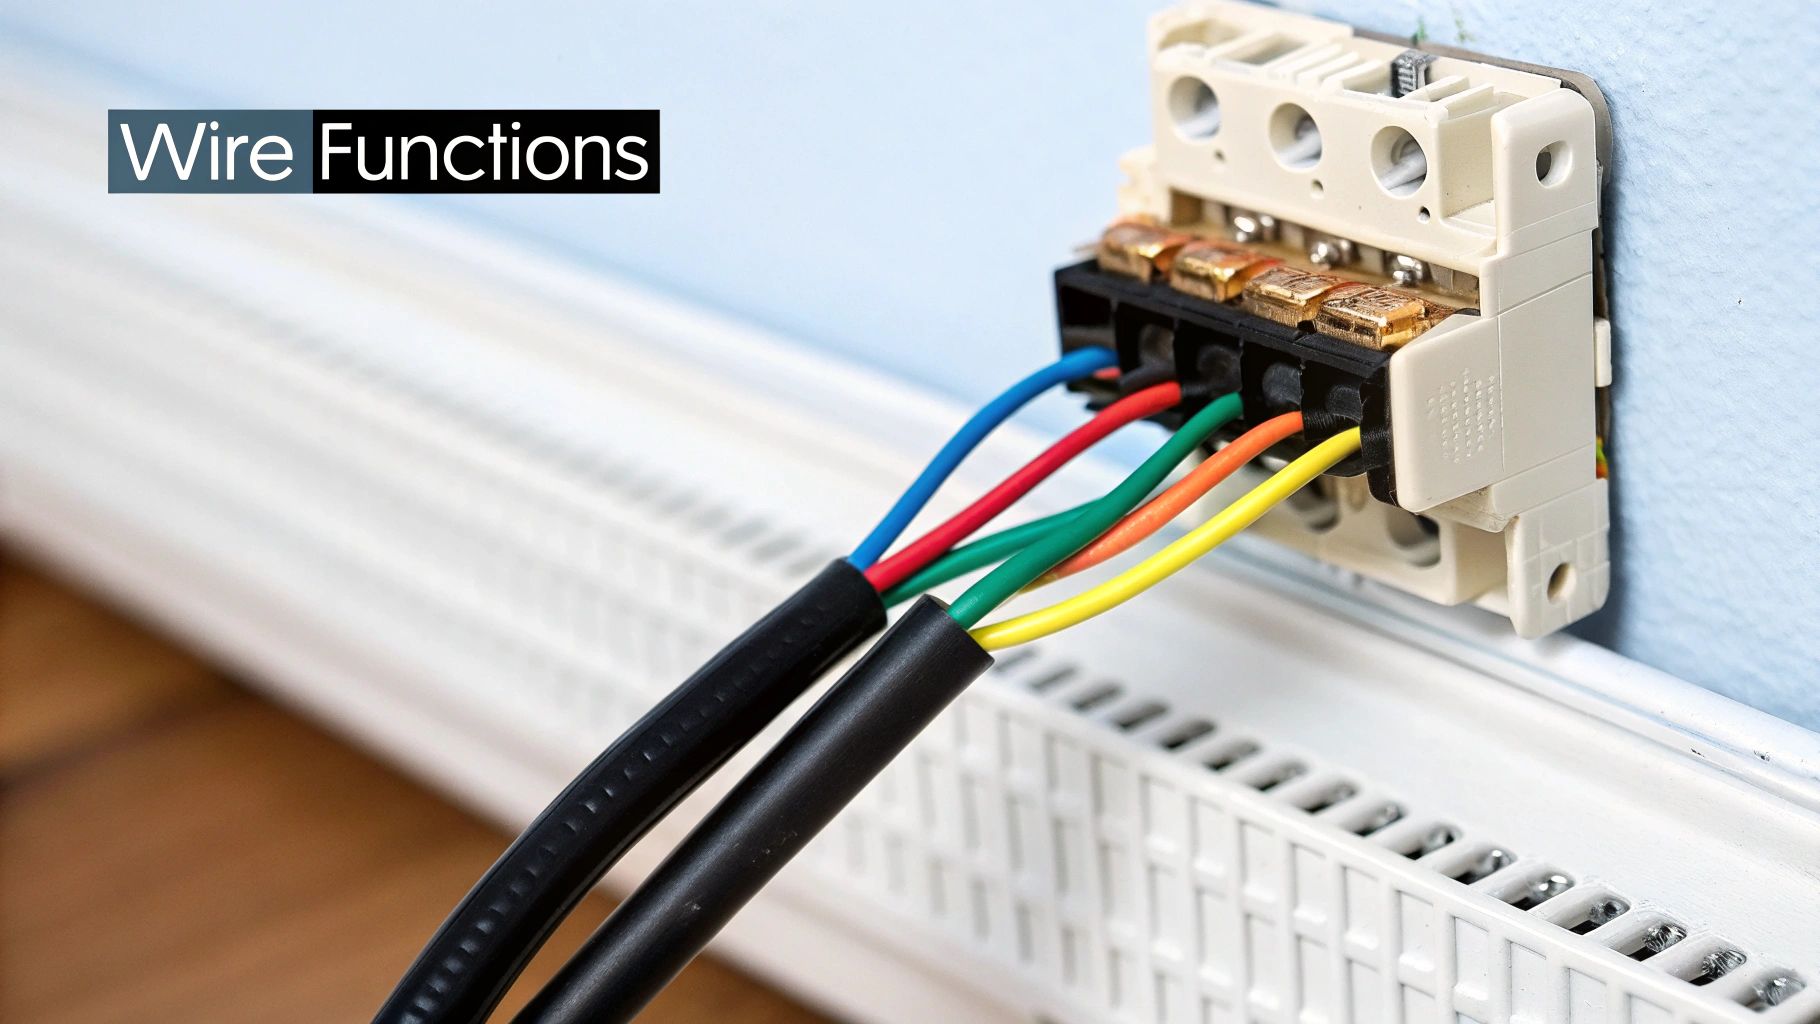
What Does Each Wire Do?
Let's dig a little deeper into the "big four" wires you'll find in almost any system. Getting these right is absolutely critical for your HVAC to run efficiently.
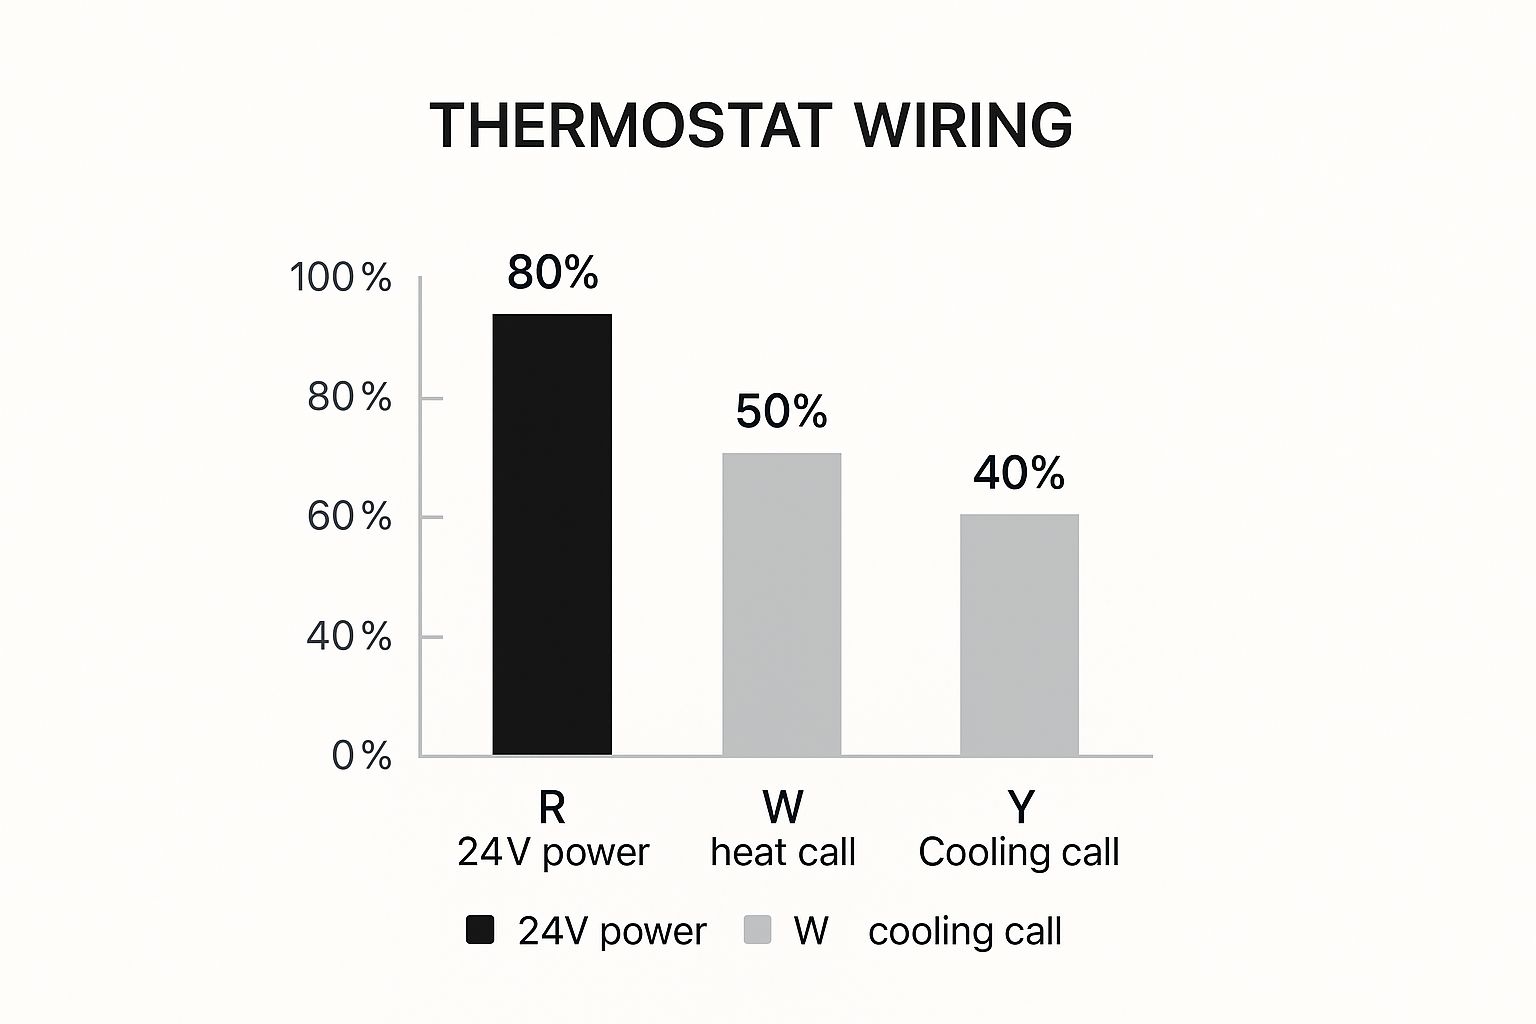
As the image shows, the red, white, and yellow wires are the core trio for basic heating and cooling functions. Here’s a quick breakdown:
Red (R): This is the live wire, providing the 24-volt power that makes your whole system run. It comes directly from the transformer in your HVAC unit.
Yellow (Y): When you want to cool down, this wire gets the call. It sends a signal to turn on your air conditioning compressor.
White (W): This one is all about heat. It tells your furnace or heating system to kick on and warm things up.
Green (G): This wire controls the blower fan, which circulates air through your home. It can run independently when you just want air circulation without heating or cooling.
Correct wiring is just one part of the equation for an efficient system. Once everything is connected, proper settings are key. We've got a great resource with easy tips to program your thermostat for savings that can help you lower those energy bills.
Understanding Each Thermostat Wire Color and Function
While a quick-reference chart is a great starting point, truly understanding what each wire does is the key to a smooth installation or a quick fix. These color codes aren't just for show; they're part of a long-standing system designed to make HVAC work clearer and safer. Think of each wire as a dedicated messenger between your thermostat and a specific function in your heating and cooling system.
This whole color-coding convention is built on the electrical standards for 24V thermostat control circuits. For instance, red is almost always for power, white handles the heat, green runs the fan, and yellow kicks on the AC. This system is so common that it covers more than 90% of HVAC systems in the United States, a standard that has been in place for decades to cut down on installation mistakes. You can get even more details in our full guide to thermostat wiring types and color coding.
The Power Wires Red (R, RH, and RC)
Every system needs power to get started, and that’s the red wire’s job. It carries a steady 24 volts of electricity from your HVAC system's transformer right to the thermostat, powering up all its functions. Depending on your setup, you might see a few different terminals for this wire on your thermostat's backplate.
R Wire: If you just have one red wire, it will land on the R terminal. This is the most common setup you’ll see, used in systems that have a single transformer for both heating and cooling.
RH and RC Wires: In some setups, especially with more complex or older systems, you might have separate transformers for heating and cooling. In that case, you'll have two red wires. The RH wire is the power source for the heating system, and the RC wire powers the cooling system.
Quick Tip: Many modern thermostats have a single R terminal but also have spots for RH and RC connected by a small metal staple or wire jumper. If you only have a single R wire, leave that jumper in place. If you have two separate RH and RC wires, you need to remove that jumper before connecting them.
Wires for Heating and Cooling (W and Y)
With the thermostat powered up, it’s time to control the temperature. That’s where the white and yellow wires come into play. The white wire, which connects to the W terminal, is the signal for heat. When your thermostat decides it's chilly, it sends power down that white wire to fire up your furnace or heating unit.
On the flip side, the yellow wire, connected to the Y terminal, is in charge of your air conditioner. When the room gets warmer than your set temperature, the thermostat sends a signal through the yellow wire to turn on the AC compressor and cool things down.
Some high-efficiency systems have multiple stages for better energy use, and you'll see extra wires for that.
W1 and W2: W1 controls the first stage of heating (the low setting). If that's not enough, W2 will kick on a second, more powerful stage.
Y1 and Y2: This works the same way for cooling. Y1 is for the first stage, and Y2 engages a second, more powerful stage for those really hot days.
Fan and Common Wires (G and C)
The green wire, which goes to the G terminal, has one simple job: it controls the indoor blower fan. This is what allows you to switch your thermostat to "Fan On" and circulate air even when the heat or AC isn't running. It’s a straightforward on/off switch for airflow.
Finally, you’ll often find a blue or black wire used for the C or "Common" wire. This wire is crucial because it completes the circuit, providing a continuous return path for the 24-volt power from the R wire. A C-wire is absolutely essential for most smart thermostats that need constant power for features like Wi-Fi, touchscreens, and backlights.
How to Navigate Common Wiring Variations
While the thermostat color code is a pretty solid standard, you're bound to run into exceptions, especially in older homes or if a previous owner was a bit of a DIY enthusiast. It's not at all unusual to pop off the old thermostat and find a wire color that doesn't seem to match its job. When you see something funky, never, ever assume a wire's function based on color alone.
The golden rule here is to trust the terminal letters, not the wire colors. Before you even think about disconnecting a single wire, pull out your phone and take a crystal-clear picture of your old thermostat's wiring. That photo is now your treasure map; it shows exactly which color wire was connected to which terminal (like R, W, Y, G).
Heat Pump Specific Wiring
Heat pumps are probably the most common source of wiring curveballs. That's because they need an extra connection to tell the system when to switch from heating to cooling and back again.
Orange Wire (O/B Terminal): Most heat pumps use an orange wire that connects to the O/B terminal. This little wire is a big deal, it controls the reversing valve, which is what flips the system between producing hot or cold air. Getting the O/B wire wrong is one of the top reasons a heat pump blows cold air when it should be heating (or the other way around).
Verifying a Wire's True Function
If you're still scratching your head and the picture isn't clearing things up, the ultimate source of truth is your HVAC control board. You'll usually find this inside your furnace or air handler. First, kill the power to the unit for safety. Then, you can trace a mystery wire from the thermostat all the way to where it connects on the control board. For example, if you see a blue wire is actually hooked up to the Y terminal on the control board, then you know it's the wire for the air conditioner, no matter its color.
Just remember, the lettered terminals on your HVAC unit's control board are the final authority on your system's wiring. This is the absolute best way to solve any confusion from non-standard wire colors.
Making Sense of Thermostat Wire and Cable Types

Beyond the colors of the individual wires, the cable that bundles them all together gives you the bigger picture of what you're working with. If you look closely at the outer sheathing, you'll often see two numbers printed on it, something like 18/5 or 18/8. This simple code tells you pretty much everything you need to know about the cable's makeup.
The first number, 18 in this case, refers to the wire gauge, a standard way of measuring its thickness. The second number, whether it’s a 5 or an 8, tells you how many individual conductor wires are tucked inside that main cable. So, an 18/5 cable is simply five 18-gauge wires bundled together. It’s a straightforward system once you know what to look for.
What the Cable Sheathing and Codes Mean
The outer jacket, or sheathing, has its own story to tell. For instance, the non-metallic (NM) sheathed cable used in home wiring has a color-coding system for the jacket itself. This practice really took hold after the National Electrical Code (NEC) established standards to make things safer for everyone.
Believe it or not, these cables didn't always have standardized jacket colors, which created some real risks. Today, the sheathing color tells you the gauge at a glance. You'll often see white sheathing for 14-gauge NM cables and yellow for 12-gauge. It’s interesting to explore the history of these electrical codes to see how much things have evolved.
This color system is a lifesaver for electricians and technicians. It allows them to quickly identify a cable's properties without having to strip it back, making sure the right type is used for the job. Knowing your cable type is especially handy when you’re thinking about upgrading to a smart thermostat, since you can quickly confirm if you have enough conductors for the C-wire that most of them require.
Essential Safety Precautions for DIY Wiring
Before you ever touch a single wire, safety has to be your number one priority. I know it's just low-voltage wiring, but skipping the basics can lead to fried components and a much bigger headache than you started with.
Your first move is always to kill the power to your entire HVAC system. Head over to your home’s circuit breaker panel, find the breaker for your furnace and air conditioner, and flip it to the "Off" position.
Don't just trust the breaker, though. You need to be 100% sure the power is off. Grab a multimeter or a non-contact voltage tester and check the wires at the thermostat, especially the red (R) wire. This quick verification step is what stands between you and a blown fuse or a damaged HVAC control board.
Document and Protect
Once the power is confirmed off, pull out your phone and take a clear, well-lit picture of the existing thermostat wiring. Trust me on this one. This photo becomes your best friend, showing you exactly which color wire goes to each terminal. It’s a lifesaver, especially when you run into funky, non-standard thermostat wiring color codes.
Remember, incorrect wiring can lead to more than just system malfunctions; it can damage sensitive electronics in your furnace or air conditioner. Proper documentation and power verification are your best defenses against costly mistakes.
It's also a good idea to wear the right protective gear. A good guide to personal protective equipment requirements can point you in the right direction for basic electrical work. Following these simple protocols protects you and your equipment, which is key for keeping your home’s systems running smoothly, including maintaining healthy humidity levels. You can learn more about how to control humidity in your house in our other guide.
Troubleshooting Common Thermostat Wiring Problems
So, you've got a handle on the thermostat wiring color code, but things still aren't working right. It happens. You might be staring at a blank thermostat screen, dealing with a fan that just won’t quit, or wondering why your AC is blowing lukewarm air. These are all classic symptoms of a wiring mix-up.
But before you even think about touching a single wire, go turn off the power at your circuit breaker. This is non-negotiable. It's the one step that keeps you from blowing a fuse, shorting out your equipment, or worse. Once you're sure the power is off, you can safely start sleuthing.
Common Issues and Solutions
Let’s run through some of the most frequent problems I see in the field and pinpoint the likely culprits. Think of this as a quick-reference guide to connect what’s going wrong with the wire you need to check.
Blank Thermostat Screen: Nine times out of ten, this is a power problem. The first place to look is your Red (R) wire for power and the Common (C) wire for the return path. Check that both are snug and secure at the thermostat and on the HVAC control board. A loose C-wire is an incredibly common cause of this, especially with smart thermostats that need constant power.
Fan Runs Constantly: If your blower is stuck on, your Green (G) wire is almost certainly the issue. It's likely making contact with the R (power) wire somewhere it shouldn't be. Look closely for any frayed insulation or a tiny stray strand of copper that might be touching another terminal.
System Won't Turn On: If your thermostat is on but nothing happens when you call for heat or cool, double-check that the main R wire is seated properly, it powers the whole show. If one function works but not the other, then you can narrow it down. A heater that won't kick on usually points to a problem with the White (W) wire, while an AC that's on strike is probably related to the Yellow (Y) wire.
A quick heads-up: getting the wires wrong can do more than just make you uncomfortable. It can cause your system to "short-cycle," which is when it turns on and off too frequently, putting a ton of premature wear on expensive components. If you're still stuck after checking these basics, our ultimate AC troubleshooting guide has more in-depth fixes you can try.
Got More Questions About Thermostat Wiring?
Even with a detailed chart, some questions pop up time and time again when you're staring at a bundle of thermostat wires. Let's clear up a few of the most common ones so you can wrap up your project with confidence.
What if My Wire Colors Do Not Match the Standards?
This is probably the most common curveball we see, especially in older homes. If the colors you see don’t line up with the standard functions, always, always trust the terminal letters over the wire color.
Before you disconnect a single wire, grab your phone and take a crystal-clear picture of your old thermostat's wiring. That photo, showing which color wire goes to which lettered terminal (R, W, Y, G, etc.), is your single most reliable roadmap for installing the new one.
Do All Smart Thermostats Require a C-Wire?
While there are a few exceptions, the vast majority of modern smart thermostats absolutely require a C-wire (the Common wire). This isn't just an optional feature; it's what provides the continuous 24V power they need to run their Wi-Fi, backlit touchscreens, and other advanced features.
Without that dedicated power source, a smart thermostat will try to "steal" power from other circuits, which often leads to your HVAC system acting up or malfunctioning. If you're thinking about an upgrade, it's worth exploring the many benefits of smart thermostats and taking a peek to see if you have a C-wire ready to go.
A missing C-wire is one of the biggest hurdles people face when installing a smart thermostat. If you discover you don't have one, don't worry. An HVAC pro can either run a new wire for you or install a simple power adapter kit to get your system compatible.
Can I Use a Spare Wire for a Different Function?
Yes, you sure can. It's a great way to solve a problem without running new cables through the walls.
Let's say you have an unused wire tucked away in the wall, often it's a brown one or another non-standard color. If you need a C-wire for your new smart thermostat, you can repurpose that spare. Just connect that wire to the "C" terminal on your new thermostat and then connect the other end to the "C" terminal on your HVAC system’s control board. Just make sure you label both ends clearly to save yourself (or a future technician) a headache.
A Brief History of Standardized Wiring Colors
To really get why following today's thermostat wiring color codes is so important, it helps to look at where they came from. It wasn't always this straightforward. Early electrical systems were a bit of a free-for-all, with no universal standard to follow. This created a lot of confusion and, more importantly, serious safety risks for technicians and homeowners alike.
This inconsistency made even simple installations and repairs way more complicated and dangerous than they needed to be.
Thankfully, electrical organizations stepped in to bring some order to the chaos. Recognizing the urgent need for safety and simplicity, they started developing the standardized systems we know today. The color coding for electrical wiring has a long history, evolving over more than a century as national and international codes were updated. The British were early adopters, formally starting in 1916 with specific colors for neutral and earth wires, though even those assignments changed over time. If you're curious, The IET has a fascinating deep dive into the history of conductor color identification.
The Rise of Modern Standards
This push toward standardization was a game-changer. It paved the way for the dependable, easy-to-follow thermostat color conventions that professionals and DIYers rely on today.
Knowing this backstory provides some valuable context. It highlights why sticking to these codes is more than just a suggestion, it's crucial for keeping your HVAC system running safely and efficiently. These simple colors are a foundational safety measure that protects everyone from costly mistakes and potential hazards.
For expert help with your HVAC system, from simple thermostat installations to complex repairs, trust the certified technicians at Covenant Aire Solutions. Visit us online to schedule your service today.