Heater and AC Not Working: Quick Fixes and Tips
- Nov 9, 2025
- 17 min read
Updated: Nov 10, 2025
When your heater and AC suddenly go quiet, it's easy to jump to the worst conclusion. But before you start picturing a massive repair bill, take a deep breath. More often than not, the problem is something incredibly simple.
In my years of experience, I’ve found that the top three reasons a system won't turn on are things any homeowner can check and fix in minutes, with no special tools required. Let's walk through the first things a pro would check.
Your First Checks When the Heater and AC Is Not Working
That sudden silence from your HVAC system can be jarring, but it's not time to panic. We'll start with the most common and easily fixable issues that cause a system to shut down completely.
Most of the time, the problem isn't a catastrophic failure but a simple oversight. Think of these as the diagnostic triage steps.
When your system won't power on at all, a quick diagnostic can often pinpoint the problem. Here's a table to guide your initial checks.
Immediate Diagnostic Checklist
Symptom | What to Check Immediately | Potential Quick Fix |
|---|---|---|
System won't turn on at all | Thermostat screen is blank or settings are wrong | Replace batteries; set to "Heat" or "Cool" and adjust the temperature. |
No power to the system | Circuit breaker in the electrical panel | Flip the tripped breaker back to the "ON" position. |
System turns on but air isn't flowing | Air filter is visibly clogged with dirt and dust | Replace the air filter with a new, clean one. |
This checklist covers the most frequent culprits and can get you back up and running without a service call.
Start with the Thermostat
Your thermostat is the command center for your entire HVAC system. If it's not sending the right signals, nothing is going to happen. It’s always the first and easiest place to check.
First, just confirm it’s set to the right mode: "Heat" or "Cool." You'd be surprised how often it gets bumped to the wrong setting, especially during those in-between spring and fall days.
Next, look at the temperature. To get cool air, the thermostat has to be set lower than the current room temperature. For heat, it has to be set higher. If the thermostat is battery-powered, a blank screen or low-battery warning is a dead giveaway. Pop in some fresh AA or AAA batteries, and you might be back in business. You can learn more about how settings like the thermostat fan set to "on" or "auto" impact your system's operation.
This handy visual breaks down the process: start with the thermostat, move to the breaker, then check the filter.
Following this sequence solves the vast majority of "no power" calls I get.
Inspect the Circuit Breaker Panel
Okay, so the thermostat looks fine. The next stop is your home's electrical panel. Your HVAC equipment pulls a lot of power and runs on its own dedicated circuits. A power surge or momentary overload can cause the breaker to trip, cutting power as a safety measure.
Find your main breaker box; it's usually tucked away in a garage, basement, or utility closet. Open the door and scan the rows of switches. You're looking for one that's either in the "off" position or, more commonly, stuck awkwardly in the middle. The breakers for your indoor air handler and outdoor condenser should be labeled.
If you find a tripped breaker:
First, push the switch all the way to the "off" position to reset it internally.
Then, flip it firmly back to "on."
If the breaker immediately trips again, don't keep resetting it. This is a clear sign of a more serious electrical issue that needs a professional. And before you dive too deep, it's always smart to confirm your home is getting power by checking your meter; here’s a step-by-step guide to reading your electricity meter.
A breaker that keeps tripping is your system's way of screaming for help. It's protecting itself from a deeper electrical fault, like a short circuit or a failing motor. Pushing your luck here is a bad idea.
Check the Air Filter
Finally, we come to the single most neglected maintenance task that causes a world of HVAC problems: the humble air filter. A dirty, clogged filter literally suffocates your system.
When airflow is restricted, your system has to work way harder to heat or cool your home, which can cause it to shut down for two main reasons:
Overheating: When the furnace can't get enough air, the heat exchanger can get dangerously hot, triggering a high-limit safety switch that kills the power.
Freezing Up: In AC mode, poor airflow over the indoor evaporator coil prevents it from absorbing heat. The coil gets too cold, and the condensation on it freezes into a solid block of ice, stopping the cooling process cold.
Find your filter, usually in the return air duct or a slot on the indoor unit, and slide it out. If it’s caked in a gray blanket of dust and debris, you've found your culprit. Swapping it for a fresh one is a five-minute job that might be all it takes to get things running smoothly again.
Digging Into Common Electrical Faults (Safely!)
So, the circuit breaker wasn't the problem. Don't call it quits on the electrical front just yet. Your HVAC system is packed with other safety switches and components designed to cut the power, and one of them might be the real culprit.
Good news is, you can check most of these yourself. But there's one golden rule you absolutely cannot break: always turn off the power at the breaker first.
This isn't a suggestion; it's a must-do. Before you open a single panel or touch any of the parts we're about to cover, march over to your main electrical panel. Find the breakers for both your indoor and outdoor units and flip them off. Your safety comes first, period.
The Outdoor Power Disconnect Switch
Head outside to your condenser unit, that big boxy fan thing. Somewhere nearby, usually mounted right on the side of your house, you’ll spot a smaller metal box. This is the main power disconnect. It's there so technicians can safely kill the power right at the unit without needing to go inside.
It’s almost laughably easy for this switch to get turned off by accident. A landscaper with a weed-eater, a kid playing in the yard, or even a bump from the lawnmower could have knocked it out of position.
Open it up, and you’ll likely see one of two things:
A pull-out handle: This looks like a T-shaped handle or a small block. To cut power, you pull it straight out. Sometimes people pull it out and stick it back in upside down, which keeps the circuit open. Make sure it's inserted right-side up and seated firmly.
A simple breaker-style switch: This is just what it sounds like, a switch that flips up and down, just like the ones in your main panel. It should be in the "on" position.
If you find the switch was off, flipping it back on might be all it takes. Once you've closed the box up, you can head back inside and turn the power on at the main breaker panel.
The Condensate Overflow Safety Switch
Another extremely common reason for an AC to suddenly die, especially on a hot, humid day, is a tripped condensate overflow switch. As your air conditioner cools the air, it pulls out a lot of moisture. This water is supposed to drain away through a PVC pipe. But if that drain line gets clogged with algae and gunk, the water has nowhere to go but back.
To save you from a catastrophic ceiling leak, there's a small safety float switch either in the drain pan or on the drain line itself. When the water level rises, it lifts the float, which trips the switch and instantly cuts power to the entire system.
Think of this switch as an emergency brake for your HVAC system. It’s designed to shut everything down at the first sign of a potential flood, saving your ceilings and floors from a disaster.
You'll typically find the drain pan and this switch near your indoor air handler (the unit stashed in your attic, a closet, or the basement). If you pop your head up there and see standing water in the pan, you've found your problem. Clearing that clog will let the water drain out, the switch will reset, and power will be restored.
Checking for Blown Fuses
Your HVAC system also relies on fuses to protect its delicate electronic components from power surges. When one of these little guys blows, the system will seem completely dead. With the power safely off at the breaker, you can take a look.
The first spot to check is inside that outdoor disconnect box we just talked about. Many of the pull-out style disconnects have two big cartridge fuses tucked inside. You can gently pull them out to inspect them. Most have a little glass window where you can see a thin metal strip; if that strip is broken or the glass looks burnt and cloudy, the fuse is blown.
There's usually another fuse hiding on the main control board inside your indoor unit. This is a much smaller, automotive-style blade fuse, often 3 or 5 amps. It protects the low-voltage circuit that powers the thermostat. If you're comfortable taking the access panel off the indoor unit (again, with the power OFF), you can find and visually check this fuse. If you're not sure what you're looking at, it helps to understand the basics of how to read HVAC wiring diagrams explained in our guide.
The HVAC industry is bigger than ever, which means more systems are out there running into these common snags. Global spending on HVAC repair is on track to blow past $10 billion annually, showing just how often these systems need a little help. With a major technician shortage creating over 42,500 job openings each year in the U.S., knowing how to handle these simple checks yourself can save you from a long, sweaty wait.
And for any homeowner taking on electrical work, having a good grasp of safety is key. You can find some great general tips for safe electrical wiring and installation that are useful for all sorts of projects around the house. Replacing a fuse is easy, but if the new one blows right away, that's a clear sign of a deeper problem that needs a professional's touch.
Alright, if you’ve run through all the electrical checks and the AC is still on strike, it’s time to switch gears. The culprit is probably something mechanical, more specifically, a physical blockage that's choking off the airflow your system needs to do its job.
Think of your HVAC system as needing to breathe. If it can't get enough air, it can't function. It'll quickly overheat or freeze up, and then it's lights out. The upside is that these kinds of airflow problems are often things you can spot and fix yourself with a bit of investigation.
These physical roadblocks are way more common than you'd think. In fact, industry data shows that restricted airflow, from something as simple as a clogged filter or a blocked vent, is a factor in over 70% of all HVAC service calls.
Check for Outdoor Unit Obstructions
That big box outside your house, the condenser, has a critical job. It pulls in huge volumes of air to get rid of the heat it's pulled from inside your home. If you block the airflow around it, that heat gets trapped. The unit will overheat and shut itself down to protect the compressor, which is by far the most expensive part to replace.
Take a walk outside and give your condenser a good look. You're searching for anything that could be smothering it.
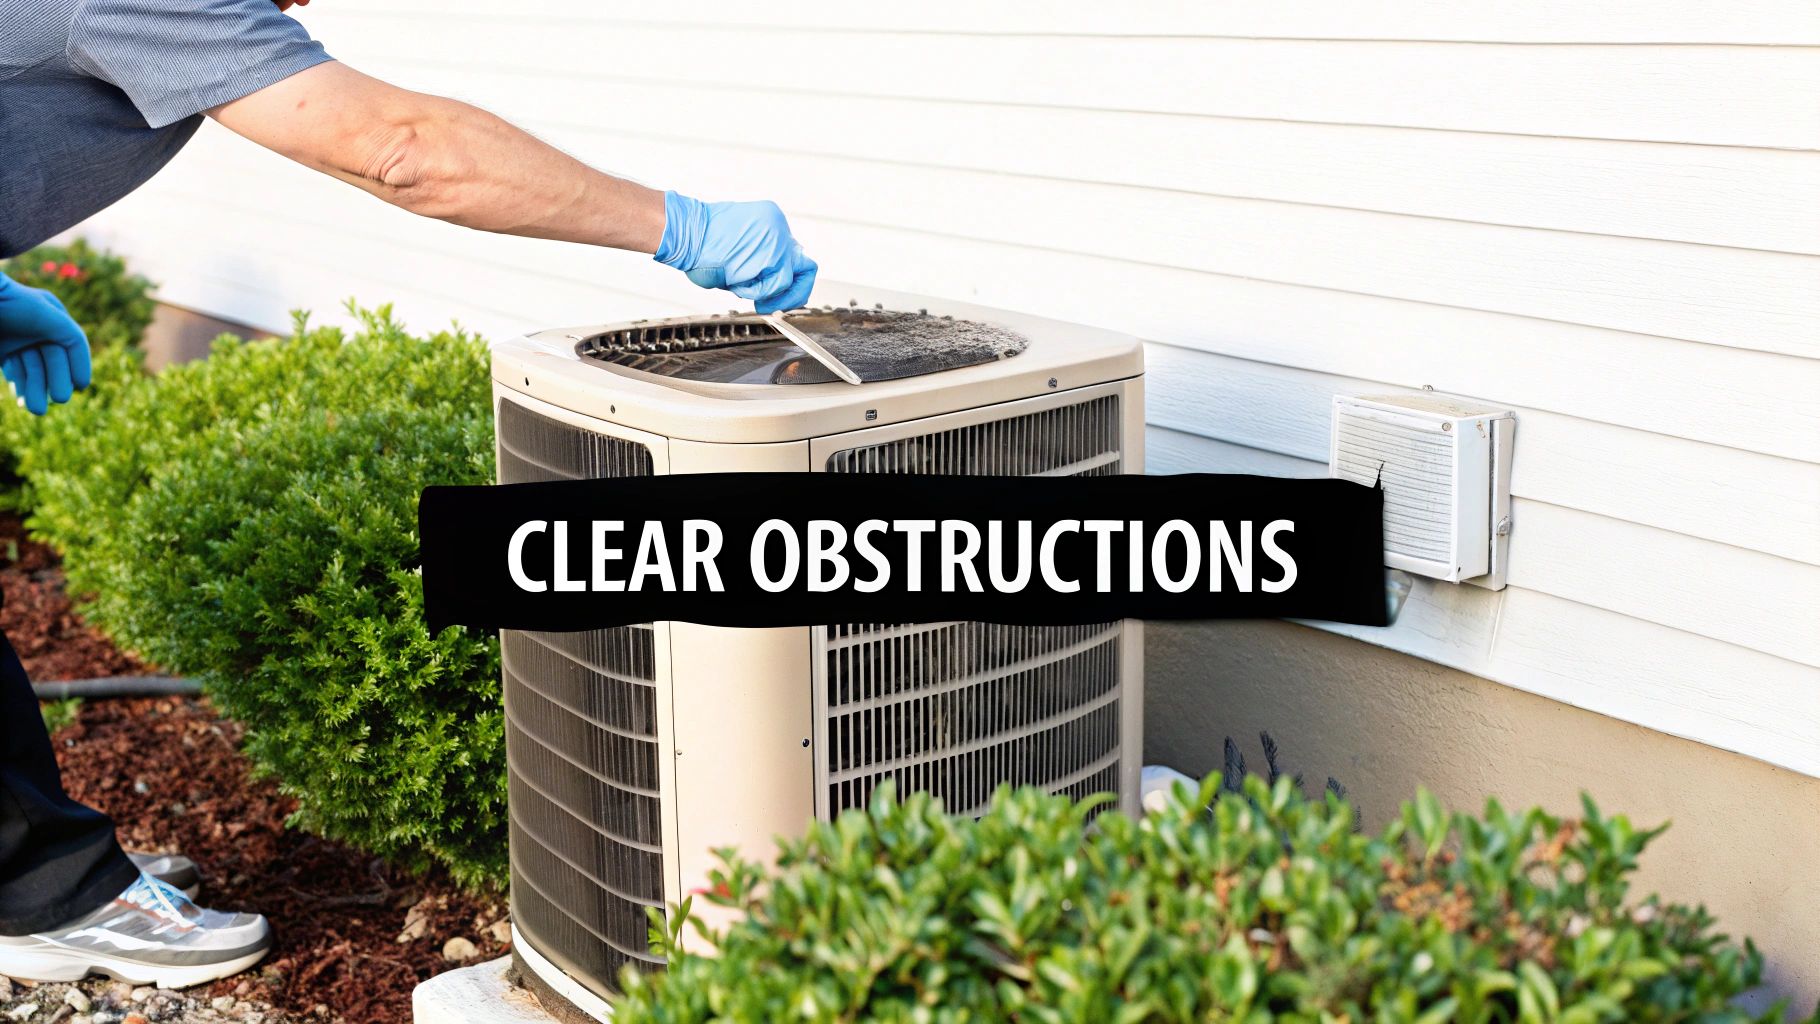
Here's what I see all the time:
Overgrown Landscaping: Bushes, weeds, and tall grass can creep up on the unit, blocking the delicate metal fins. You need to maintain at least two feet of clear space on all sides. No exceptions.
Yard Debris: After mowing, grass clippings get sucked right into the unit. Add in some fallen leaves and dirt, and you've got a thick blanket trapping all that heat inside.
Physical Barriers: It's easy to forget what's sitting next to the unit. I've seen trash cans, barbecue covers, and even leaning plywood slowly suffocate a condenser. Make sure the area is totally clear.
A gentle spray with a garden hose can wash away a lot of the loose gunk. If it's really caked on there, you might need to do a more thorough job. We've got some pro tips on cleaning air conditioning coils for better efficiency in our detailed guide.
Inspect Indoor Vents and Registers
While the outdoor unit gets rid of heat, your indoor vents are all about distributing the cool air. If they're blocked, it messes with the system's pressure, putting a huge strain on the blower motor and often leading to a shutdown.
This is an easy one. Just walk through your house, room by room, and check all the supply vents (the ones blowing air out). Make sure they're open and not covered by furniture, rugs, or that pile of boxes you've been meaning to unpack. Closing vents in rooms you don't use might seem smart, but it can cause serious pressure problems for the whole system.
And don't forget about the return air vents! These are the bigger grilles that pull air back into the system. They are magnets for dust, pet fur, and sometimes, random objects. I've seen a kid's stuffed animal or a fallen piece of mail be just enough to starve the system of air and cause it to fail.
Tackle a Clogged Condensate Drain Line
This one is a classic, especially during our hot Arizona summers. A clogged condensate drain line is one of the most frequent mechanical failures we see. As your AC pulls humidity out of the air, it turns into water (condensate) that's supposed to flow outside through a PVC pipe. Over time, that pipe gets filled with algae and slime, creating a nasty clog.
Once the line is blocked, water backs up into the drain pan inside your air handler. That trips the overflow safety switch we mentioned earlier, which kills the power to prevent a flood. You might see water dripping around the indoor unit or a puddle in the pan itself.
A clogged drain line is the HVAC equivalent of a clogged sink. It’s a messy inconvenience that brings everything to a standstill, but with the right technique, it's often a fix you can handle yourself.
If you’re up for it, you can usually clear this clog with a wet/dry shop vac. Just find where the drain line exits your house, attach the vacuum hose, and use your hands or some duct tape to make a good seal. Let it run for a minute or two to suck out all the gunk. You’ll be shocked at what comes out of there. If the line clears and water starts draining, you’ve probably just fixed your AC.
Once you've ruled out the simple electrical and airflow problems, it's time to play detective. If your heat and AC still won't cooperate, the culprit is likely a failing component that needs a professional's touch. But you can often spot the signs yourself, which is incredibly valuable information to have before you even pick up the phone.
The goal here isn't to perform a dangerous repair yourself; it's to gather intel. Giving a technician specific observations can drastically speed up their diagnosis, saving you both time and money. It turns a vague "it's broken" call into a focused "the outside unit hums, but the fan isn't spinning" report.
Listen for Telling Sounds
Sometimes, your HVAC system will tell you exactly what’s wrong through the sounds it makes, or doesn't make. Listen closely, because these noises are important clues.
For instance, if you fire up the AC and hear a steady humming from the outdoor unit, but the big fan blade isn't moving, you're almost certainly looking at a bad capacitor. Think of the capacitor as a small battery that gives the fan motor the jolt it needs to start. When it fails, the motor just sits there humming, trying to get going but lacking the juice.
Another critical sound is a repeated clicking. If you hear this coming from the thermostat or one of the units every few seconds, it often points to a failing contactor. This is an electrical relay that sends power to the outdoor unit; when it wears out, it can get stuck trying to make a connection, creating that tell-tale clicking sound.
Visual Inspection for Common Failures
A careful visual check can reveal some of the most common part failures. You don’t need to be an expert to spot these red flags, but always remember to turn off the power at the circuit breaker before you open any access panels. Safety first.
The capacitor is a prime candidate for a visual inspection. On your outdoor unit, look for a cylindrical metal component, usually located near the rest of the electrical wiring. A fried capacitor will often show physical signs of distress:
Bulging Top: The top of the cylinder, which should be perfectly flat, might be domed or swollen.
Leaking Fluid: An oily substance leaking from the terminals or casing is a dead giveaway.
This simple visual check can confirm your suspicions if you've already heard the humming sound.
Spotting a bulging capacitor or a frozen coil is like finding the smoking gun at a crime scene. You've identified a key piece of evidence that tells a technician exactly where to start their investigation, making the entire repair process faster and more efficient.
Look for an Iced-Over Evaporator Coil
One of the most dramatic signs of a deeper problem is a frozen indoor evaporator coil. This coil, tucked away inside your air handler, is where the magic of cooling happens. When something goes wrong, it can turn into a solid block of ice.
A frozen coil is almost always a symptom of one of two issues: severely restricted airflow (like a filter that hasn't been changed in a year) or a refrigerant leak. Either way, the coil gets too cold, and the moisture from your home’s air freezes onto its surface instead of draining away like it's supposed to.
Finding this is crucial. A technician needs to know if the system is frozen because they must let it thaw completely before they can properly diagnose the underlying cause, whether it's plugging a leak or finding a hidden airflow blockage.
Knowing these details is more important than ever. The HVAC industry currently faces a critical shortage of around 110,000 skilled technicians, with another 25,000 leaving the field annually. This strain, combined with equipment prices that have jumped by nearly 40%, means that a faster, more accurate diagnosis can make a real difference in both your wait time and your final bill. For a deeper dive into these industry trends, you can discover more insights about HVAC statistics on ServiceTitan.com.
Knowing When to Call an HVAC Professional
One of the most important skills you can develop as a homeowner is knowing where to draw the line. Recognizing the boundary between a manageable DIY fix and a problem that demands an expert is crucial. While it’s empowering to solve minor issues yourself, some warning signs are your cue to put down the tools and pick up the phone. Pushing forward could be dangerous and end up costing you a lot more.
Certain symptoms are giant red flags that the problem is well beyond a simple tweak. If you run into any of these, your very next step should be calling a certified technician, not making another trip to the hardware store.
Critical Warning Signs That Demand a Pro
If your heater and AC are both out and you’re also dealing with strange smells or noises, your system is trying to tell you something is seriously wrong. You need to listen.
Pay close attention to these three major signals. They almost always point to hazards that require specialized tools and knowledge to resolve safely.
Burning Smells: An odor like burning plastic, hot wires, or a sharp metallic smell is a dead giveaway for an electrical failure. This could be anything from a motor overheating to a short circuit. Your first move should be to shut the system off at the breaker to prevent a fire.
Hissing Sounds or Oily Residue: A distinct hissing noise, especially coming from the refrigerant lines or the outdoor unit, is a classic sign of a refrigerant leak. You might also spot a thin, oily film on the copper lines. Refrigerant is a hazardous substance, and only EPA-certified technicians are legally allowed to handle it.
Loud Mechanical Noises: Sounds like grinding, squealing, or banging are not normal. These violent noises often mean internal components are failing, like a blower motor bearing seizing up or a broken part rattling inside the compressor. Letting the system run like this can lead to a catastrophic failure.
Think of these signs as your system’s emergency alerts. A burning smell is a fire alarm, a hissing sound is a chemical leak warning, and loud grinding is a signal of imminent mechanical collapse. Ignoring them is never worth the risk.
Problems Reserved for Licensed Technicians
Beyond the immediate red flags, some repairs are just plain off-limits for DIYers, both for legal and practical reasons. Attempting to tackle these can void your warranty, violate local building codes, and create serious safety risks for your home and family.
If your troubleshooting points to any of the following areas, it’s time to find a reputable HVAC company.
When Professional Help Is Non-Negotiable
Problem Area | Why You Need a Pro | Potential DIY Risk |
|---|---|---|
Refrigerant Issues | Requires EPA certification and specialized recovery equipment. | Illegal handling, severe frostbite from contact, and environmental damage. |
Gas Furnace Problems | Involves natural gas lines, pilots, and combustion chambers. | Gas leaks, carbon monoxide poisoning, and explosion risk. |
Major Component Replacement | Swapping out compressors, fan motors, or main control boards. | Incorrect wiring, further system damage, and serious electrical hazards. |
Persistent Breaker Trips | Signals a serious underlying electrical short or component failure. | Fire hazard and the risk of destroying sensitive electronics in your home. |
When you're facing an urgent problem, having a clear plan is key. Our guide on what to do during an emergency air conditioning repair can help you stay safe while you wait for professional help to arrive.
Preparing for the Service Call
Once you've made the smart decision to call for backup, a little preparation can make the service visit much more efficient. When you can give the technician good information upfront, they can diagnose the problem faster, which can save you a nice chunk of change on labor costs.
Before they arrive, just jot down a few key details. The more specific you can be, the better.
The make and model of your HVAC unit (usually on a sticker on the side of the indoor or outdoor unit).
A detailed description of the problem. Instead of just "it's broken," try something like, "The fan runs constantly, but the air coming out isn't cold," or "I heard a loud clank from the attic, and then everything shut off."
Any troubleshooting steps you’ve already taken. Let them know you changed the filter or reset the breaker so they don't waste time redoing it.
This simple prep work shows you're on top of things and gives the technician a valuable head start. It turns the service call from a complete mystery into a targeted repair mission.
How Proactive Maintenance Prevents Future Breakdowns
The single best way to fix a broken HVAC system is to make sure it never breaks in the first place. Once you’ve sorted out an immediate problem, the conversation has to shift from reactive repairs to proactive care. It’s an approach that saves money, dodges those middle-of-the-night emergency calls, and adds years to the life of your equipment.
Think of your HVAC system like your car. You wouldn't dream of driving it for 50,000 miles without an oil change and just hope for the best. Your heater and air conditioner are workhorses, running for months on end. A little preventative attention goes a very, very long way.
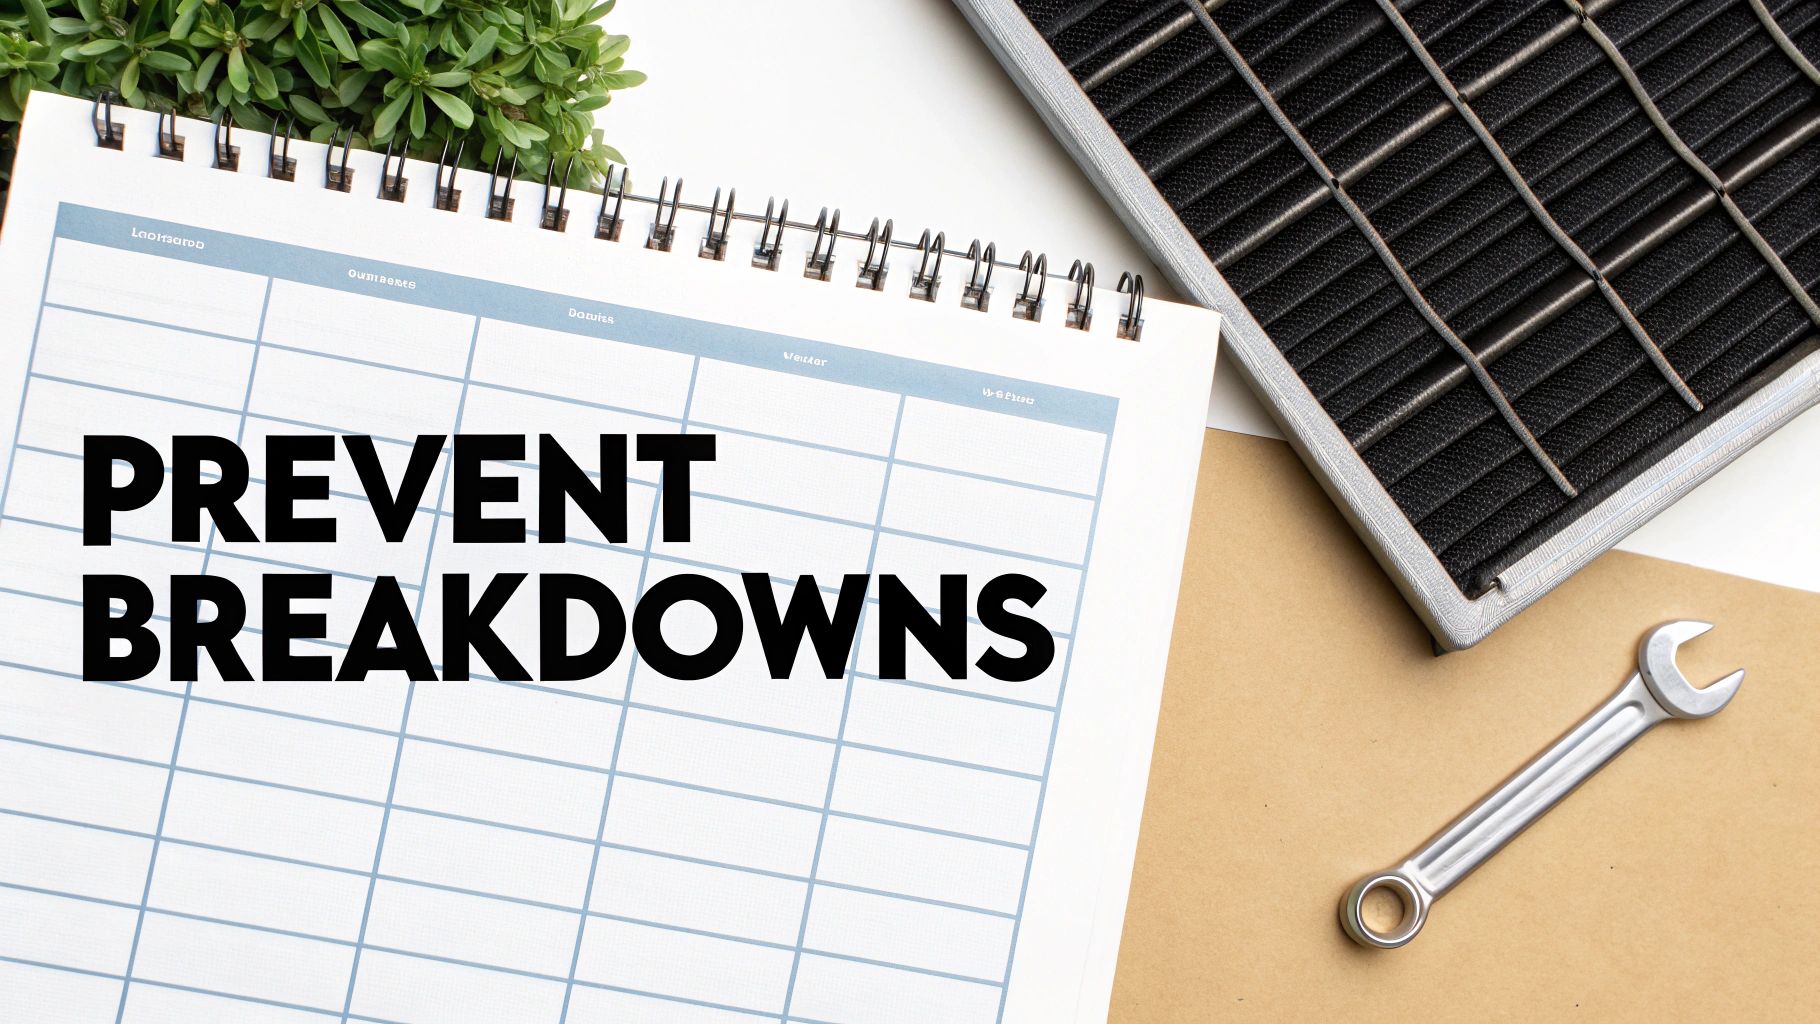
Building a Simple Maintenance Schedule
Creating a routine doesn't need to be some complicated chore you dread. The trick is to break down the essential tasks by season. This way, you can easily stay on top of your system’s health and spot small issues before they snowball into catastrophes.
A consistent schedule is your best defense against finding yourself with a heater and ac not working on the coldest night of winter or the hottest day of summer.
The Monthly Must-Do: Your air filter is non-negotiable. Check it every 30 days. If it looks dirty, swap it out, but at a minimum, it needs to be replaced every three months. A clean filter is the key to healthy airflow, which prevents strain on the entire system.
The Spring Spruce-Up (Before it gets hot): Head outside to your condenser unit. Give the fins a gentle rinse with a garden hose to clear out all the cottonwood, dust, and grime that built up over the winter. While you're there, make sure any bushes or plants are trimmed back at least two feet from all sides of the unit.
The Fall Check-In (Before firing up the heat): Before you turn on the furnace for the first time, do a quick walkthrough. Make sure all your vents are open and not blocked by furniture, rugs, or that stray toy. And most importantly, test your carbon monoxide detectors.
This simple checklist is the foundation of smart HVAC ownership. For a deeper dive, check out our HVAC preventative maintenance checklist with 7 tips for 2025.
Why a Professional Annual Tune-Up Is a Game-Changer
While your own efforts are crucial, they can't take the place of a professional tune-up. An annual service visit from a certified technician is the single most powerful investment you can make in your system’s health and reliability. It's a deep-dive inspection that catches the wear and tear you simply can't see.
During a tune-up, a pro will run through dozens of critical checks. They clean the indoor and outdoor coils, lubricate moving parts, tighten and test electrical connections, check refrigerant levels, and calibrate your thermostat. This isn't just about preventing breakdowns; it also maximizes your system's efficiency, which you'll see reflected in lower monthly utility bills.
Neglecting maintenance is like rolling the dice with one of your home's most expensive appliances. A small, predictable annual cost for a tune-up is far better than a surprise multi-thousand-dollar bill for an emergency replacement.
The numbers don't lie. Research shows that unplanned downtime from HVAC failures costs U.S. businesses around $50 billion every year. For building managers, a proactive strategy can deliver an incredible 545% return on investment by extending equipment life and slashing downtime by up to 95%. This proves that whether you're at home or at work, waiting for something to go wrong is always the most expensive option. You can read the full research about these HVAC maintenance statistics.
Ultimately, proactive care puts you back in the driver's seat. You gain control over your home's comfort, your budget, and the long-term health of your system. You'll never be left scrambling for answers when your heater and ac is not working again.
Don't wait for a breakdown to think about your HVAC system. Let the certified experts at Covenant Aire Solutions keep your home comfortable year-round with our professional maintenance plans. Schedule your tune-up today by visiting us at covenantairesolutions.com.