Air Conditioner Condensation Leak: Quick Diagnosis & Fix
- Oct 28, 2025
- 11 min read
It's one of the most common service calls we get: a puddle of water suddenly appearing around the indoor AC unit. While it's definitely alarming, it’s usually not a sign of a catastrophic failure. More often than not, it's a simple plumbing issue within the AC system itself.
Why Your AC Is Leaking Water Inside

Think of your air conditioner as a powerful dehumidifier for your entire house. As it pulls in warm, humid air, that moisture condenses on the freezing-cold evaporator coils, just like how water droplets form on a cold glass of iced tea. This is a perfectly normal part of the cooling process.
That collected water, known as condensate, is supposed to follow a specific path. It drips from the coils into a shallow drain pan, then flows through a PVC pipe (the condensate drain line) to be safely discharged outside. An air conditioner condensation leak is what happens when something blocks or breaks that path.
The Most Common Culprits
Nine times out of ten, the problem is a clog in that condensate drain line. Over months and years of operation, the dark, damp environment inside that PVC pipe becomes a perfect breeding ground for algae and mold. Mix that with airborne dust and debris, and you get a thick sludge that eventually creates a complete blockage.
When that happens, the water has nowhere to go. It backs up, fills the drain pan, and eventually overflows, spilling onto your floor, into your attic, or through your ceiling.
Of course, a clog isn't the only possibility. Here are a few other common causes we see in the field:
A Cracked Drain Pan: With age, the plastic drain pan can become brittle and develop cracks. Even a hairline fracture is enough to cause a slow, steady leak that bypasses the drain line entirely.
A Frozen Evaporator Coil: Issues like a dirty air filter or low refrigerant can cause the evaporator coils to turn into a solid block of ice. When that ice eventually melts, it releases a sudden gush of water that can easily overwhelm the drain pan. If your unit is encased in ice, check out our guide on why an AC unit freezes.
A Disconnected Drain Line: The constant vibration of the air handler can sometimes wiggle the drain line connection loose right at the drain pan, causing water to spill out at the source.
To give you a better idea of what you might be dealing with, here’s a quick table to help you narrow down the cause.
Quick Diagnosis Guide for Air Conditioner Condensation Leaks
This table can help you quickly identify the potential cause of your AC leak, the tools you might need, and whether it's a good DIY project.
Common Cause | Required Tools | DIY Difficulty Level |
|---|---|---|
Clogged Drain Line | Wet/dry vac, stiff brush, distilled vinegar | Low to Medium |
Cracked Drain Pan | Flashlight, putty knife, epoxy sealant | Medium |
Frozen Evaporator Coil | Screwdriver, new air filter, flashlight | Low (for filter change) |
Disconnected Drain Line | PVC primer and cement, hands | Low |
Remember, a little leak can turn into a big problem fast. Don't ignore it.
The amount of water your AC produces is far from trivial. A 2019 experimental study found that condensate volume jumps significantly with higher indoor humidity and even with more people in a room. All that water has to go somewhere.
Key Takeaway: A water leak is your AC's way of crying for help. Acting quickly is the best way to prevent serious water damage, mold growth, and much more expensive repairs down the line.
Finding the Leak: Where to Start Your Search
So, you've got a puddle. Before you can even think about fixing a condensation leak, you have to play detective and find out exactly where the water is coming from.
First thing's first: safety. Head straight to your breaker box and kill the power to your entire HVAC system. Don't just turn off the thermostat; you need to cut the power completely to be safe. Once you're absolutely sure the unit is off, you can start your investigation.
Your hunt begins at the indoor air handler, which is usually tucked away in an attic, basement, or a utility closet. This is where the magic (and the condensation) happens. You’re looking for the condensate drain pan, a shallow tray that sits right under the evaporator coils.
A Closer Look at the Usual Suspects
Grab a flashlight and get a good look at the drain pan itself. You’re searching for any obvious cracks, rust spots, or water marks high up on the sides, which would tell you it has overflowed. These pans get brittle with age and can fail, letting water escape before it ever reaches the drain line.
Next, put your eyes on the PVC drain line that connects to the pan. Is it fitted snugly? It's surprising how often simple vibrations from the system can work that connection loose, creating a slow drip right at the source.
Pro Tip: When the AC has been running, listen closely near the drain line. If you hear a gurgling sound, that’s a classic sign of a partial clog. Water is fighting its way through a nasty buildup of sludge and algae.
Finally, some systems have a condensate pump, a little box near the air handler with tubes running to and from it. If you have one, check to see if it’s humming or feels like it's running. These pumps can burn out, and when they do, the water has nowhere to go but all over your floor.
Why You Can't Ignore Stagnant Water
Figuring out where the leak is coming from is about more than just preventing water damage; it’s about keeping your home's air healthy. That standing water in a drain pan or clogged line is the perfect breeding ground for all sorts of nasty microbial growth.
While the condensation itself is just water, it can host bacteria like Legionella pneumophila if it's left to sit. For more on the science behind this, you can read this scientific paper on AC condensate health effects.
A clean, free-flowing system is non-negotiable for a healthy home. For a complete rundown on keeping things clean, take a look at our homeowner's guide to cleaning AC unit components.
Clearing a Clogged Condensate Drain Line
Alright, let’s get our hands dirty. Since a clogged drain line is the number one culprit behind AC condensation leaks, learning how to clear it is a skill that will absolutely pay off. Don’t be intimidated, it's a manageable job, and there’s a real satisfaction in fixing it yourself.
The part we’re focused on is the condensate drain line, which is just a PVC pipe that runs from your indoor unit out to the side of your house. Before you start, grab some old towels and a bucket to catch any spills. A pair of work gloves is a good idea, too.
Finding Where to Work
First thing's first, you need to find the drain line's access point. It’s usually near your indoor air handler. Look for a T-shaped vent pipe that has a cap you can unscrew. This is your inside access for flushing out really stubborn blockages later on.
But the real action usually happens outside. Find where that same PVC pipe exits your house. It’s typically a small pipe sticking out of the wall near the foundation, often close to your big outdoor condenser unit. This is where you’ll do the heavy lifting with a vacuum.
This simple diagnostic process helps you methodically check the most likely failure points.
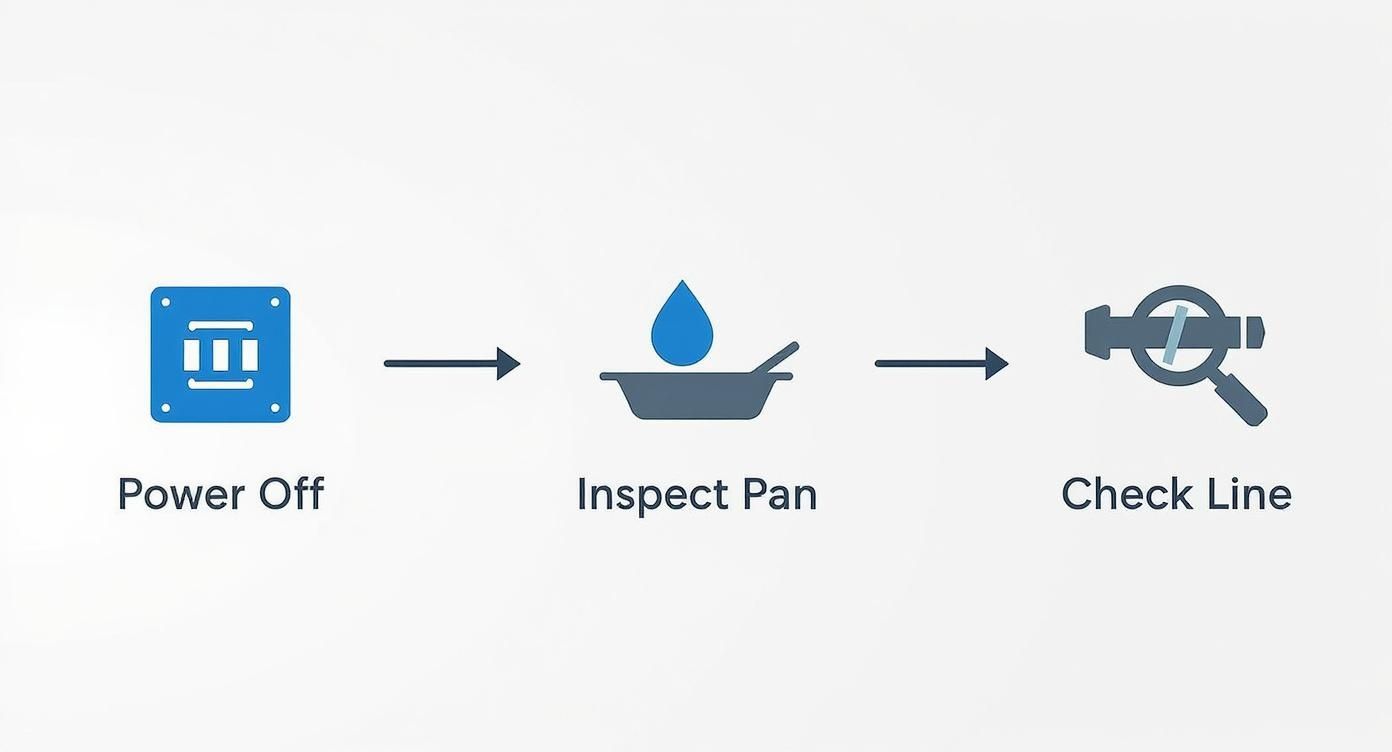
This visual guide is a great starting point, reminding you to always begin with safety. Powering off the unit is non-negotiable before you start poking around the drain pan and line.
Break Out the Wet/Dry Vacuum
By far, the best tool for this job is a wet/dry vacuum. Your goal is to create a solid seal between the vacuum hose and the drain pipe opening outside. You might have to get creative: use your hands or wrap a rag around the connection to really maximize the suction power.
Let that vacuum run for a good minute or two. You’ll probably be disgusted and amazed by what comes shooting out. We're talking a nasty mix of algae, sludge, and gross water. This one step solves the vast majority of clog-related leaks. For a deeper dive, check out our dedicated guide on how to clean your AC condensate drain line like a pro.
When the Gunk Fights Back
If the vacuum doesn’t quite do the trick, it’s time to bring in a cleaning solution. Plain old distilled white vinegar is your best friend here. It’s acidic enough to break down all that organic slime and algae without being harsh on your pipes.
Expert Tip: Head back inside to that access tee you found earlier. Pour one cup of distilled white vinegar down the pipe. Let it sit for at least 30 minutes; this gives the vinegar time to work its magic and dissolve the buildup. After it sits, flush the line by pouring a gallon of water down the tee to wash everything out.
This one-two punch of suctioning from the outside and flushing from the inside can knock out even the most stubborn clogs. And for more general plumbing tips, this homeowner's guide to clearing a clogged drain pipe is a fantastic resource for other issues you might run into around the house.
What If the Clogged Drain Line Wasn't the Problem?
So you’ve wrestled with the drain line, flushed it out, and you're still seeing a puddle forming. Don't throw in the towel just yet. When a clog isn't the culprit, it's time to play detective and look at the other components involved in the drainage process. Often, the issue is with the hardware itself or a sign of a bigger problem brewing inside your system.
Let's start with the most likely suspect: the drain pan. This pan is your system's last line of defense, sitting right under the evaporator coils to catch every drop of condensation. But over the years, they take a beating. Older metal pans are notorious for rusting through, while plastic ones can develop tiny cracks from simple vibration and age. Any breach in the pan means water escapes before it even has a chance to find the drain line.
A tiny crack might be something you can patch with waterproof sealant as a quick, temporary fix. But if you're looking at a pan that's rusted out or has significant damage, a full replacement is the only way to go to avoid this headache again next summer.
Frozen Evaporator Coils
You'll know this problem the second you see it. If you open up your indoor unit and find the evaporator coils encased in a solid block of ice, you've found your leak source. This isn't normal. The freezing is almost always caused by restricted airflow, usually from a filthy air filter or blocked vents. When that block of ice inevitably melts, it releases a sudden gush of water that completely overwhelms the drain pan and spills everywhere.
Another, more serious cause for a frozen coil is low refrigerant. A refrigerant leak is a major issue that needs immediate professional attention, not just for your AC's health but for the environment, too. These leaks are a big deal, and there are even regulations in place to manage them, which you can see in reports like this one from the European Commission on refrigerant management.
Important Takeaway: A frozen coil is always a symptom, not the root cause. Swapping out a dirty filter is an easy DIY job, but a refrigerant leak is strictly for a certified HVAC pro. Don't ignore it, you risk destroying your compressor, which is a very expensive fix.
Properly cleaning your system is key to preventing airflow problems in the first place. You can learn more in our easy DIY guide on how to clean condenser coils.
A Faulty Condensate Pump
If your indoor unit is in a basement or crawlspace, you likely have a condensate pump. This little box is responsible for actively pushing the condensation water up and out of your home. Like any mechanical part, it can fail. The motor can burn out, or the float switch that tells it when to turn on can get stuck.
When the pump quits, water has nowhere to go. It backs up in the pump's reservoir and spills out, creating a leak that looks a lot like a clog. You can do a quick test by carefully pouring a bit of water into the reservoir. If the pump doesn't kick on and start humming, it's probably dead and needs to be replaced.
Preventing Future Condensation Leaks
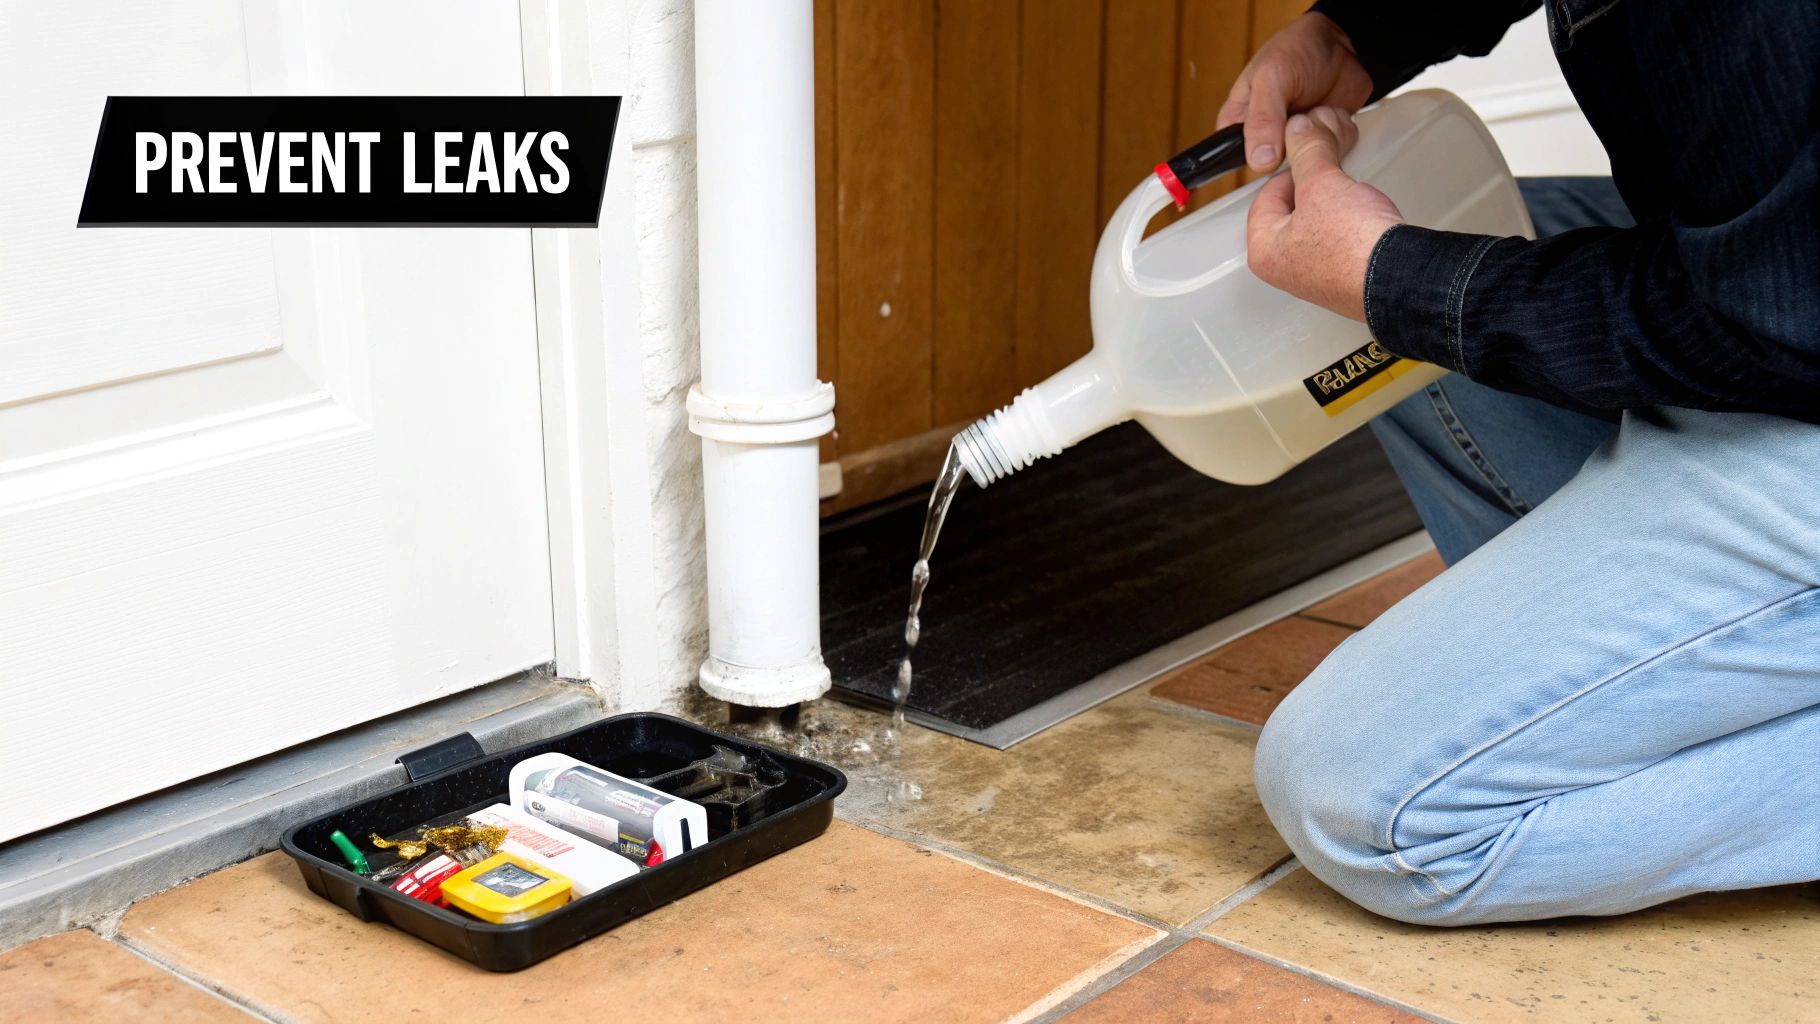
Fixing a condensation leak is a great first step, but making sure it never happens again is the real win. A little proactive maintenance is your best defense against finding another puddle on the floor and dealing with potential water damage.
Honestly, a simple seasonal routine can save you a world of headaches down the road. The most important part of this routine is preventing the gunk and buildup that causes most clogs in the first place.
Expert Tip: Every month or two during the cooling season, pour one cup of distilled white vinegar down your condensate line's access tee. Vinegar’s mild acidity is perfect for dissolving slime and algae before they can turn into a stubborn blockage.
Reinforce Your System’s Health
Beyond keeping that drain line clear, your air filter plays a surprisingly big role in preventing leaks. When a filter gets dirty and clogged, it chokes off the airflow moving over the evaporator coil. This can cause the coil to freeze into a solid block of ice.
Once that massive chunk of ice melts, the sudden gush of water can easily overwhelm your drain pan and spill over, creating a whole new leak.
To keep this from happening:
Check your air filter monthly. A quick visual check is all it takes. Just hold it up to a light; if you can’t see the light shining through, it’s time for a change.
Replace filters every 1-3 months, but always follow the manufacturer's recommendation and consider your home's air quality.
Keeping your home’s overall moisture level in check also reduces the strain on your AC. You can learn more with our guide to control humidity in your house. For a broader look at how humidity and temperature create water accumulation around your home, check out these tips for managing condensation.
Diving Into Your Top AC Leak Questions
When you spot that dreaded puddle near your air conditioner, a flood of questions usually follows. Let's tackle the most common ones we hear from homeowners, giving you the quick, clear answers you need.
How Much Will a Fix Cost?
This is the big one, and the honest answer is: it depends. The cost to fix a leak can swing wildly based on what’s actually causing it.
For a simple DIY fix, like clearing a minor clog in the drain line yourself, you might not spend a dime. If you call in a pro for a routine drain line flush, you’re typically looking at a bill between $75 and $250.
However, if the problem is more serious, think a cracked drain pan or a refrigerant leak, the repair costs will definitely climb higher.
A Quick Word of Advice: Don't put off calling for help to try and save a few bucks. A small, ignored leak can quickly lead to massive water damage, turning a simple AC repair into a huge, expensive headache involving your home's drywall, flooring, or ceiling.
Is the Leaking Water Dangerous?
The water itself, which is just condensation, isn't toxic. It’s basically distilled water pulled from the air. The real danger comes from what happens when that water sits around or soaks into your home.
Stagnant moisture is the perfect breeding ground for mold and mildew. Before you know it, you could be dealing with allergens and respiratory issues. On top of that, the water damage can weaken the structural integrity of your home, creating serious safety and health hazards over time.
Can I Keep Running a Leaking AC?
We get this question a lot, and our answer is always a firm "no." We strongly advise against it. As soon as you spot a leak, head to your thermostat and turn the system off, then shut it down at the breaker panel for good measure.
Continuing to run a leaking AC unit only makes the situation worse. You’re risking severe damage to your floors and ceilings, not to mention the unit's own internal electrical components. Shutting it down immediately is the safest move you can make to stop a minor issue from snowballing into a full-blown catastrophe.
If you're dealing with an AC leak or just want to get ahead of problems with preventative maintenance, you can trust the experts at Covenant Aire Solutions to keep your home safe and comfortable. Schedule your service online today.