How to Clean AC Unit: A Tucson Homeowner's Quick Guide
- Feb 11
- 14 min read
Keeping your AC unit clean is pretty simple stuff: clearing away leaves and gunk from the outdoor unit, swapping out the indoor filter. But don't let the simplicity fool you. This basic upkeep is what lets your system breathe properly, and that's the whole game when it comes to staying cool and avoiding a meltdown during a Tucson heatwave.
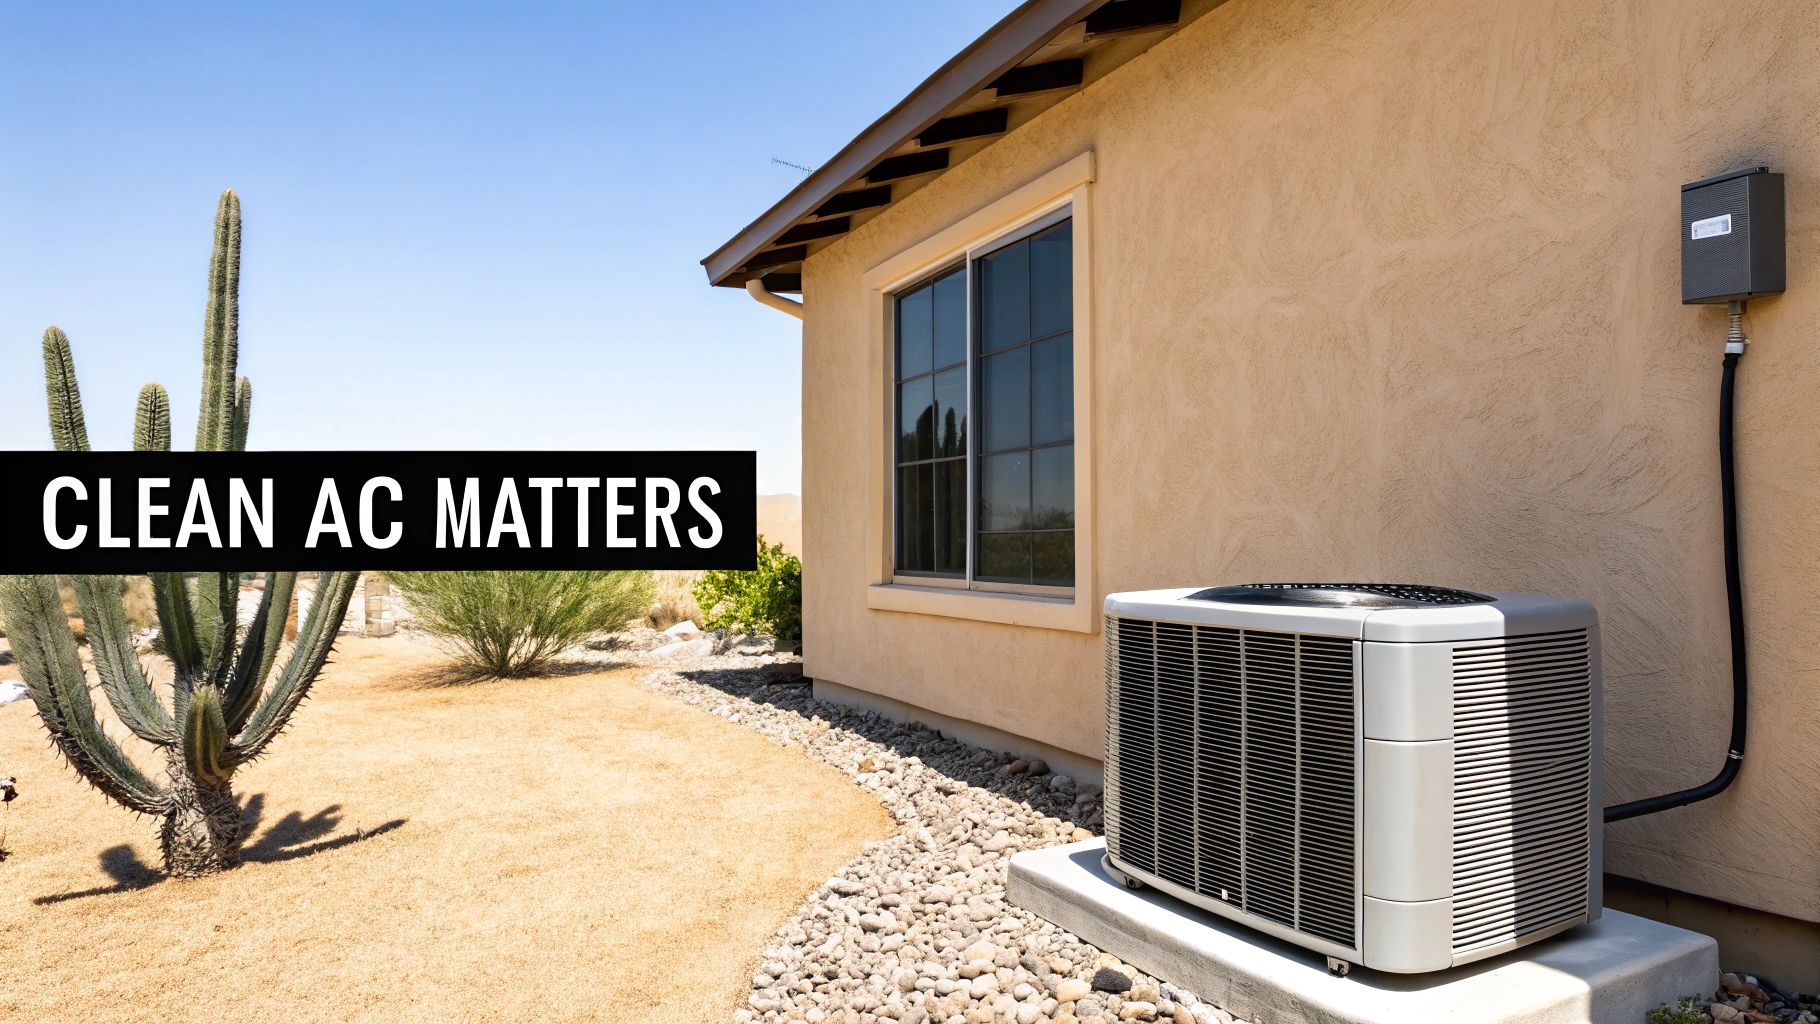
Why Cleaning Your AC Unit in Tucson Is So Important
Here in Tucson, a working air conditioner isn't just nice to have; it's a lifeline. The combination of our relentless sun and that super-fine desert dust creates a uniquely brutal environment for HVAC systems. Over time, all that airborne grit settles on your unit and acts like a thick wool blanket, trapping heat on the very components trying to get rid of it.
When that happens, your system has to work way, way harder just to keep your home comfortable. Imagine trying to run a marathon while breathing through a coffee stirrer, that's your AC trying to function while caked in dust. It's exhausting and incredibly inefficient.
The Cost of Neglect in a Desert Climate
When your AC is fighting against a layer of Tucson dust, the consequences show up right on your TEP bill. It's not an exaggeration to say that letting your AC get dirty can slash its efficiency by 20-30% over time. This forces the system into overdrive, spiking your energy costs.
When the mercury hits 110°F in July, that inefficiency isn't a small problem. We've seen homeowners' cooling costs jump by hundreds of dollars a month, all from a lack of basic cleaning.
Key Takeaway: A dirty AC unit in Tucson doesn't just work harder; it works less effectively. This means you pay more for less comfort, a situation no homeowner wants to face in July.
Beyond the immediate hit to your wallet, this constant strain puts a ton of stress on critical parts like the compressor and fan motor. These happen to be the most expensive components to fix or replace, turning what should be a simple maintenance task into a pricey emergency service call. Staying on top of this chore is one of the smartest things you can do to lower your electric bill in the summer.
A clean AC doesn't just save you money; it also impacts your health and your system's longevity. It’s an investment that pays off in multiple ways. Let's break down the real-world advantages you can expect.
The Real Benefits of a Clean AC Unit
Benefit | Impact in Tucson | Potential Savings |
|---|---|---|
Lower Energy Bills | A clean system doesn't have to fight dust and debris, using significantly less electricity to cool your home. | Up to 20-30% reduction in cooling costs during peak summer months. |
Better Indoor Air Quality | Reduces the circulation of dust, allergens, and other particulates that thrive in a dirty AC system. | Fewer allergy flare-ups and a generally healthier, more breathable home environment. |
Fewer Breakdowns | Less strain on expensive components like the compressor and fan motor means fewer surprise repair bills. | Can prevent emergency repairs that often cost $300-$1,500+. |
Longer System Lifespan | A well-maintained unit can last years longer than a neglected one, delaying a costly full replacement. | Potentially adds 3-5+ years of life, deferring a $5,000-$10,000+ replacement cost. |
As you can see, the payoff is substantial. A little bit of effort goes a long way toward keeping your home comfortable, your air clean, and your money in your pocket.
More Than Just Money: It’s About Health and Longevity
The benefits of a clean AC really do go beyond your bank account. A well-maintained system directly contributes to a healthier home and helps your expensive equipment last as long as it was designed to.
Improved Indoor Air Quality: Your AC system is the lungs of your home, circulating every bit of air you breathe. When coils and filters get clogged, they become a breeding ground for dust mites, allergens, and other gunk that gets blown right into your living space.
Extended System Lifespan: An AC unit that runs smoothly is under far less stress. Think of regular cleaning as preventive care for your system; it can genuinely add years to its operational life and push back the day you have to shell out for a full replacement.
Taking the time to understand the difference is key; understanding predictive vs. preventive maintenance highlights just how valuable this routine care is. At the end of the day, learning how to clean your AC unit is a direct investment in your home's comfort, your family's health, and its overall efficiency.
Gathering Your Tools and Prioritizing Safety
Before you even think about taking a screwdriver to your AC unit, let's get organized. Nothing kills a DIY project faster than having to make ten trips back to the garage for tools. More importantly, we need to talk about safety, because this isn't negotiable. We're not just aiming to do the job right; we're aiming to do it without getting hurt or frying an expensive piece of equipment.
The absolute first thing you must do is shut off all power to the AC system. This is a two-step dance. Start by turning the system off at your indoor thermostat. Easy enough. Next, head outside to your home's main electrical panel and flip the breaker that powers the air conditioner. Many outdoor units also have a separate disconnect box mounted on the wall nearby, which usually has a pull-out switch or its own breaker. Kill the power there, too.
Your AC Cleaning Toolkit
You don’t need to buy out the hardware store, but a few key items will make this job go a whole lot smoother. Consider this your pre-mission briefing.
Work Gloves: Protects your hands from surprisingly sharp metal fins and layers of caked-on grime.
Screwdriver or Nut Driver: You'll need this to remove the protective grille or top panel of the outdoor condenser unit.
Shop Vacuum with a Soft Brush Attachment: This is your best friend for sucking up all the loose leaves, cobwebs, and that fine layer of Tucson dust that gets everywhere.
Garden Hose with a Spray Nozzle: For rinsing the coils. The goal is a gentle, fan-like spray, not a high-pressure blast.
Commercial Coil Cleaner: Grab a no-rinse foaming cleaner made specifically for HVAC coils. Steer clear of harsh household chemicals that can cause damage.
Fin Comb: This little tool is a lifesaver. It’s designed to gently straighten out any bent aluminum fins on the coils, which is crucial for proper airflow.
Safety Is Not Optional
When you're dealing with electricity and heavy machinery, there's no room for carelessness. A simple mistake can lead to a serious injury, so let's get our heads in the right space.
Safety isn’t just a recommendation; it's the foundation of any successful DIY project. Verifying that the power is completely disconnected is the single most important action you will take.
This mindset is key for any home maintenance task. Think about it: when you learn how to clean gutters safely, the first rules are about ladder stability and avoiding power lines. The same principle applies here. Understand the risks before you start the work. Getting familiar with the equipment can also boost your confidence; you can learn more about the parts of a central air conditioner unit in our detailed guide.
How to Clean Your Outdoor Condenser Unit
Alright, with your safety prep done and your tools ready, it's time to get to work on the outdoor condenser unit. This is the workhorse of your AC system, the part that dumps all that heat from inside your house out into the Tucson air. When it’s caked with our signature dust, leaves, and cottonwood fluff, it just can't breathe properly, and your energy bills will show it.
The good news is, cleaning it is pretty straightforward. You just need a gentle touch and a bit of patience. We're going to clear out all the gunk choking the unit, give the delicate fins a proper wash, and make a few small tweaks that add up to big performance gains.
This visual guide shows the essential preparation steps for cleaning your AC unit: turning off the power, gathering safety gear, and preparing your tools. Following this order is key to doing the job safely and without accidentally damaging your system.
Clear Away Debris and Open the Unit
First things first, we need to do a little yard work. Your AC needs room to breathe, so start by clearing a two-foot perimeter all the way around the condenser. Yank any weeds, rake back leaves, and trim any bushes or tree branches that are getting a little too close for comfort.
Next, grab your shop vac with the soft brush attachment. Go over the entire outside of the unit, gently vacuuming the fins. You’ll be shocked by how much dust, spiderwebs, and debris gets stuck in there, essentially forming a blanket that traps heat.
Once the outside is looking better, use your screwdriver or nut driver to take off the screws holding the top grille and fan in place. Lift the whole assembly straight up and carefully set it aside. Watch out for the wires connected to the fan motor, you don't want to stretch or yank them.
Pro Tip: Whatever you do, never use a pressure washer on your AC unit. That high-powered spray will flatten the delicate aluminum fins in seconds, completely blocking airflow. A gentle spray from a regular garden hose is all you need.
The Right Way to Wash Condenser Coils
With the top off, you can now see inside the unit, and it's probably full of even more leaves and dirt. Use your shop vac to clean out the bottom of the condenser thoroughly. If you skip this, all that junk will just get sucked right back up against the clean coils the second you turn it back on.
Now, grab your garden hose and set the nozzle to a wide, gentle spray. This next part is the most critical step of the whole process: spray the coils from the inside out.
Pushing the water from the inside forces all the trapped gunk outwards, the same way it came in. If you spray from the outside, you’re just driving the dirt deeper into the fins. Work your way around the entire unit, spraying from top to bottom until you see the water running completely clear. For a closer look, we've got an easy DIY guide on cleaning condenser coils you can check out.
Straighten Bent Fins for Maximum Airflow
While the coils are still wet, lean in and take a close look at those thin aluminum fins. It’s almost guaranteed you’ll find sections that are bent or flattened from hail, rocks kicked up by the lawnmower, or even just an accidental bump. Every bent fin is a roadblock for airflow, hurting your unit’s efficiency.
This is where that fin comb comes in handy. It's a simple tool with teeth spaced perfectly to match your fins. Find a bent section, gently insert the comb above or below it, and slowly pull it straight through the fins.
The key is to be gentle and patient. You’re coaxing them back into shape, not forcing them. This small step makes a massive difference in how well your system can cool. In fact, a clean, well-maintained AC can see a performance boost of 15-40%. For the average Tucson household, that translates to $100-$300 back in your pocket each year.
Once the fins are straight, you can carefully place the fan and grille back on top and screw it down securely. Your outdoor unit is now prepped and ready to battle another brutal summer.
Cleaning the Indoor Unit for Better Air Quality
Alright, with the outdoor unit squared away, let's head inside. The indoor components are what directly impact the air you're breathing day in and day out, so this part is just as critical.
Think of it this way: cleaning only the outside unit is like washing your car's exterior but leaving the inside a mess. It's only half the job. The indoor air handler is the final checkpoint before that cool air hits your living room. We'll start with the easiest, most impactful task, the air filter, before moving on to the more delicate evaporator coils and that notorious condensate drain line.
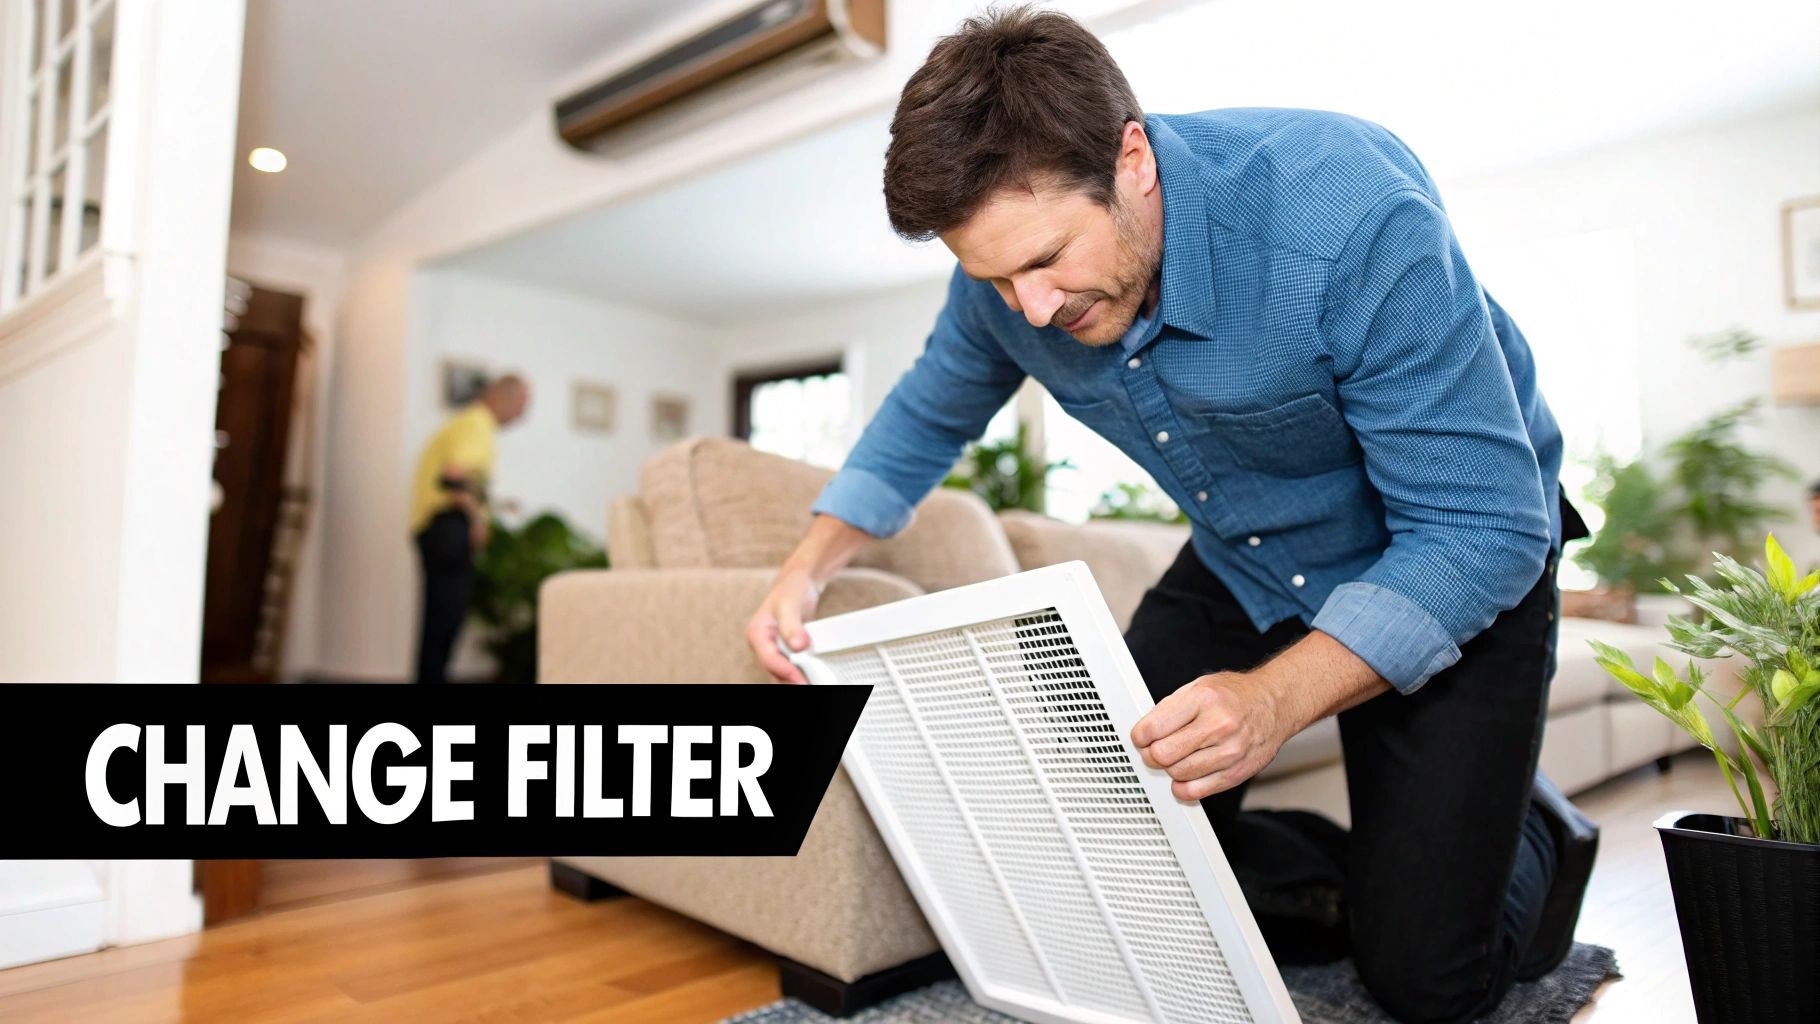
Start With the Air Filter
If you do only one thing for your AC, make it this. Regularly checking and replacing your air filter is, without a doubt, the single most important maintenance task a homeowner can perform. It’s your system's first line of defense against all the dust, pollen, and pet dander floating around our Tucson air.
When that filter gets clogged, your entire system starts to suffocate. The fan motor has to work overtime just to pull air through, which jacks up your energy bill and puts a ton of strain on the equipment. Even worse, dust starts to sneak past the clogged filter and cakes directly onto the evaporator coils, setting you up for a much bigger, more difficult cleaning job later.
Filter Maintenance Schedule for Tucson Homes:
Standard 1-inch filters: You should be checking these monthly. Plan on replacing them at least every 90 days. If you have pets or during our dusty seasons, you’ll probably need to swap it out every 30-60 days.
Thicker 4-5 inch media filters: These have a much longer lifespan, but don't just forget about them. Check them every few months and plan to replace them every 6-12 months.
Carefully Clean the Evaporator Coils
With the power still off at the breaker (always, always double-check), it's time to find the evaporator coil. It’s tucked inside the indoor air handler, which could be in a closet, your garage, or up in the attic. You'll likely need to remove a metal access panel to get a look at it.
The evaporator coils will look a lot like the condenser coils outside, but they're often arranged in an "A" frame or V-shape. Any grime that managed to get past your filter clings to these damp coils, creating a perfect breeding ground for mold and bacteria. Yuck.
Important Takeaway: Whatever you do, never use a water hose on your indoor evaporator coils. The risk of causing serious water damage to your drywall, floors, and electrical components is just too high.
Grab a soft-bristled brush and gently sweep the dust off the coils, always moving in the same direction as the fins to avoid bending them. Next, use a shop vac with its brush attachment to suck up all that loose debris. If you're dealing with more stubborn, caked-on gunk, your best bet is a commercial no-rinse foaming coil cleaner. Just spray it on, let it do its thing, and the normal condensation from running your AC will gradually rinse it away.
Clear the Condensate Drain Line
As your AC pulls humidity out of the air, that water condenses on the evaporator coils and drips down into a drain pan. A PVC pipe, the condensate drain line, then carries that water outside. Here in our dusty climate, that line is a prime spot for clogs to form.
A blocked drain line means water will back up, overflow the pan, and cause some serious water damage. A classic scenario we see all the time is a homeowner calling about mysterious water stains on the ceiling right below their attic air handler. Nine times out of ten, it’s a clogged drain line.
Here’s how to clear a minor clog yourself:
Find where the drain line exits your home. It’s usually a small PVC pipe sticking out of the wall near your outdoor condenser unit.
Take your wet/dry shop vacuum and create a tight seal around the opening of that pipe.
Let the vacuum run for a minute or two. It’ll suck the clog right out. You might be shocked at the amount of sludge and gunk that comes out.
For some simple preventative maintenance, you can pour a mix of one part distilled white vinegar and three parts water down the drain line access tee (a T-shaped pipe joint with a cap on it) every few months. This little trick helps dissolve buildup before it becomes a major blockage. For more tips on keeping your air fresh, check out our complete guide to HVAC indoor air quality.
Recognizing When You Need Professional HVAC Help
Knowing your way around your AC unit is a fantastic skill for any homeowner, but knowing your limits is even more critical. DIY maintenance is great for the basics, but some situations are clear signals to put the tools down and call in a certified HVAC technician.
Trying to tackle complex issues without the right training can lead to incredibly expensive damage or, even worse, a serious safety hazard. This isn't about selling you on services you don't need; it's about helping you make a smart, informed call for your home and family. Certain problems are way beyond a simple cleaning and require specialized diagnostic tools and years of experience. Ignoring these red flags can turn what might have been a manageable repair into a full-blown system replacement.
Signs That Demand a Professional's Attention
Some issues are just too complex or dangerous to handle on your own. If you notice any of the following, your next step should be a phone call to a pro, not another trip to the hardware store.
Strange Noises: Your AC has a normal hum, but loud banging, grinding, or a high-pitched squeal is your system screaming for help. These noises often point to serious mechanical failures, like a dying compressor or a worn-out motor bearing.
Electrical Issues: If you see lights flickering when the AC kicks on, the breaker trips constantly, or you smell something burning near the unit, do not attempt a fix. These are signs of a dangerous electrical problem that needs an expert.
Weak or No Cool Air: You've cleaned everything, the filter is fresh, but the air coming out is still lukewarm. This could mean a refrigerant leak or a failing compressor, both of which are jobs strictly for a professional.
A hissing sound from your unit is the classic sign of a refrigerant leak. Since refrigerant is a controlled substance and harmful if handled improperly, this is a job exclusively for a licensed technician.
The Value of a Preventive Maintenance Plan
Waiting for your AC to die in the middle of a brutal Tucson summer is a recipe for stress and a massive bill. A much smarter move is to invest in a professional preventive maintenance plan. Think of it as a biannual check-up for your HVAC system.
During a tune-up, a technician does far more than just clean. They inspect electrical connections, check refrigerant levels, lubricate all the moving parts, and test the system controls. This proactive care catches the small stuff before it snowballs into a catastrophic failure, saving you from the nightmare of an emergency repair.
Over time, these plans easily pay for themselves through better efficiency and by extending the life of your equipment. When you're not sure if another repair is worth it, it helps to know when it might be time for a change. You can learn more about this big decision in our article that breaks down when you should repair or replace your HVAC system.
Your Top AC Cleaning Questions Answered
Even after walking through the steps, you probably still have a few questions. That's completely normal. Let's tackle some of the most common things Tucson homeowners ask us about cleaning their AC units.
How Often Should I Clean My AC Unit in a Dusty Place Like Tucson?
Living in the desert means our ACs need a little more love. You’ll want to at least glance at your indoor air filter monthly. It won't always need replacing, but a quick check can stop a clog before it chokes your system.
For the big outdoor unit, the condenser, plan on giving it a solid cleaning twice a year. The best times are in the spring before the summer heat really hits, and again in the fall after the monsoon dust has settled. If you're near a construction zone or we get a monster haboob, you might need to do it more often to keep things running right.
Can I Use a Pressure Washer on My AC Coils?
Please, don't do this. It's one of the fastest ways to destroy your air conditioner. That high-pressure blast will instantly flatten the delicate aluminum fins on the coils.
Once those fins are bent, airflow is choked off, and your AC’s ability to cool your home is crippled. Stick to a garden hose with a gentle spray nozzle. A simple cleaning shouldn't turn into an expensive repair call.
The fins are like the radiator on your car; if air can't pass through, the system can't get rid of heat. Simple as that.
What's This White Stuff Building Up on My Indoor Unit?
If you're seeing a chalky, white residue, that's almost certainly efflorescence. It’s just mineral and salt deposits left behind after water evaporates. Seeing it is often a red flag for a slow leak or excessive condensation on your indoor evaporator coil.
You can wipe away a small amount, but its presence is a good reason to call a pro for an inspection. Think of it as a warning sign of a moisture problem that could lead to bigger headaches like mold or water damage if you ignore it.
Is It Safe to Use Household Cleaners Like Bleach on My AC Coils?
We strongly recommend against using bleach, Windex, or any other harsh household chemicals on your AC coils. These cleaners are surprisingly corrosive and can literally eat away at the aluminum fins and copper tubing.
This kind of chemical damage can cause the coils to fail prematurely, leading to refrigerant leaks, which are never cheap to fix. Your best bet is to use a dedicated coil cleaner from a home improvement store. They are specifically made to foam up, break down grime, and rinse clean without harming the sensitive metal components.
When a good cleaning isn't enough, you can trust the certified technicians at Covenant Aire Solutions to get your system back in peak condition. Schedule your professional AC tune-up today!